
Load data for 9 mm Para + 125gr Sierra Sports Master
330 suitable loads across 51 powder(s) for cartridge 9 mm Para with 125gr Sierra Sports Master bullet.
The most recommended powders for this combination are Alliant UNIQUE, Somchem MS200 and ReloadSwiss RS 20.
Based on C.I.P., the max. allowed case length is 0.754 in / 19.15 mm, the max. cartridge length is 1.169 in / 29.69 mm, and the max. allowed pressure is 34,084 PSI / 2,350 bar.
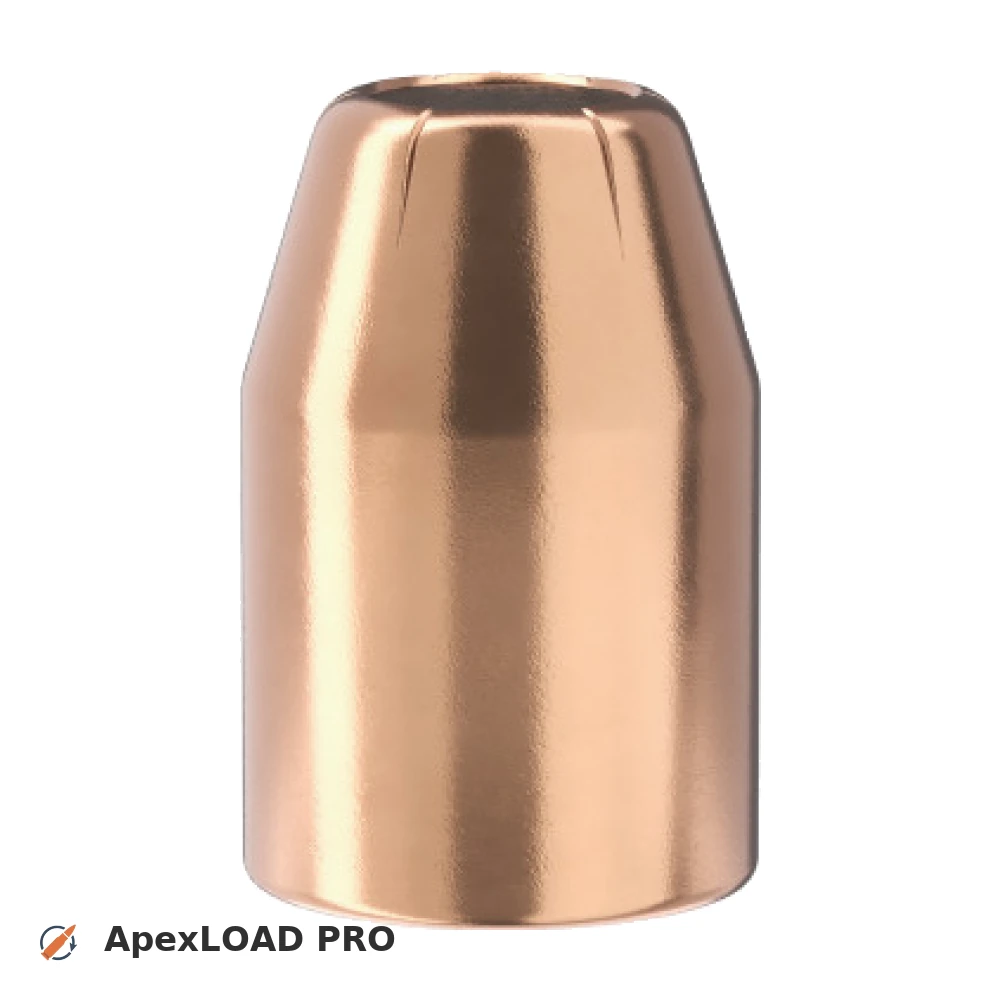
Based on C.I.P., the max. allowed case length is 0.754 in / 19.15 mm, the max. cartridge length is 1.169 in / 29.69 mm, and the max. allowed pressure is 34,084 PSI / 2,350 bar.
Load Specifications
Get PRO license to unlock all data and calculators
Community Loads for 9 mm Para + 125gr Sierra Sports Master
Real loads for this combination shared by our community. Charge weights are only fully visible with an active Pro licence.
| Powder | Charge (gr) | C.O.L. | Barrel Length | Velocity (fps) | Pressure (psi) |
|---|---|---|---|---|---|
| 3.6 gr | 1.035" | 4.0" | 919 fps | ••• | |
| 4.0 gr | 1.035" | 4.0" | 1006 fps | ••• | |
| 4.2 gr | 1.100" | 4.0" | 983 fps | ••• | |
| ••• | 1.035" | 4.0" | 938 fps | ••• | |
| ••• | 1.035" | 4.0" | 1066 fps | ••• | |
| ••• | 1.035" | 4.0" | 1083 fps | ••• | |
| ••• | 1.035" | 4.0" | 964 fps | ••• | |
| ••• | 1.100" | 4.0" | 1040 fps | ••• | |
| ••• | 1.100" | 4.0" | 1007 fps | ••• | |
| ••• | 1.100" | 4.0" | 1026 fps | ••• | |
| ••• | 1.100" | 4.0" | 1064 fps | ••• | |
| ••• | 1.100" | 4.0" | 994 fps | ••• | |
| ••• | 1.100" | 4.0" | 1046 fps | ••• | |
| ••• | 1.100" | 4.0" | 998 fps | ••• | |
| ••• | 1.100" | 4.0" | 1030 fps | ••• | |
| ••• | 1.100" | 4.0" | 1001 fps | ••• | |
| ••• | 1.100" | 4.0" | 1018 fps | ••• | |
| ••• | 1.100" | 4.0" | 1033 fps | ••• | |
| ••• | 1.100" | 4.0" | 991 fps | ••• | |
| ••• | 1.100" | 4.0" | 1007 fps | ••• | |
| ••• | 1.100" | 4.0" | 1039 fps | ••• | |
| ••• | 1.100" | 4.0" | 1110 fps | ••• | |
| ••• | 1.035" | 4.0" | 1007 fps | ••• | |
| ••• | 1.035" | 4.0" | 1079 fps | ••• | |
| ••• | 1.035" | 4.0" | 858 fps | ••• | |
| ••• | 1.035" | 4.0" | 998 fps | ••• | |
| ••• | 1.035" | 4.0" | 908 fps | ••• | |
| ••• | 1.035" | 4.0" | 983 fps | ••• | |
| ••• | 1.035" | 4.0" | 1020 fps | ••• | |
| ••• | 1.100" | 4.0" | 1047 fps | ••• | |
| ••• | 1.100" | 4.0" | 1096 fps | ••• | |
| ••• | 1.035" | 4.0" | 862 fps | ••• | |
| ••• | 1.100" | 4.0" | 976 fps | ••• | |
| ••• | 1.100" | 4.0" | 1027 fps | ••• | |
| ••• | 1.035" | 4.0" | 922 fps | ••• | |
| ••• | 1.035" | 4.0" | 1036 fps | ••• | |
| ••• | 1.035" | 4.0" | 986 fps | ••• | |
| ••• | 1.035" | 4.0" | 893 fps | ••• | |
| ••• | 1.100" | 4.0" | 990 fps | ••• | |
| ••• | 1.100" | 4.0" | 1043 fps | ••• | |
| ••• | 1.100" | 4.0" | 941 fps | ••• | |
| ••• | 1.100" | 4.0" | 992 fps | ••• | |
| ••• | 1.100" | 4.0" | 1005 fps | ••• | |
| ••• | 1.100" | 4.0" | 1022 fps | ••• | |
| ••• | 1.100" | 4.0" | 1053 fps | ••• | |
| ••• | 1.100" | 4.0" | 997 fps | ••• | |
| ••• | 1.100" | 4.0" | 1012 fps | ••• | |
| ••• | 1.035" | 4.0" | 871 fps | ••• | |
| ••• | 1.035" | 4.0" | 937 fps | ••• | |
| ••• | 1.035" | 4.0" | 997 fps | ••• | |
Charge weights beyond the first rows and all pressure values are only visible with an active Pro licence.