
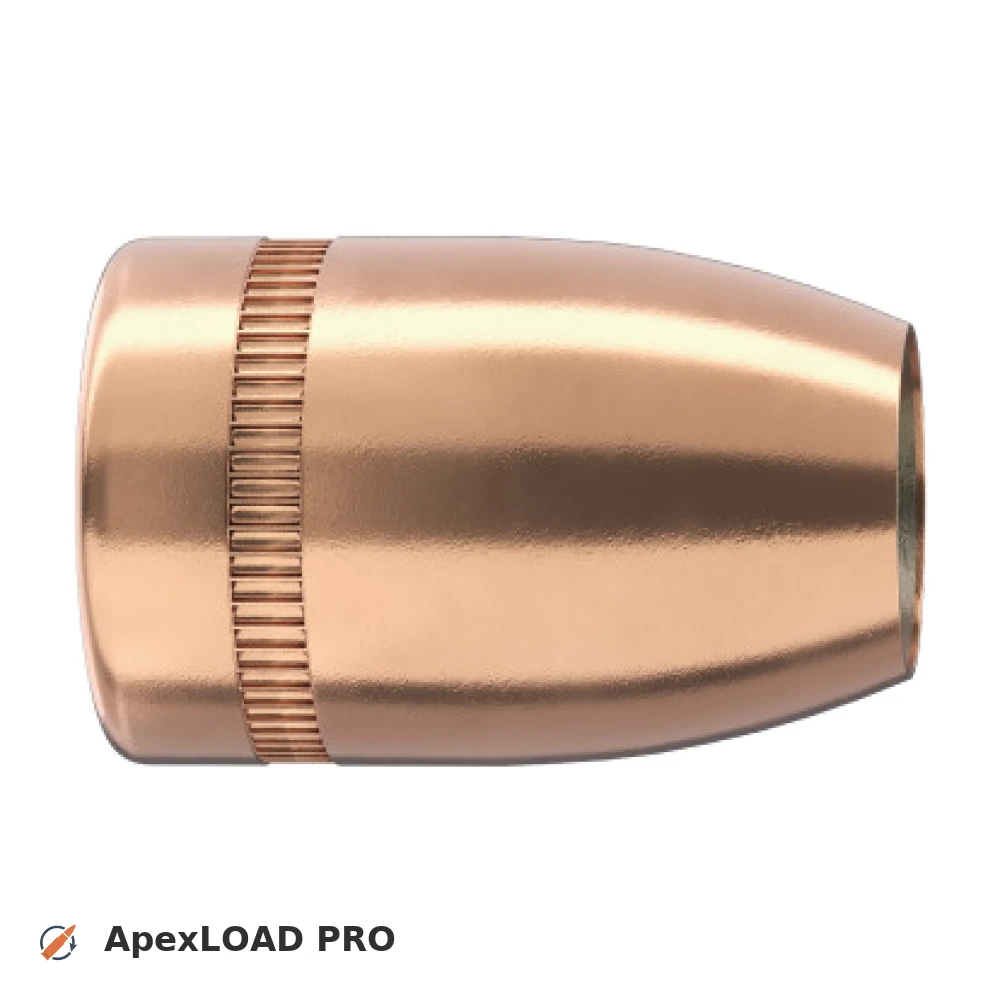
Load data for 9 mm Para + 125gr Sierra Sig V-Crown
339 suitable loads across 51 powder(s) for cartridge 9 mm Para with 125gr Sierra Sig V-Crown bullet.
The most recommended powders for this combination are Alliant UNIQUE, Somchem MP200 and ReloadSwiss RS 20.
Based on C.I.P., the max. allowed case length is 0.754 in / 19.15 mm, the max. cartridge length is 1.169 in / 29.69 mm, and the max. allowed pressure is 34,084 PSI / 2,350 bar.
Based on C.I.P., the max. allowed case length is 0.754 in / 19.15 mm, the max. cartridge length is 1.169 in / 29.69 mm, and the max. allowed pressure is 34,084 PSI / 2,350 bar.
Load Specifications
Get PRO license to unlock all data and calculators
Community Loads for 9 mm Para + 125gr Sierra Sig V-Crown
Real loads for this combination shared by our community. Charge weights are only fully visible with an active Pro licence.
| Powder | Charge (gr) | C.O.L. | Barrel Length | Velocity (fps) | Pressure (psi) |
|---|---|---|---|---|---|
| 4.2 gr | 1.100" | 4.0" | 993 fps | ••• | |
| 4.6 gr | 1.100" | 4.0" | 1056 fps | ••• | |
| 4.6 gr | 1.100" | 4.0" | 1006 fps | ••• | |
| ••• | 1.100" | 4.0" | 1039 fps | ••• | |
| ••• | 1.100" | 4.0" | 1071 fps | ••• | |
| ••• | 1.100" | 4.0" | 1086 fps | ••• | |
| ••• | 1.100" | 4.0" | 1012 fps | ••• | |
| ••• | 1.100" | 4.0" | 1027 fps | ••• | |
| ••• | 1.100" | 4.0" | 1042 fps | ••• | |
| ••• | 1.100" | 4.0" | 1092 fps | ••• | |
| ••• | 1.100" | 4.0" | 1122 fps | ••• | |
| ••• | 1.100" | 4.0" | 998 fps | ••• | |
| ••• | 1.100" | 4.0" | 1014 fps | ••• | |
| ••• | 1.100" | 4.0" | 1046 fps | ••• | |
| ••• | 1.100" | 4.0" | 1119 fps | ••• | |
| ••• | 1.100" | 4.0" | 1134 fps | ••• | |
| ••• | 1.100" | 4.0" | 1058 fps | ••• | |
| ••• | 1.100" | 4.0" | 1109 fps | ••• | |
| ••• | 1.100" | 4.0" | 986 fps | ••• | |
| ••• | 1.100" | 4.0" | 1038 fps | ••• | |
| ••• | 1.100" | 4.0" | 1053 fps | ••• | |
| ••• | 1.100" | 4.0" | 1070 fps | ••• | |
| ••• | 1.100" | 4.0" | 1087 fps | ••• | |
| ••• | 1.100" | 4.0" | 1121 fps | ••• | |
| ••• | 1.100" | 4.0" | 999 fps | ••• | |
| ••• | 1.100" | 4.0" | 1053 fps | ••• | |
| ••• | 1.100" | 4.0" | 1071 fps | ••• | |
| ••• | 1.100" | 4.0" | 1088 fps | ••• | |
| ••• | 1.100" | 4.0" | 951 fps | ••• | |
| ••• | 1.100" | 4.0" | 1002 fps | ••• | |
| ••• | 1.100" | 4.0" | 1020 fps | ••• | |
| ••• | 1.100" | 4.0" | 1037 fps | ••• | |
| ••• | 1.100" | 4.0" | 1071 fps | ••• | |
| ••• | 1.100" | 4.0" | 1013 fps | ••• | |
| ••• | 1.100" | 4.0" | 1030 fps | ••• | |
| ••• | 1.100" | 4.0" | 1063 fps | ••• | |
| ••• | 1.100" | 4.0" | 1007 fps | ••• | |
| ••• | 1.100" | 4.0" | 1021 fps | ••• | |
| ••• | 1.100" | 4.0" | 1036 fps | ••• | |
| ••• | 1.100" | 4.0" | 1067 fps | ••• | |
| ••• | 1.100" | 4.0" | 1096 fps | ••• | |
Charge weights beyond the first rows and all pressure values are only visible with an active Pro licence.