
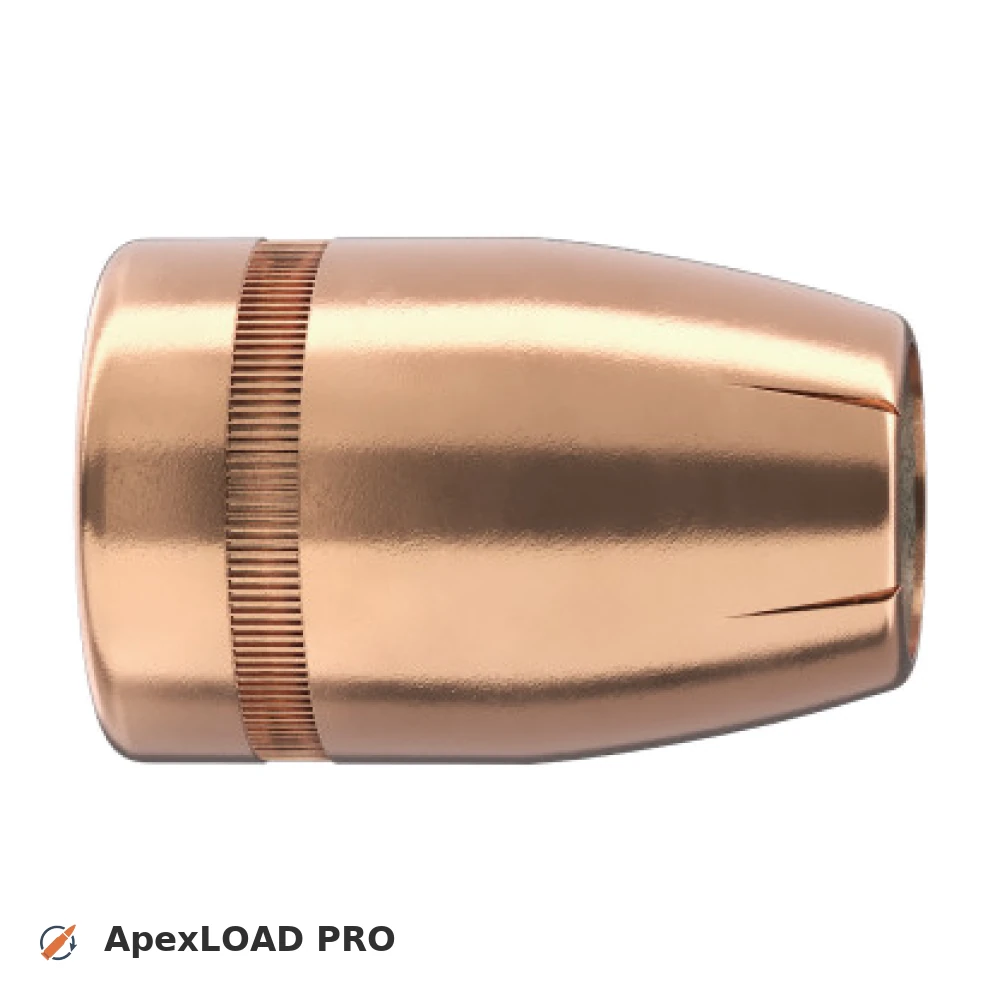
Load data for 9 mm Para + 124gr Sierra Sig V-Crown
361 suitable loads across 55 powder(s) for cartridge 9 mm Para with 124gr Sierra Sig V-Crown bullet.
The most recommended powders for this combination are Alliant UNIQUE, Vihtavuori 3N37 and Somchem MP200.
Based on C.I.P., the max. allowed case length is 0.754 in / 19.15 mm, the max. cartridge length is 1.169 in / 29.69 mm, and the max. allowed pressure is 34,084 PSI / 2,350 bar.
Based on C.I.P., the max. allowed case length is 0.754 in / 19.15 mm, the max. cartridge length is 1.169 in / 29.69 mm, and the max. allowed pressure is 34,084 PSI / 2,350 bar.
Load Specifications
Get PRO license to unlock all data and calculators
Community Loads for 9 mm Para + 124gr Sierra Sig V-Crown
Real loads for this combination shared by our community. Charge weights are only fully visible with an active Pro licence.
| Powder | Charge (gr) | C.O.L. | Barrel Length | Velocity (fps) | Pressure (psi) |
|---|---|---|---|---|---|
| 5.2 gr | 1.147" | 4.0" | 1129 fps | ••• | |
| 6.7 gr | 1.100" | 16.0" | 1585 fps | ••• | |
| 4.6 gr | 1.100" | 4.0" | 992 fps | ••• | |
| ••• | 1.100" | 4.0" | 1023 fps | ••• | |
| ••• | 1.100" | 4.0" | 1055 fps | ••• | |
| ••• | 1.100" | 4.0" | 1071 fps | ••• | |
| ••• | 1.100" | 4.0" | 992 fps | ••• | |
| ••• | 1.100" | 4.0" | 1009 fps | ••• | |
| ••• | 1.100" | 4.0" | 1023 fps | ••• | |
| ••• | 1.100" | 4.0" | 1069 fps | ••• | |
| ••• | 1.100" | 4.0" | 1101 fps | ••• | |
| ••• | 1.100" | 4.0" | 988 fps | ••• | |
| ••• | 1.100" | 4.0" | 1003 fps | ••• | |
| ••• | 1.100" | 4.0" | 1035 fps | ••• | |
| ••• | 1.100" | 4.0" | 1105 fps | ••• | |
| ••• | 1.100" | 4.0" | 1120 fps | ••• | |
| ••• | 1.100" | 4.0" | 1136 fps | ••• | |
| ••• | 1.100" | 5.0" | 1155 fps | ••• | |
| ••• | 1.100" | 4.0" | 1037 fps | ••• | |
| ••• | 1.100" | 4.0" | 1087 fps | ••• | |
| ••• | 1.100" | 4.0" | 1102 fps | ••• | |
| ••• | 1.100" | 4.0" | 968 fps | ••• | |
| ••• | 1.100" | 4.0" | 1017 fps | ••• | |
| ••• | 1.100" | 4.0" | 1032 fps | ••• | |
| ••• | 1.100" | 4.0" | 1049 fps | ••• | |
| ••• | 1.100" | 4.0" | 1066 fps | ••• | |
| ••• | 1.100" | 4.0" | 1098 fps | ••• | |
| ••• | 1.116" | 4.0" | 1148 fps | ••• | |
| ••• | 1.100" | 4.0" | 983 fps | ••• | |
| ••• | 1.100" | 4.0" | 1037 fps | ••• | |
| ••• | 1.100" | 4.0" | 1054 fps | ••• | |
| ••• | 1.100" | 4.0" | 1071 fps | ••• | |
| ••• | 1.100" | 4.0" | 933 fps | ••• | |
| ••• | 1.100" | 4.0" | 982 fps | ••• | |
| ••• | 1.100" | 4.0" | 1048 fps | ••• | |
| ••• | 1.100" | 4.0" | 1000 fps | ••• | |
| ••• | 1.100" | 4.0" | 1016 fps | ••• | |
| ••• | 1.100" | 4.0" | 1048 fps | ••• | |
| ••• | 1.100" | 4.0" | 991 fps | ••• | |
| ••• | 1.100" | 4.0" | 1006 fps | ••• | |
| ••• | 1.100" | 4.0" | 1021 fps | ••• | |
| ••• | 1.100" | 4.0" | 1051 fps | ••• | |
| ••• | 1.100" | 4.0" | 1081 fps | ••• | |
Charge weights beyond the first rows and all pressure values are only visible with an active Pro licence.