
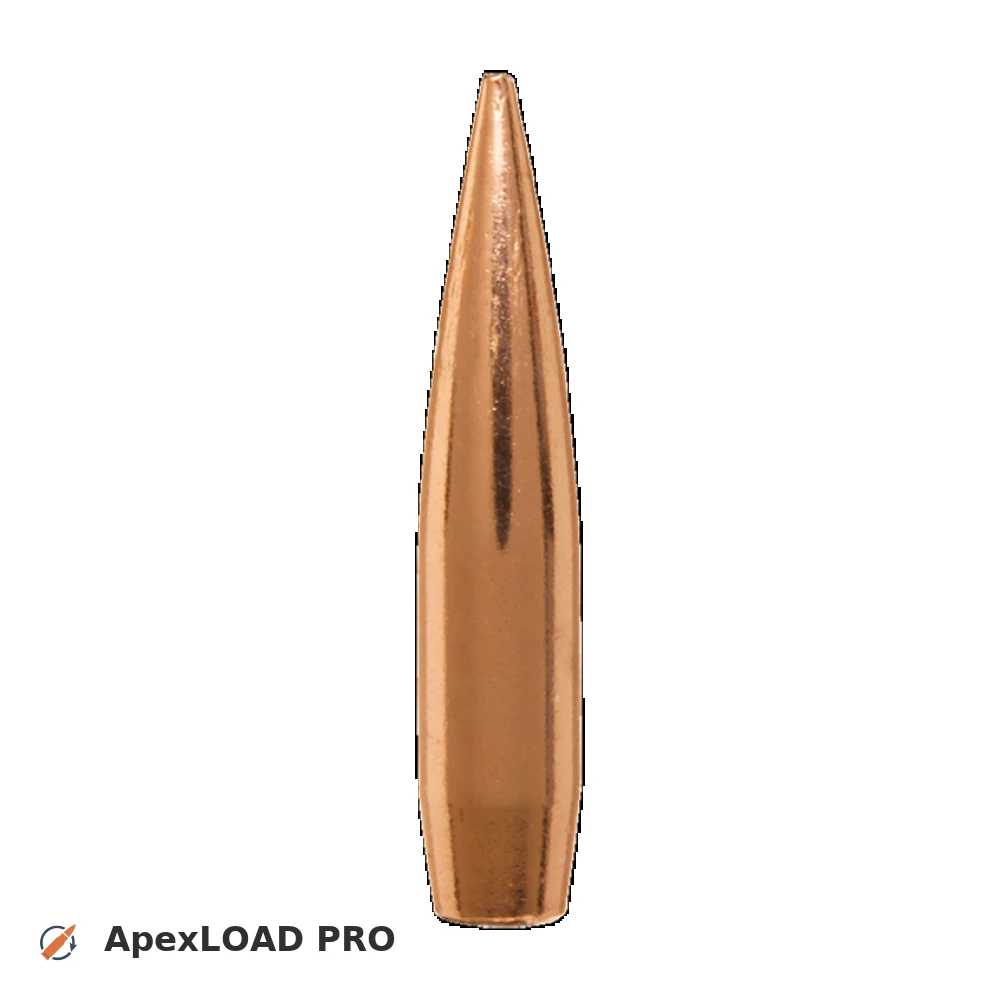
Load data for 6 mm GT + 105gr Berger Hybrid Target
556 suitable loads across 97 powder(s) for cartridge 6 mm GT with 105gr Berger Hybrid Target bullet.
The most recommended powders for this combination are Alliant Power Pro 2000-MR, ADI AR 2208 and Alliant Reloder-17.
Based on SAAMI, the max. allowed case length is 1.725 in / 43.81 mm, the max. cartridge length is 2.640 in / 67.06 mm, and the max. allowed pressure is 62,001 PSI / 4,275 bar.
Based on SAAMI, the max. allowed case length is 1.725 in / 43.81 mm, the max. cartridge length is 2.640 in / 67.06 mm, and the max. allowed pressure is 62,001 PSI / 4,275 bar.
Load Specifications
Get PRO license to unlock all data and calculators
Community Loads for 6 mm GT + 105gr Berger Hybrid Target
Real loads for this combination shared by our community. Charge weights are only fully visible with an active Pro licence.
| Powder | Charge (gr) | C.O.L. | Barrel Length | Velocity (fps) | Pressure (psi) |
|---|---|---|---|---|---|
| 29.0 gr | 2.640" | 26.0" | 2674 fps | ••• | |
| 31.5 gr | 2.515" | 26.0" | 2927 fps | ••• | |
| 32.0 gr | 2.515" | 26.0" | 2959 fps | ••• | |
| ••• | 2.539" | 22.8" | 2772 fps | ••• | |
| ••• | 2.515" | 26.0" | 2808 fps | ••• | |
| ••• | 2.515" | 26.0" | 2887 fps | ••• | |
| ••• | 2.515" | 26.0" | 2927 fps | ••• | |
| ••• | 2.515" | 26.0" | 2956 fps | ••• | |
| ••• | 2.515" | 26.0" | 2733 fps | ••• | |
| ••• | 2.515" | 26.0" | 2890 fps | ••• | |
| ••• | 2.515" | 26.0" | 2867 fps | ••• | |
| ••• | 2.515" | 26.0" | 2887 fps | ••• | |
| ••• | 2.515" | 26.0" | 2897 fps | ••• | |
| ••• | 2.515" | 26.0" | 2904 fps | ••• | |
| ••• | 2.640" | 24.0" | 2818 fps | ••• | |
| ••• | 2.515" | 28.0" | 2920 fps | ••• | |
| ••• | 2.515" | 26.0" | 2894 fps | ••• | |
| ••• | 2.515" | 28.0" | 2907 fps | ••• | |
| ••• | 2.515" | 26.0" | 2890 fps | ••• | |
| ••• | 2.515" | 26.0" | 2897 fps | ••• | |
| ••• | 2.515" | 22.8" | 2638 fps | ••• | |
| ••• | 2.567" | 22.8" | 2631 fps | ••• | |
| ••• | 2.520" | 24.0" | 2544 fps | ••• | |
| ••• | 2.477" | 27.0" | 2805 fps | ••• | |
| ••• | 2.477" | 27.0" | 2818 fps | ••• | |
| ••• | 2.477" | 27.0" | 2831 fps | ••• | |
| ••• | 2.477" | 27.0" | 2844 fps | ••• | |
| ••• | 2.520" | 24.0" | 2351 fps | ••• | |
| ••• | 2.520" | 24.0" | 2619 fps | ••• | |
| ••• | 2.515" | 22.8" | 2776 fps | ••• | |
| ••• | 2.520" | 24.0" | 2520 fps | ••• | |
| ••• | 2.520" | 24.0" | 2577 fps | ••• | |
| ••• | 2.515" | 26.0" | 2805 fps | ••• | |
| ••• | 2.520" | 24.0" | 2852 fps | ••• | |
| ••• | 2.515" | 26.0" | 2841 fps | ••• | |
| ••• | 2.515" | 26.0" | 2848 fps | ••• | |
| ••• | 2.515" | 26.0" | 2933 fps | ••• | |
| ••• | 2.520" | 24.0" | 2711 fps | ••• | |
| ••• | 2.520" | 24.0" | 2771 fps | ••• | |
| ••• | 2.515" | 26.0" | 2782 fps | ••• | |
| ••• | 2.515" | 26.0" | 2907 fps | ••• | |
Charge weights beyond the first rows and all pressure values are only visible with an active Pro licence.