
Load data for 6.5-06 A-Square + 130gr Sierra Tipped MatchKing
Based on SAAMI, the max. allowed case length is 2.494 in / 63.35 mm, the max. cartridge length is 3.440 in / 87.38 mm, and the max. allowed pressure is 65,000 PSI / 4,482 bar.
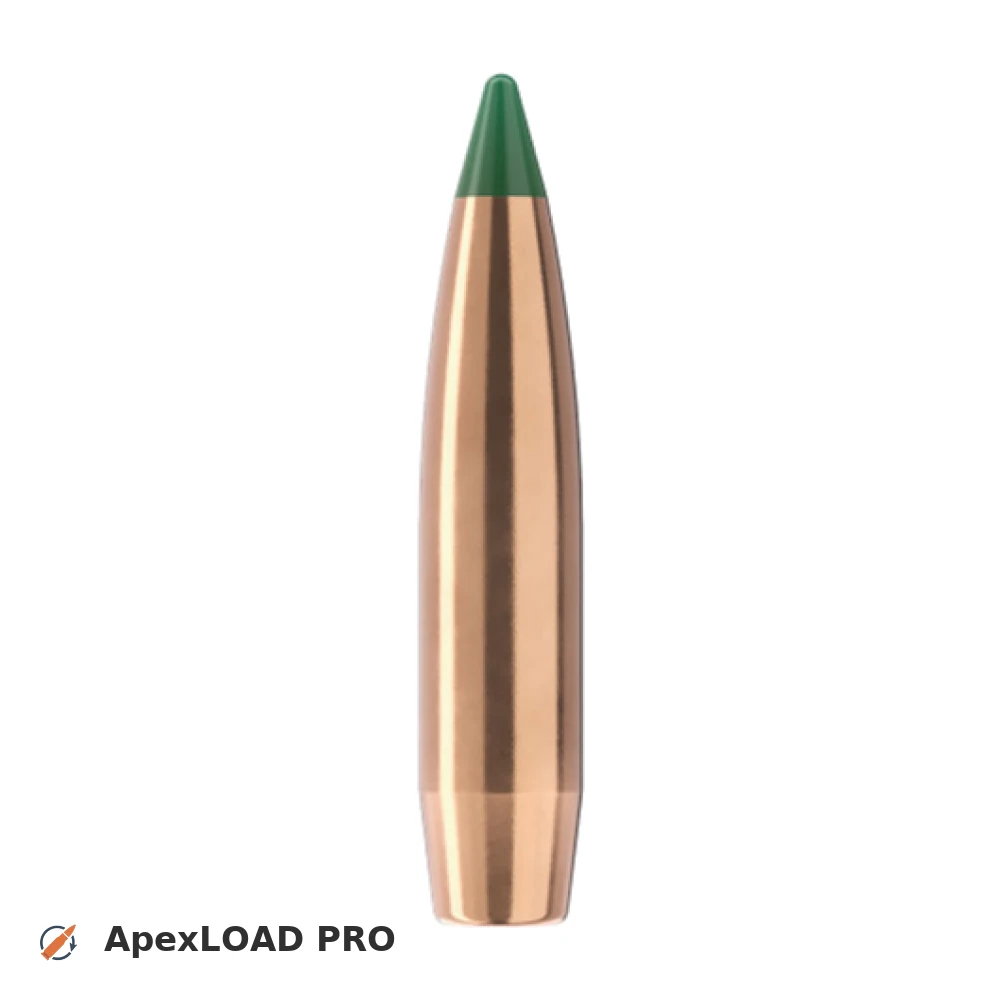
Based on SAAMI, the max. allowed case length is 2.494 in / 63.35 mm, the max. cartridge length is 3.440 in / 87.38 mm, and the max. allowed pressure is 65,000 PSI / 4,482 bar.
Load Specifications
ImperialMetric
Cartridge:6.5-06 A-Square load data
Case Length (L3):2.494" | 63.3 mm
Cartridge Length (COL/L6):•••
Seated Depth:0.464" | 11.8 mm
Case Capacity:65.7 gow | 4.26 cm³
Primer Size:Large Rifle (LR)
Max. Pressure (SAAMI):65,000 psi | 4,482 bar
Barrel Length:24.0" | 610 mm
Min. Twist Rate:1:9.0
Get PRO license to unlock all data and calculators
Community Loads for 6.5-06 A-Square + 130gr Sierra Tipped MatchKing
Real loads for this combination shared by our community. Charge weights are only fully visible with an active Pro licence.
| Powder | Charge (gr) | C.O.L. | Barrel Length | Velocity (fps) | Pressure (psi) |
|---|---|---|---|---|---|
| 46.0 gr | 3.440" | 24.0" | 2687 fps | ••• | |
| 47.8 gr | 3.440" | 24.0" | 2778 fps | ••• | |
| 48.6 gr | 3.440" | 24.0" | 2819 fps | ••• | |
| ••• | 3.440" | 24.0" | 2864 fps | ••• | |
| ••• | 3.440" | 24.0" | 2899 fps | ••• | |
| ••• | 3.440" | 24.0" | 2720 fps | ••• | |
| ••• | 3.440" | 24.0" | 2781 fps | ••• | |
| ••• | 3.440" | 24.0" | 2837 fps | ••• | |
| ••• | 3.440" | 24.0" | 2886 fps | ••• | |
| ••• | 3.440" | 24.0" | 2786 fps | ••• | |
| ••• | 3.440" | 24.0" | 2826 fps | ••• | |
| ••• | 3.440" | 24.0" | 2867 fps | ••• | |
| ••• | 3.440" | 24.0" | 2388 fps | ••• | |
| ••• | 3.440" | 24.0" | 2516 fps | ••• | |
| ••• | 3.440" | 24.0" | 2625 fps | ••• | |
| ••• | 3.440" | 24.0" | 2675 fps | ••• | |
| ••• | 3.440" | 24.0" | 2724 fps | ••• | |
| ••• | 3.440" | 24.0" | 2768 fps | ••• | |
| ••• | 3.440" | 24.0" | 2347 fps | ••• | |
| ••• | 3.440" | 24.0" | 2448 fps | ••• | |
| ••• | 3.440" | 24.0" | 2553 fps | ••• | |
| ••• | 3.440" | 24.0" | 2607 fps | ••• | |
| ••• | 3.440" | 24.0" | 2662 fps | ••• | |
| ••• | 3.440" | 24.0" | 2701 fps | ••• | |
| ••• | 3.440" | 24.0" | 2757 fps | ••• | |
| ••• | 3.440" | 24.0" | 2809 fps | ••• | |
| ••• | 3.440" | 24.0" | 2863 fps | ••• | |
| ••• | 3.440" | 24.0" | 2505 fps | ••• | |
| ••• | 3.440" | 24.0" | 2608 fps | ••• | |
| ••• | 3.440" | 24.0" | 2661 fps | ••• | |
| ••• | 3.440" | 24.0" | 2713 fps | ••• | |
| ••• | 3.440" | 24.0" | 2651 fps | ••• | |
| ••• | 3.440" | 24.0" | 2700 fps | ••• | |
| ••• | 3.440" | 24.0" | 2746 fps | ••• | |
| ••• | 3.440" | 24.0" | 2708 fps | ••• | |
| ••• | 3.440" | 24.0" | 2812 fps | ••• | |
| ••• | 3.440" | 24.0" | 2853 fps | ••• | |
| ••• | 3.440" | 24.0" | 2897 fps | ••• | |
| ••• | 3.440" | 24.0" | 2686 fps | ••• | |
| ••• | 3.440" | 24.0" | 2737 fps | ••• | |
| ••• | 3.440" | 24.0" | 2787 fps | ••• | |
| ••• | 3.440" | 24.0" | 2835 fps | ••• | |
| ••• | 3.440" | 24.0" | 2568 fps | ••• | |
| ••• | 3.440" | 24.0" | 2666 fps | ••• | |
| ••• | 3.440" | 24.0" | 2716 fps | ••• | |
| ••• | 3.440" | 24.0" | 2765 fps | ••• | |
| ••• | 3.440" | 24.0" | 2537 fps | ••• | |
| ••• | 3.440" | 24.0" | 2661 fps | ••• | |
| ••• | 3.440" | 24.0" | 2710 fps | ••• | |
| ••• | 3.440" | 24.0" | 2757 fps | ••• | |
Charge weights beyond the first rows and all pressure values are only visible with an active Pro licence.