
Load data for 6.5-06 A-Square + 100gr Nosler Ballistic Tip Hunting
The most recommended powders for this combination are IMR 4350.
Based on SAAMI, the max. allowed case length is 2.494 in / 63.35 mm, the max. cartridge length is 3.440 in / 87.38 mm, and the max. allowed pressure is 65,000 PSI / 4,482 bar.
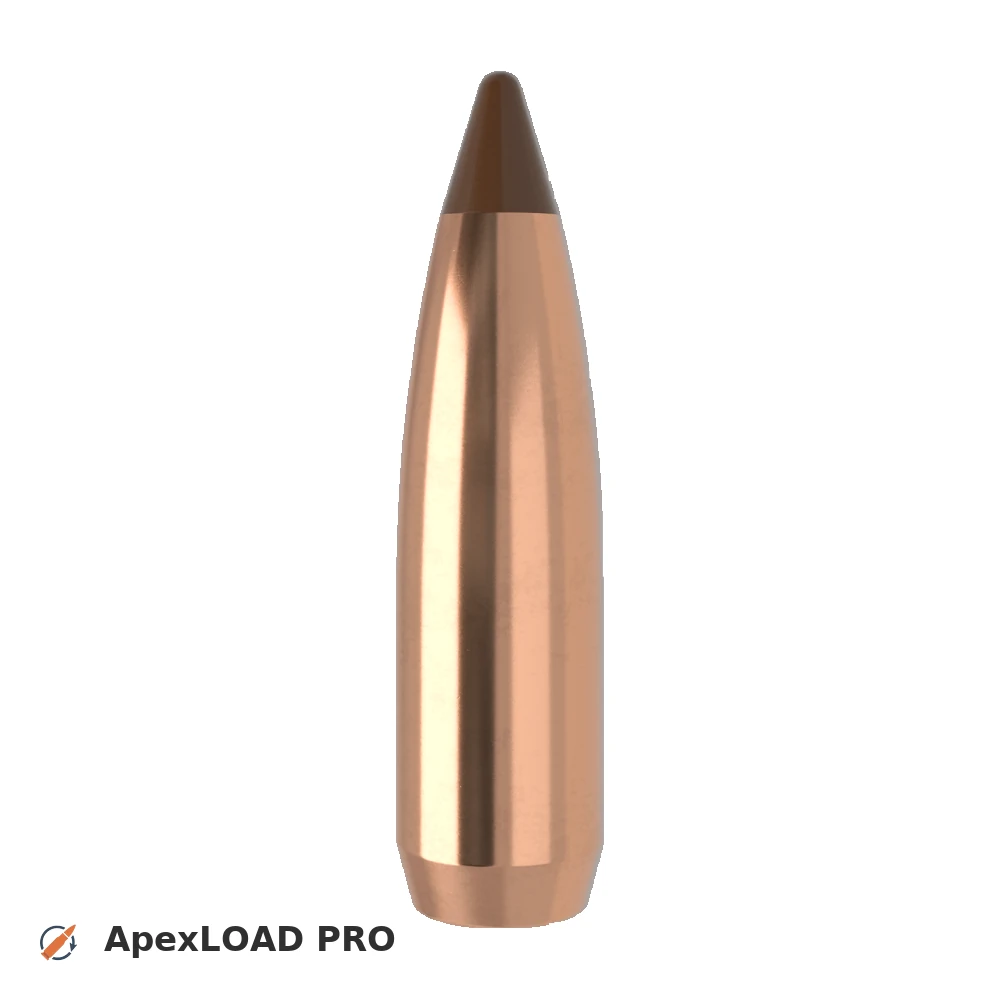
Based on SAAMI, the max. allowed case length is 2.494 in / 63.35 mm, the max. cartridge length is 3.440 in / 87.38 mm, and the max. allowed pressure is 65,000 PSI / 4,482 bar.
Load Specifications
ImperialMetric
Cartridge:6.5-06 A-Square load data
Case Length (L3):2.494" | 63.3 mm
Cartridge Length (COL/L6):•••
Seated Depth:0.350" | 8.9 mm
Case Capacity:65.7 gow | 4.26 cm³
Primer Size:Large Rifle (LR)
Max. Pressure (SAAMI):65,000 psi | 4,482 bar
Barrel Length:24.0" | 610 mm
Min. Twist Rate:1:11.0
Get PRO license to unlock all data and calculators
Community Loads for 6.5-06 A-Square + 100gr Nosler Ballistic Tip Hunting
Real loads for this combination shared by our community. Charge weights are only fully visible with an active Pro licence.
| Powder | Charge (gr) | C.O.L. | Barrel Length | Velocity (fps) | Pressure (psi) |
|---|---|---|---|---|---|
| 47.0 gr | 3.200" | 24.0" | 3076 fps | ••• | |
| 54.0 gr | 3.250" | 24.0" | 3049 fps | ••• | |
| 56.0 gr | 3.250" | 24.0" | 3162 fps | ••• | |
| ••• | 3.250" | 24.0" | 3273 fps | ••• | |
| ••• | 3.200" | 24.0" | 3030 fps | ••• | |
| ••• | 3.200" | 24.0" | 3011 fps | ••• | |
| ••• | 3.200" | 24.0" | 3234 fps | ••• | |
| ••• | 3.200" | 24.0" | 2887 fps | ••• | |
| ••• | 3.250" | 24.0" | 3038 fps | ••• | |
| ••• | 3.200" | 24.0" | 3159 fps | ••• | |
| ••• | 3.250" | 24.0" | 3155 fps | ••• | |
| ••• | 3.250" | 24.0" | 3270 fps | ••• | |
| ••• | 3.200" | 24.0" | 3073 fps | ••• | |
| ••• | 3.200" | 24.0" | 3311 fps | ••• | |
| ••• | 3.200" | 24.0" | 3141 fps | ••• | |
| ••• | 3.200" | 24.0" | 3032 fps | ••• | |
| ••• | 3.200" | 24.0" | 2800 fps | ••• | |
| ••• | 3.250" | 24.0" | 3027 fps | ••• | |
| ••• | 3.200" | 24.0" | 3099 fps | ••• | |
| ••• | 3.250" | 24.0" | 3134 fps | ••• | |
| ••• | 3.250" | 24.0" | 3242 fps | ••• | |
| ••• | 3.200" | 24.0" | 2959 fps | ••• | |
| ••• | 3.200" | 24.0" | 3245 fps | ••• | |
| ••• | 3.200" | 24.0" | 2921 fps | ••• | |
| ••• | 3.200" | 24.0" | 3193 fps | ••• | |
| ••• | 3.200" | 24.0" | 2947 fps | ••• | |
| ••• | 3.200" | 24.0" | 3238 fps | ••• | |
| ••• | 3.200" | 24.0" | 3081 fps | ••• | |
| ••• | 3.250" | 24.0" | 3105 fps | ••• | |
| ••• | 3.250" | 24.0" | 3212 fps | ••• | |
| ••• | 3.250" | 24.0" | 3316 fps | ••• | |
| ••• | 3.250" | 24.0" | 2989 fps | ••• | |
| ••• | 3.250" | 24.0" | 3098 fps | ••• | |
| ••• | 3.250" | 24.0" | 3210 fps | ••• | |
| ••• | 3.250" | 24.0" | 3017 fps | ••• | |
| ••• | 3.250" | 24.0" | 3138 fps | ••• | |
| ••• | 3.250" | 24.0" | 3260 fps | ••• | |
Charge weights beyond the first rows and all pressure values are only visible with an active Pro licence.