
Load data for .22-250 Rem. + 60gr Sierra VarmintKing
The most recommended powders for this combination are Alliant Reloder-17.
Based on C.I.P., the max. allowed case length is 1.908 in / 48.46 mm, the max. cartridge length is 2.350 in / 59.69 mm, and the max. allowed pressure is 58,740 PSI / 4,050 bar.
Based on C.I.P., the max. allowed case length is 1.908 in / 48.46 mm, the max. cartridge length is 2.350 in / 59.69 mm, and the max. allowed pressure is 58,740 PSI / 4,050 bar.
Load Specifications
ImperialMetric
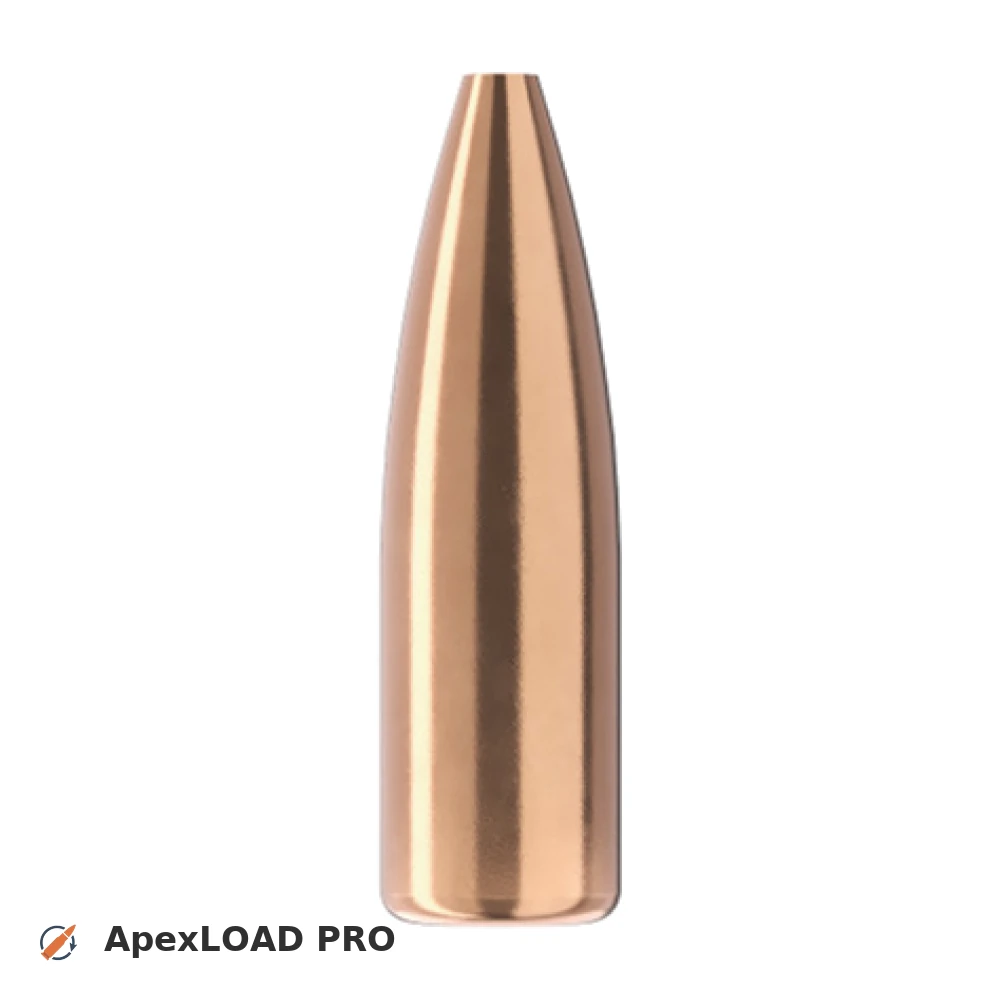
Bullet:.224 | 60gr | VarmintKing
Cartridge:.22-250 Rem. load data
Case Length (L3):1.912" | 48.6 mm
Cartridge Length (COL/L6):•••
Seated Depth:0.354" | 9.0 mm
Case Capacity:43.49 gow | 2.82 cm³
Primer Size:Large Rifle (LR)
Max. Pressure (C.I.P.):58,740 psi | 4,050 bar
Barrel Length:24.0" | 610 mm
Min. Twist Rate:1:11.0
Get PRO license to unlock all data and calculators
Community Loads for .22-250 Rem. + 60gr Sierra VarmintKing
Real loads for this combination shared by our community. Charge weights are only fully visible with an active Pro licence.
| Powder | Charge (gr) | C.O.L. | Barrel Length | Velocity (fps) | Pressure (psi) |
|---|---|---|---|---|---|
| 33.2 gr | 2.350" | 24.0" | 2955 fps | ••• | |
| 34.8 gr | 2.350" | 24.0" | 3107 fps | ••• | |
| 36.3 gr | 2.350" | 24.0" | 3245 fps | ••• | |
| ••• | 2.350" | 24.0" | 3387 fps | ••• | |
| ••• | 2.350" | 24.0" | 3083 fps | ••• | |
| ••• | 2.350" | 24.0" | 3200 fps | ••• | |
| ••• | 2.350" | 24.0" | 3304 fps | ••• | |
| ••• | 2.350" | 24.0" | 3420 fps | ••• | |
| ••• | 2.350" | 24.0" | 3533 fps | ••• | |
| ••• | 2.350" | 24.0" | 3106 fps | ••• | |
| ••• | 2.350" | 24.0" | 3221 fps | ••• | |
| ••• | 2.350" | 24.0" | 3327 fps | ••• | |
| ••• | 2.350" | 24.0" | 3148 fps | ••• | |
| ••• | 2.350" | 24.0" | 3260 fps | ••• | |
| ••• | 2.350" | 24.0" | 3382 fps | ••• | |
| ••• | 2.350" | 24.0" | 3066 fps | ••• | |
| ••• | 2.350" | 24.0" | 3205 fps | ••• | |
| ••• | 2.350" | 24.0" | 3327 fps | ••• | |
| ••• | 2.395" | 23.0" | 3412 fps | ••• | |
| ••• | 2.350" | 24.0" | 3066 fps | ••• | |
| ••• | 2.350" | 24.0" | 3164 fps | ••• | |
| ••• | 2.350" | 24.0" | 3269 fps | ••• | |
| ••• | 2.350" | 24.0" | 3376 fps | ••• | |
| ••• | 2.350" | 24.0" | 3021 fps | ••• | |
| ••• | 2.350" | 24.0" | 3117 fps | ••• | |
| ••• | 2.350" | 24.0" | 3222 fps | ••• | |
| ••• | 2.350" | 24.0" | 3338 fps | ••• | |
| ••• | 2.350" | 24.0" | 3469 fps | ••• | |
| ••• | 2.350" | 24.0" | 3121 fps | ••• | |
| ••• | 2.350" | 24.0" | 3226 fps | ••• | |
| ••• | 2.350" | 24.0" | 3330 fps | ••• | |
| ••• | 2.350" | 24.0" | 3055 fps | ••• | |
| ••• | 2.350" | 24.0" | 3169 fps | ••• | |
| ••• | 2.350" | 24.0" | 3272 fps | ••• | |
| ••• | 2.350" | 24.0" | 3385 fps | ••• | |
| ••• | 2.350" | 24.0" | 2988 fps | ••• | |
| ••• | 2.350" | 24.0" | 3083 fps | ••• | |
| ••• | 2.350" | 24.0" | 3179 fps | ••• | |
| ••• | 2.350" | 24.0" | 3283 fps | ••• | |
| ••• | 2.350" | 24.0" | 2923 fps | ••• | |
| ••• | 2.350" | 24.0" | 3027 fps | ••• | |
| ••• | 2.350" | 24.0" | 3130 fps | ••• | |
| ••• | 2.350" | 24.0" | 3242 fps | ••• | |
| ••• | 2.350" | 24.0" | 3344 fps | ••• | |
| ••• | 2.350" | 24.0" | 3188 fps | ••• | |
| ••• | 2.350" | 24.0" | 3291 fps | ••• | |
| ••• | 2.350" | 24.0" | 3401 fps | ••• | |
| ••• | 2.395" | 23.0" | 3442 fps | ••• | |
| ••• | 2.350" | 24.0" | 3032 fps | ••• | |
| ••• | 2.350" | 24.0" | 3128 fps | ••• | |
| ••• | 2.350" | 24.0" | 3226 fps | ••• | |
| ••• | 2.350" | 24.0" | 3328 fps | ••• | |
| ••• | 2.395" | 23.0" | 3327 fps | ••• | |
| ••• | 2.395" | 23.0" | 3402 fps | ••• | |
Charge weights beyond the first rows and all pressure values are only visible with an active Pro licence.