
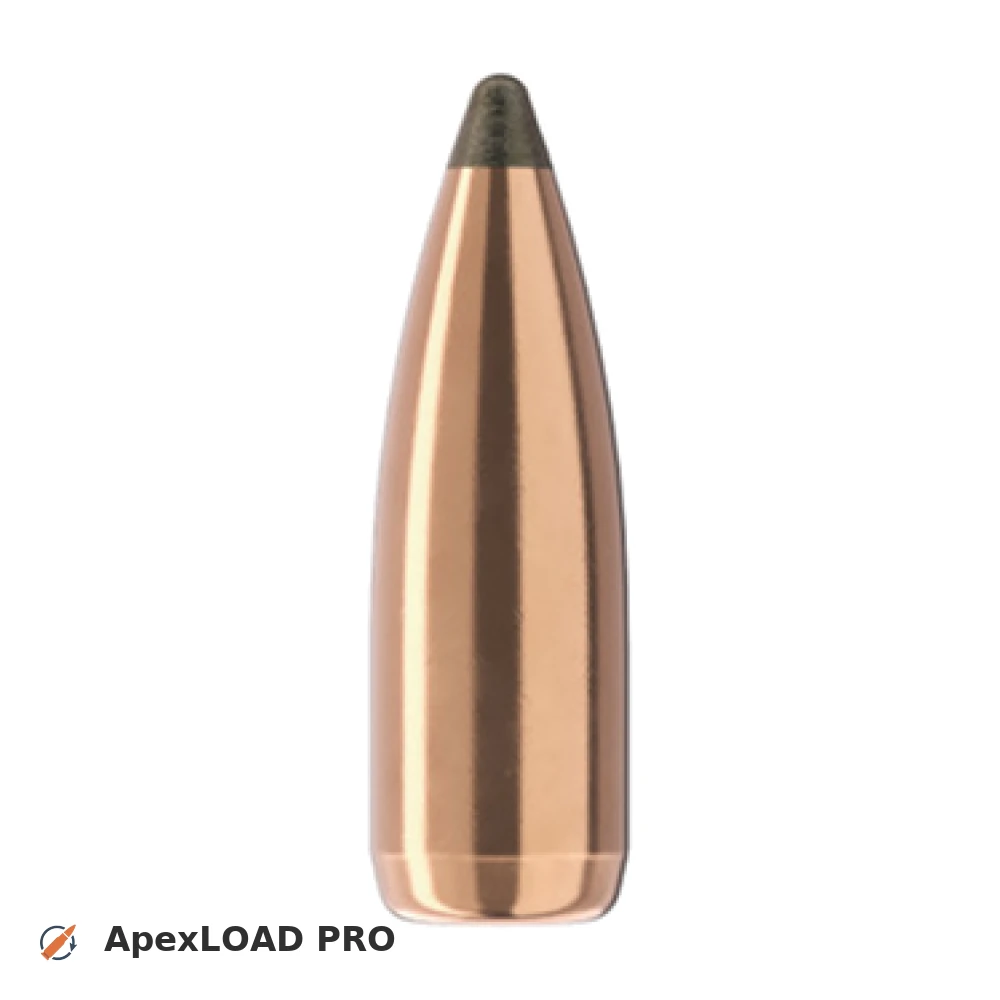
Load data for .22-250 Rem. + 55gr Sierra SBT GameKing
527 suitable loads across 87 powder(s) for cartridge .22-250 Rem. with 55gr Sierra SBT GameKing bullet.
The most recommended powders for this combination are ReloadSwiss RS 52, ADI AR 2208 and ReloadSwiss RS 60.
Based on C.I.P., the max. allowed case length is 1.908 in / 48.46 mm, the max. cartridge length is 2.350 in / 59.69 mm, and the max. allowed pressure is 58,740 PSI / 4,050 bar.
Based on C.I.P., the max. allowed case length is 1.908 in / 48.46 mm, the max. cartridge length is 2.350 in / 59.69 mm, and the max. allowed pressure is 58,740 PSI / 4,050 bar.
Load Specifications
Get PRO license to unlock all data and calculators
Community Loads for .22-250 Rem. + 55gr Sierra SBT GameKing
Real loads for this combination shared by our community. Charge weights are only fully visible with an active Pro licence.
| Powder | Charge (gr) | C.O.L. | Barrel Length | Velocity (fps) | Pressure (psi) |
|---|---|---|---|---|---|
| 33.5 gr | 2.350" | 24.0" | 3255 fps | ••• | |
| 35.9 gr | 2.350" | 24.0" | 3461 fps | ••• | |
| 35.9 gr | 2.400" | 24.0" | 3442 fps | ••• | |
| ••• | 2.350" | 24.0" | 3278 fps | ••• | |
| ••• | 2.350" | 24.0" | 3373 fps | ••• | |
| ••• | 2.350" | 24.0" | 3471 fps | ••• | |
| ••• | 2.350" | 24.0" | 3569 fps | ••• | |
| ••• | 2.350" | 24.0" | 3177 fps | ••• | |
| ••• | 2.350" | 24.0" | 3284 fps | ••• | |
| ••• | 2.350" | 24.0" | 3392 fps | ••• | |
| ••• | 2.350" | 24.0" | 3100 fps | ••• | |
| ••• | 2.350" | 24.0" | 3184 fps | ••• | |
| ••• | 2.350" | 24.0" | 3280 fps | ••• | |
| ••• | 2.350" | 24.0" | 3383 fps | ••• | |
| ••• | 2.350" | 24.0" | 3057 fps | ••• | |
| ••• | 2.350" | 24.0" | 3173 fps | ••• | |
| ••• | 2.350" | 24.0" | 3276 fps | ••• | |
| ••• | 2.350" | 24.0" | 3371 fps | ••• | |
| ••• | 2.350" | 24.0" | 3338 fps | ••• | |
| ••• | 2.350" | 24.0" | 3432 fps | ••• | |
| ••• | 2.350" | 24.0" | 3513 fps | ••• | |
| ••• | 2.350" | 24.0" | 3607 fps | ••• | |
| ••• | 2.350" | 24.0" | 3382 fps | ••• | |
| ••• | 2.350" | 24.0" | 3497 fps | ••• | |
| ••• | 2.350" | 24.0" | 3124 fps | ••• | |
| ••• | 2.350" | 24.0" | 3213 fps | ••• | |
| ••• | 2.350" | 24.0" | 3310 fps | ••• | |
| ••• | 2.350" | 24.0" | 3418 fps | ••• | |
| ••• | 2.350" | 24.0" | 3114 fps | ••• | |
| ••• | 2.350" | 24.0" | 3196 fps | ••• | |
| ••• | 2.350" | 24.0" | 3283 fps | ••• | |
| ••• | 2.350" | 24.0" | 3379 fps | ••• | |
| ••• | 2.350" | 24.0" | 3115 fps | ••• | |
| ••• | 2.350" | 24.0" | 3203 fps | ••• | |
| ••• | 2.350" | 24.0" | 3284 fps | ••• | |
| ••• | 2.350" | 24.0" | 3370 fps | ••• | |
| ••• | 2.350" | 24.0" | 3457 fps | ••• | |
| ••• | 2.350" | 24.0" | 3083 fps | ••• | |
| ••• | 2.350" | 24.0" | 3178 fps | ••• | |
| ••• | 2.350" | 24.0" | 3276 fps | ••• | |
| ••• | 2.350" | 24.0" | 3361 fps | ••• | |
| ••• | 2.350" | 24.0" | 3212 fps | ••• | |
| ••• | 2.350" | 24.0" | 3325 fps | ••• | |
| ••• | 2.350" | 24.0" | 3440 fps | ••• | |
| ••• | 2.350" | 24.0" | 3543 fps | ••• | |
| ••• | 2.350" | 24.0" | 3262 fps | ••• | |
| ••• | 2.350" | 24.0" | 3376 fps | ••• | |
| ••• | 2.350" | 24.0" | 3492 fps | ••• | |
| ••• | 2.350" | 24.0" | 3169 fps | ••• | |
| ••• | 2.350" | 24.0" | 3277 fps | ••• | |
| ••• | 2.350" | 24.0" | 3374 fps | ••• | |
| ••• | 2.350" | 24.0" | 3462 fps | ••• | |
| ••• | 2.350" | 24.0" | 3541 fps | ••• | |
| ••• | 2.350" | 20.0" | 3310 fps | ••• | |
Charge weights beyond the first rows and all pressure values are only visible with an active Pro licence.