
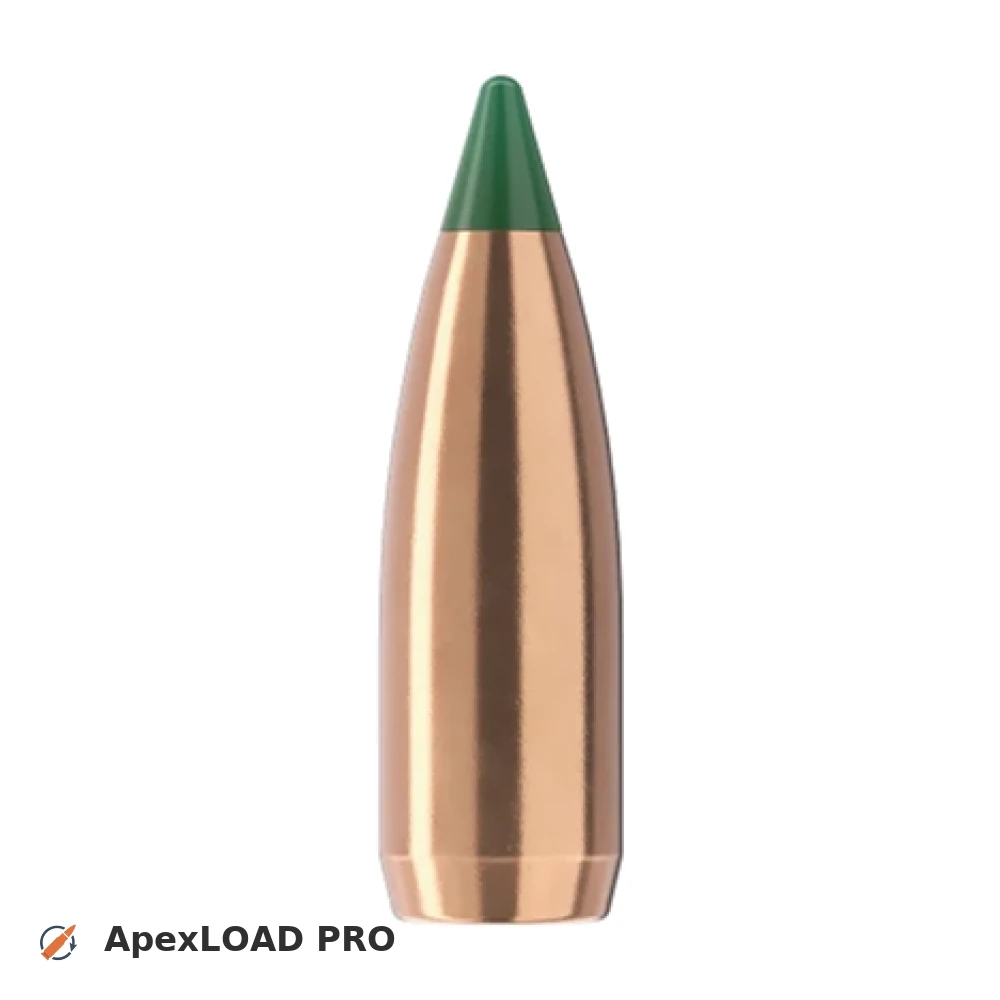
Load data for .22-250 Rem. + 50gr Sierra Tipped VarmintKing
530 suitable loads across 84 powder(s) for cartridge .22-250 Rem. with 50gr Sierra Tipped VarmintKing bullet.
The most recommended powders for this combination are Hodgdon LEVERevolution, ReloadSwiss RS 40 and IMR 3031.
Based on C.I.P., the max. allowed case length is 1.908 in / 48.46 mm, the max. cartridge length is 2.350 in / 59.69 mm, and the max. allowed pressure is 58,740 PSI / 4,050 bar.
Based on C.I.P., the max. allowed case length is 1.908 in / 48.46 mm, the max. cartridge length is 2.350 in / 59.69 mm, and the max. allowed pressure is 58,740 PSI / 4,050 bar.
Load Specifications
Get PRO license to unlock all data and calculators
Community Loads for .22-250 Rem. + 50gr Sierra Tipped VarmintKing
Real loads for this combination shared by our community. Charge weights are only fully visible with an active Pro licence.
| Powder | Charge (gr) | C.O.L. | Barrel Length | Velocity (fps) | Pressure (psi) |
|---|---|---|---|---|---|
| 31.3 gr | 2.350" | 24.0" | 3306 fps | ••• | |
| 32.2 gr | 2.350" | 24.0" | 3386 fps | ••• | |
| 33.1 gr | 2.350" | 24.0" | 3468 fps | ••• | |
| ••• | 2.350" | 24.0" | 3563 fps | ••• | |
| ••• | 2.350" | 24.0" | 3389 fps | ••• | |
| ••• | 2.350" | 24.0" | 3435 fps | ••• | |
| ••• | 2.350" | 24.0" | 3533 fps | ••• | |
| ••• | 2.350" | 24.0" | 3624 fps | ••• | |
| ••• | 2.350" | 24.0" | 3417 fps | ••• | |
| ••• | 2.350" | 24.0" | 3512 fps | ••• | |
| ••• | 2.350" | 24.0" | 3604 fps | ••• | |
| ••• | 2.350" | 24.0" | 3706 fps | ••• | |
| ••• | 2.350" | 24.0" | 3189 fps | ••• | |
| ••• | 2.350" | 24.0" | 3273 fps | ••• | |
| ••• | 2.350" | 24.0" | 3357 fps | ••• | |
| ••• | 2.350" | 24.0" | 3444 fps | ••• | |
| ••• | 2.350" | 24.0" | 3536 fps | ••• | |
| ••• | 2.350" | 24.0" | 3219 fps | ••• | |
| ••• | 2.350" | 24.0" | 3297 fps | ••• | |
| ••• | 2.350" | 24.0" | 3378 fps | ••• | |
| ••• | 2.350" | 24.0" | 3457 fps | ••• | |
| ••• | 2.350" | 24.0" | 3544 fps | ••• | |
| ••• | 2.350" | 24.0" | 3473 fps | ••• | |
| ••• | 2.350" | 24.0" | 3545 fps | ••• | |
| ••• | 2.350" | 24.0" | 3630 fps | ••• | |
| ••• | 2.350" | 24.0" | 3718 fps | ••• | |
| ••• | 2.350" | 24.0" | 3582 fps | ••• | |
| ••• | 2.350" | 24.0" | 3207 fps | ••• | |
| ••• | 2.350" | 24.0" | 3301 fps | ••• | |
| ••• | 2.350" | 24.0" | 3392 fps | ••• | |
| ••• | 2.350" | 24.0" | 3476 fps | ••• | |
| ••• | 2.350" | 24.0" | 3570 fps | ••• | |
| ••• | 2.350" | 24.0" | 3345 fps | ••• | |
| ••• | 2.350" | 24.0" | 3456 fps | ••• | |
| ••• | 2.350" | 24.0" | 3567 fps | ••• | |
| ••• | 2.350" | 24.0" | 3223 fps | ••• | |
| ••• | 2.350" | 24.0" | 3352 fps | ••• | |
| ••• | 2.350" | 24.0" | 3462 fps | ••• | |
| ••• | 2.350" | 24.0" | 3441 fps | ••• | |
| ••• | 2.350" | 24.0" | 3164 fps | ••• | |
| ••• | 2.350" | 24.0" | 3260 fps | ••• | |
| ••• | 2.350" | 24.0" | 3346 fps | ••• | |
| ••• | 2.350" | 24.0" | 3441 fps | ••• | |
| ••• | 2.350" | 24.0" | 3387 fps | ••• | |
| ••• | 2.350" | 24.0" | 3488 fps | ••• | |
| ••• | 2.350" | 24.0" | 3284 fps | ••• | |
| ••• | 2.350" | 24.0" | 3381 fps | ••• | |
| ••• | 2.350" | 24.0" | 3466 fps | ••• | |
| ••• | 2.350" | 24.0" | 3552 fps | ••• | |
| ••• | 2.350" | 24.0" | 3626 fps | ••• | |
Charge weights beyond the first rows and all pressure values are only visible with an active Pro licence.