
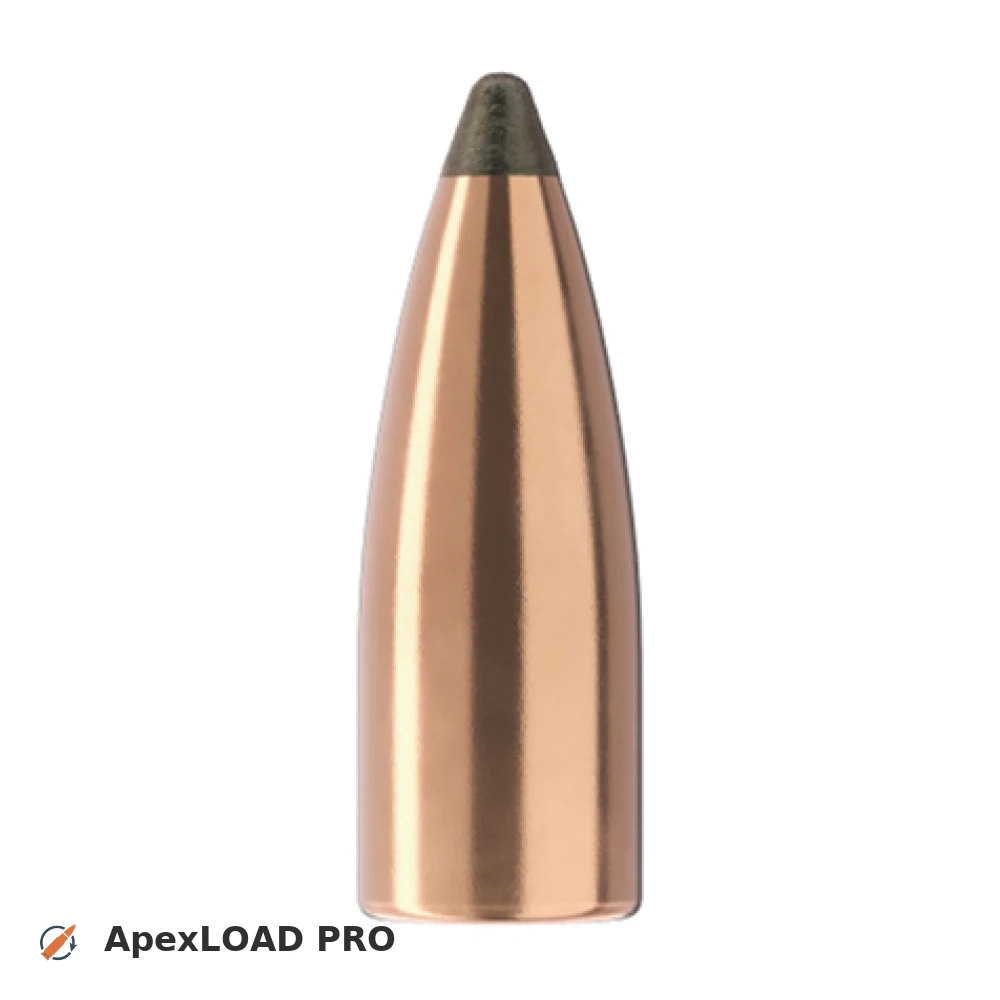
Load data for .22-250 Rem. + 50gr Sierra SP Blitz
Based on C.I.P., the max. allowed case length is 1.908 in / 48.46 mm, the max. cartridge length is 2.350 in / 59.69 mm, and the max. allowed pressure is 58,740 PSI / 4,050 bar.
Based on C.I.P., the max. allowed case length is 1.908 in / 48.46 mm, the max. cartridge length is 2.350 in / 59.69 mm, and the max. allowed pressure is 58,740 PSI / 4,050 bar.
Load Specifications
ImperialMetric
Bullet:.224 | 50gr | SP Blitz
Cartridge:.22-250 Rem. load data
Case Length (L3):1.912" | 48.6 mm
Cartridge Length (COL/L6):•••
Seated Depth:0.222" | 5.6 mm
Case Capacity:43.49 gow | 2.82 cm³
Primer Size:Large Rifle (LR)
Max. Pressure (C.I.P.):58,740 psi | 4,050 bar
Barrel Length:24.0" | 610 mm
Min. Twist Rate:Stabilizes in any common twist
Get PRO license to unlock all data and calculators
Community Loads for .22-250 Rem. + 50gr Sierra SP Blitz
Real loads for this combination shared by our community. Charge weights are only fully visible with an active Pro licence.
| Powder | Charge (gr) | C.O.L. | Barrel Length | Velocity (fps) | Pressure (psi) |
|---|---|---|---|---|---|
| 32.2 gr | 2.350" | 24.0" | 3346 fps | ••• | |
| 33.1 gr | 2.350" | 24.0" | 3424 fps | ••• | |
| 34.2 gr | 2.350" | 24.0" | 3517 fps | ••• | |
| ••• | 2.350" | 24.0" | 3389 fps | ••• | |
| ••• | 2.350" | 24.0" | 3485 fps | ••• | |
| ••• | 2.350" | 24.0" | 3573 fps | ••• | |
| ••• | 2.350" | 24.0" | 3366 fps | ••• | |
| ••• | 2.350" | 24.0" | 3455 fps | ••• | |
| ••• | 2.350" | 24.0" | 3547 fps | ••• | |
| ••• | 2.350" | 24.0" | 3643 fps | ••• | |
| ••• | 2.350" | 24.0" | 3148 fps | ••• | |
| ••• | 2.350" | 24.0" | 3228 fps | ••• | |
| ••• | 2.350" | 24.0" | 3313 fps | ••• | |
| ••• | 2.350" | 24.0" | 3395 fps | ••• | |
| ••• | 2.350" | 24.0" | 3487 fps | ••• | |
| ••• | 2.350" | 24.0" | 3257 fps | ••• | |
| ••• | 2.350" | 24.0" | 3337 fps | ••• | |
| ••• | 2.350" | 24.0" | 3414 fps | ••• | |
| ••• | 2.350" | 24.0" | 3500 fps | ••• | |
| ••• | 2.350" | 24.0" | 3592 fps | ••• | |
| ••• | 2.350" | 24.0" | 3424 fps | ••• | |
| ••• | 2.350" | 24.0" | 3492 fps | ••• | |
| ••• | 2.350" | 24.0" | 3577 fps | ••• | |
| ••• | 2.350" | 24.0" | 3665 fps | ••• | |
| ••• | 2.350" | 24.0" | 3526 fps | ••• | |
| ••• | 2.350" | 24.0" | 3710 fps | ••• | |
| ••• | 2.350" | 24.0" | 3259 fps | ••• | |
| ••• | 2.350" | 24.0" | 3351 fps | ••• | |
| ••• | 2.350" | 24.0" | 3431 fps | ••• | |
| ••• | 2.350" | 24.0" | 3520 fps | ••• | |
| ••• | 2.350" | 24.0" | 3300 fps | ••• | |
| ••• | 2.350" | 24.0" | 3412 fps | ••• | |
| ••• | 2.350" | 24.0" | 3517 fps | ••• | |
| ••• | 2.350" | 24.0" | 3180 fps | ••• | |
| ••• | 2.350" | 24.0" | 3307 fps | ••• | |
| ••• | 2.350" | 24.0" | 3417 fps | ••• | |
| ••• | 2.350" | 24.0" | 3524 fps | ••• | |
| ••• | 2.350" | 24.0" | 3123 fps | ••• | |
| ••• | 2.350" | 24.0" | 3217 fps | ••• | |
| ••• | 2.350" | 24.0" | 3300 fps | ••• | |
| ••• | 2.350" | 24.0" | 3392 fps | ••• | |
| ••• | 2.350" | 24.0" | 3496 fps | ••• | |
| ••• | 2.350" | 24.0" | 3338 fps | ••• | |
| ••• | 2.350" | 24.0" | 3436 fps | ••• | |
| ••• | 2.350" | 24.0" | 3554 fps | ••• | |
| ••• | 2.350" | 24.0" | 3242 fps | ••• | |
| ••• | 2.350" | 24.0" | 3335 fps | ••• | |
| ••• | 2.350" | 24.0" | 3422 fps | ••• | |
| ••• | 2.350" | 24.0" | 3504 fps | ••• | |
| ••• | 2.350" | 24.0" | 3582 fps | ••• | |
Charge weights beyond the first rows and all pressure values are only visible with an active Pro licence.