
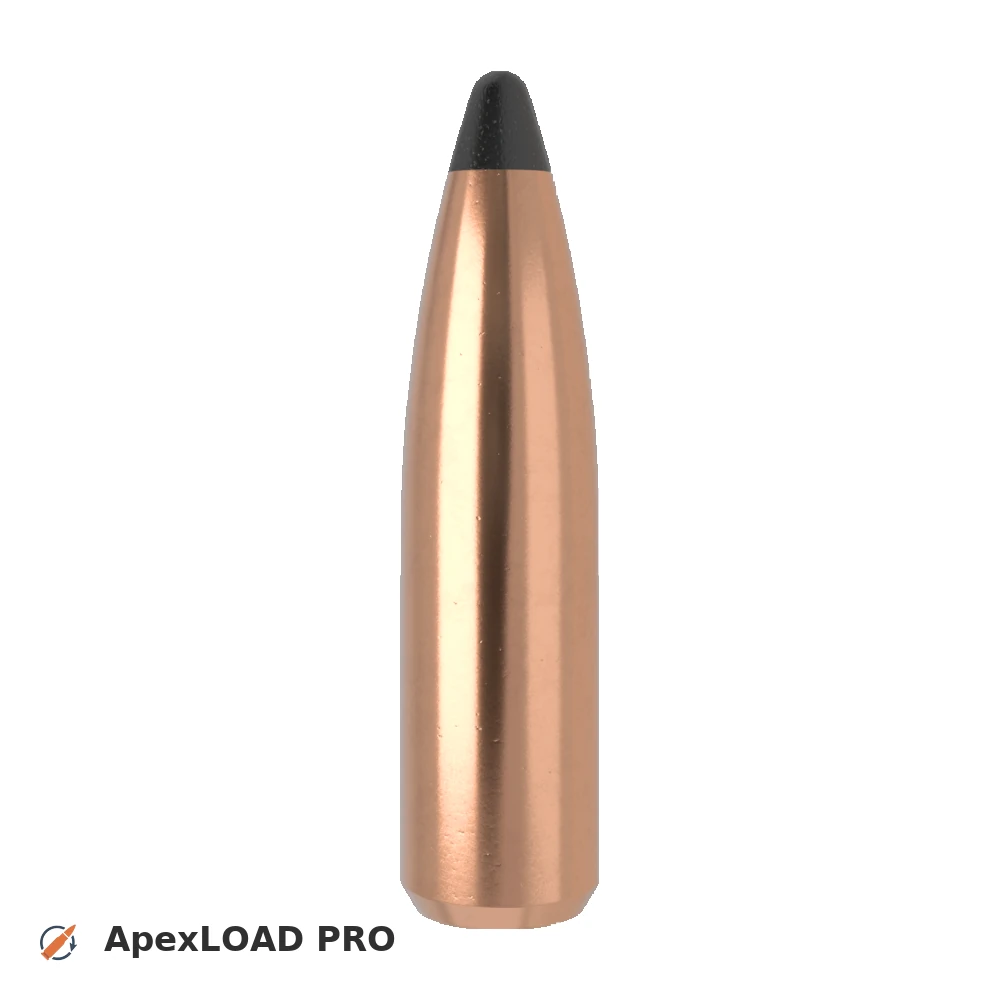
Load data for 7 mm Weath. Mag. + 150gr Nosler Partition
The most recommended powders for this combination are Hodgdon Retumbo.
Based on C.I.P., the max. allowed case length is 2.549 in / 64.74 mm, the max. cartridge length is 3.360 in / 85.34 mm, and the max. allowed pressure is 63,817 PSI / 4,400 bar.
Based on C.I.P., the max. allowed case length is 2.549 in / 64.74 mm, the max. cartridge length is 3.360 in / 85.34 mm, and the max. allowed pressure is 63,817 PSI / 4,400 bar.
Load Specifications
ImperialMetric
Bullet:.284 | 150gr | Partition
Cartridge:7 mm Weath. Mag. load data
Case Length (L3):2.549" | 64.7 mm
Cartridge Length (COL/L6):•••
Seated Depth:0.453" | 11.5 mm
Case Capacity:87 gow | 5.64 cm³
Primer Size:Large Rifle Magnum (LRM)
Max. Pressure (C.I.P.):63,817 psi | 4,400 bar
Barrel Length:24.0" | 610 mm
Min. Twist Rate:1:11.5
Get PRO license to unlock all data and calculators
Community Loads for 7 mm Weath. Mag. + 150gr Nosler Partition
Real loads for this combination shared by our community. Charge weights are only fully visible with an active Pro licence.
| Powder | Charge (gr) | C.O.L. | Barrel Length | Velocity (fps) | Pressure (psi) |
|---|---|---|---|---|---|
| 72.5 gr | 3.250" | 24.0" | 3162 fps | ••• | |
| 64.0 gr | 3.250" | 24.0" | 2889 fps | ••• | |
| 68.0 gr | 3.250" | 24.0" | 3052 fps | ••• | |
| ••• | 3.250" | 24.0" | 2942 fps | ••• | |
| ••• | 3.250" | 24.0" | 3115 fps | ••• | |
| ••• | 3.250" | 24.0" | 3012 fps | ••• | |
| ••• | 3.360" | 24.0" | 2909 fps | ••• | |
| ••• | 3.360" | 24.0" | 2991 fps | ••• | |
| ••• | 3.360" | 24.0" | 3070 fps | ••• | |
| ••• | 3.360" | 24.0" | 3034 fps | ••• | |
| ••• | 3.360" | 24.0" | 3110 fps | ••• | |
| ••• | 3.360" | 24.0" | 2957 fps | ••• | |
| ••• | 3.250" | 24.0" | 3041 fps | ••• | |
| ••• | 3.360" | 24.0" | 3042 fps | ••• | |
| ••• | 3.360" | 24.0" | 3127 fps | ••• | |
| ••• | 3.360" | 24.0" | 2970 fps | ••• | |
| ••• | 3.250" | 24.0" | 3039 fps | ••• | |
| ••• | 3.360" | 24.0" | 3047 fps | ••• | |
| ••• | 3.360" | 24.0" | 2893 fps | ••• | |
| ••• | 3.360" | 24.0" | 2974 fps | ••• | |
| ••• | 3.360" | 24.0" | 3055 fps | ••• | |
| ••• | 3.250" | 24.0" | 2837 fps | ••• | |
| ••• | 3.250" | 24.0" | 2998 fps | ••• | |
| ••• | 3.360" | 24.0" | 3170 fps | ••• | |
| ••• | 3.360" | 24.0" | 3255 fps | ••• | |
| ••• | 3.360" | 24.0" | 2834 fps | ••• | |
| ••• | 3.360" | 24.0" | 2909 fps | ••• | |
| ••• | 3.360" | 24.0" | 2983 fps | ••• | |
| ••• | 3.250" | 24.0" | 3034 fps | ••• | |
| ••• | 3.360" | 24.0" | 2919 fps | ••• | |
| ••• | 3.360" | 24.0" | 2992 fps | ••• | |
| ••• | 3.250" | 24.0" | 2912 fps | ••• | |
| ••• | 3.250" | 24.0" | 2952 fps | ••• | |
| ••• | 3.360" | 24.0" | 3015 fps | ••• | |
| ••• | 3.360" | 24.0" | 3097 fps | ••• | |
| ••• | 3.360" | 24.0" | 2781 fps | ••• | |
| ••• | 3.360" | 24.0" | 2857 fps | ••• | |
| ••• | 3.360" | 24.0" | 2935 fps | ••• | |
| ••• | 3.250" | 24.0" | 2868 fps | ••• | |
| ••• | 3.250" | 24.0" | 3041 fps | ••• | |
| ••• | 3.250" | 24.0" | 2894 fps | ••• | |
| ••• | 3.250" | 24.0" | 3109 fps | ••• | |
Charge weights beyond the first rows and all pressure values are only visible with an active Pro licence.