
Load data for 7 mm Rem. SA Ultra Mag. + 160gr Sierra SBT GameKing
560 suitable loads across 97 powder(s) for cartridge 7 mm Rem. SA Ultra Mag. with 160gr Sierra SBT GameKing bullet.
The most recommended powders for this combination are ReloadSwiss RS 70, Alliant Reloder-26 and Hodgdon Superformance.
Based on SAAMI, the max. allowed case length is 2.035 in / 51.69 mm, the max. cartridge length is 2.825 in / 71.75 mm, and the max. allowed pressure is 65,000 PSI / 4,482 bar.
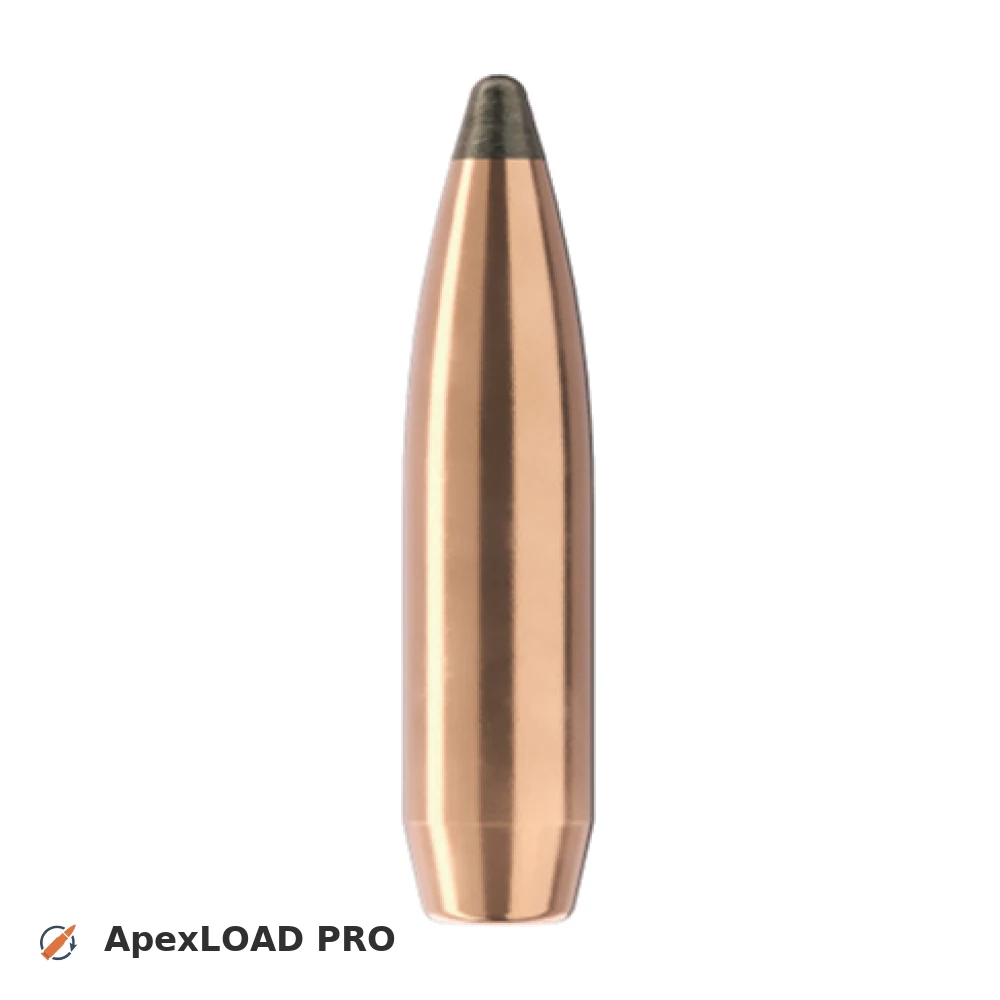
Based on SAAMI, the max. allowed case length is 2.035 in / 51.69 mm, the max. cartridge length is 2.825 in / 71.75 mm, and the max. allowed pressure is 65,000 PSI / 4,482 bar.
Load Specifications
Get PRO license to unlock all data and calculators
Community Loads for 7 mm Rem. SA Ultra Mag. + 160gr Sierra SBT GameKing
Real loads for this combination shared by our community. Charge weights are only fully visible with an active Pro licence.
| Powder | Charge (gr) | C.O.L. | Barrel Length | Velocity (fps) | Pressure (psi) |
|---|---|---|---|---|---|
| 48.7 gr | 2.820" | 24.0" | 2532 fps | ••• | |
| 50.0 gr | 2.820" | 24.0" | 2591 fps | ••• | |
| 51.2 gr | 2.820" | 24.0" | 2645 fps | ••• | |
| ••• | 2.820" | 24.0" | 2549 fps | ••• | |
| ••• | 2.820" | 24.0" | 2603 fps | ••• | |
| ••• | 2.820" | 24.0" | 2626 fps | ••• | |
| ••• | 2.820" | 24.0" | 2663 fps | ••• | |
| ••• | 2.820" | 24.0" | 2676 fps | ••• | |
| ••• | 2.820" | 24.0" | 2721 fps | ••• | |
| ••• | 2.820" | 24.0" | 2731 fps | ••• | |
| ••• | 2.820" | 24.0" | 2782 fps | ••• | |
| ••• | 2.820" | 24.0" | 2786 fps | ••• | |
| ••• | 2.820" | 24.0" | 2838 fps | ••• | |
| ••• | 2.820" | 24.0" | 2664 fps | ••• | |
| ••• | 2.820" | 24.0" | 2723 fps | ••• | |
| ••• | 2.820" | 24.0" | 2622 fps | ••• | |
| ••• | 2.820" | 24.0" | 2674 fps | ••• | |
| ••• | 2.820" | 24.0" | 2733 fps | ••• | |
| ••• | 2.820" | 24.0" | 2799 fps | ••• | |
| ••• | 2.820" | 24.0" | 2420 fps | ••• | |
| ••• | 2.820" | 24.0" | 2484 fps | ••• | |
| ••• | 2.820" | 24.0" | 2544 fps | ••• | |
| ••• | 2.820" | 24.0" | 2605 fps | ••• | |
| ••• | 2.820" | 24.0" | 2719 fps | ••• | |
| ••• | 2.820" | 24.0" | 2775 fps | ••• | |
| ••• | 2.820" | 24.0" | 2614 fps | ••• | |
| ••• | 2.820" | 24.0" | 2497 fps | ••• | |
| ••• | 2.820" | 24.0" | 2513 fps | ••• | |
| ••• | 2.820" | 24.0" | 2555 fps | ••• | |
| ••• | 2.820" | 24.0" | 2566 fps | ••• | |
| ••• | 2.820" | 24.0" | 2609 fps | ••• | |
| ••• | 2.820" | 24.0" | 2624 fps | ••• | |
| ••• | 2.820" | 24.0" | 2657 fps | ••• | |
| ••• | 2.820" | 24.0" | 2676 fps | ••• | |
| ••• | 2.820" | 24.0" | 2707 fps | ••• | |
| ••• | 2.820" | 24.0" | 2731 fps | ••• | |
| ••• | 2.820" | 24.0" | 2753 fps | ••• | |
| ••• | 2.820" | 24.0" | 2784 fps | ••• | |
| ••• | 2.820" | 24.0" | 2837 fps | ••• | |
Charge weights beyond the first rows and all pressure values are only visible with an active Pro licence.