
Load data for 6 mm Rem. + 55gr Sierra Tipped VarmintKing
Based on C.I.P., the max. allowed case length is 2.233 in / 56.72 mm, the max. cartridge length is 2.825 in / 71.76 mm, and the max. allowed pressure is 62,366 PSI / 4,300 bar.
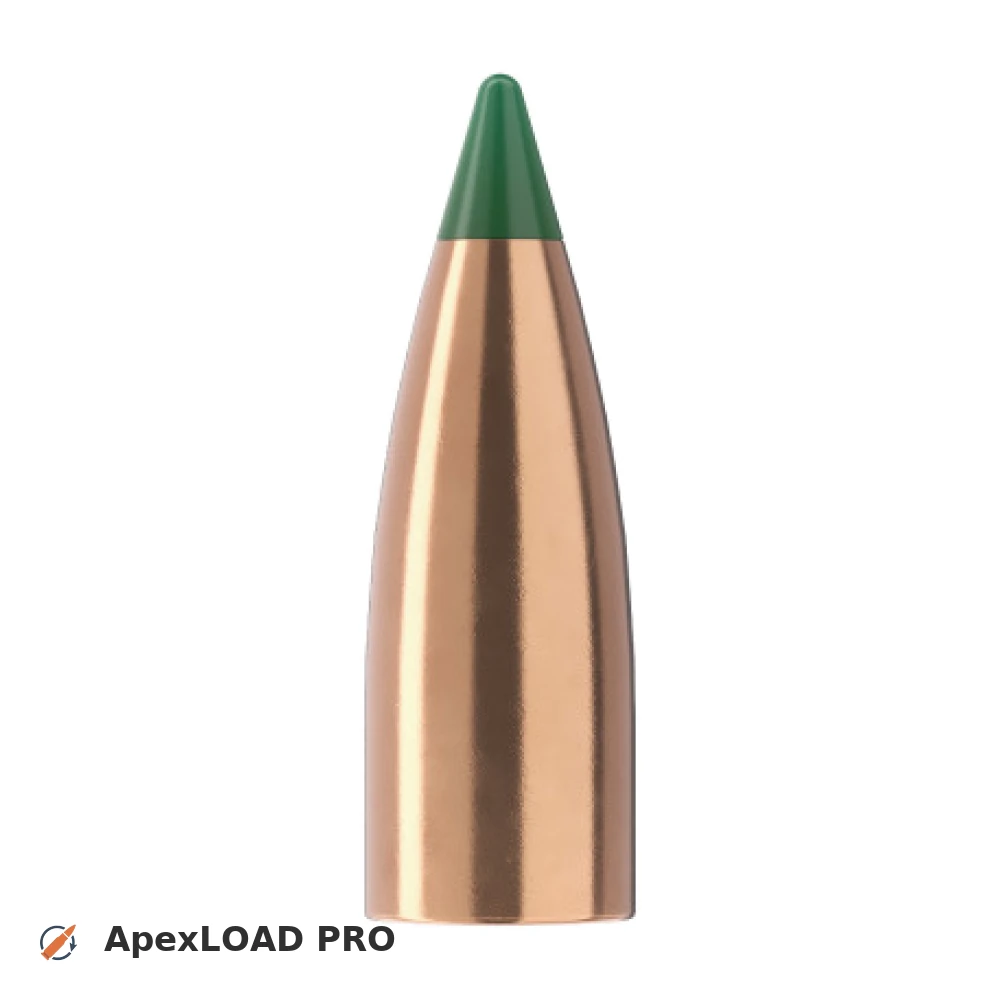
Based on C.I.P., the max. allowed case length is 2.233 in / 56.72 mm, the max. cartridge length is 2.825 in / 71.76 mm, and the max. allowed pressure is 62,366 PSI / 4,300 bar.
Load Specifications
ImperialMetric
Cartridge:6 mm Rem. load data
Case Length (L3):2.223" | 56.5 mm
Cartridge Length (COL/L6):•••
Seated Depth:0.200" | 5.1 mm
Case Capacity:54.4 gow | 3.53 cm³
Primer Size:Large Rifle (LR)
Max. Pressure (C.I.P.):62,366 psi | 4,300 bar
Barrel Length:24.0" | 610 mm
Min. Twist Rate:1:12.5
Get PRO license to unlock all data and calculators
Community Loads for 6 mm Rem. + 55gr Sierra Tipped VarmintKing
Real loads for this combination shared by our community. Charge weights are only fully visible with an active Pro licence.
| Powder | Charge (gr) | C.O.L. | Barrel Length | Velocity (fps) | Pressure (psi) |
|---|---|---|---|---|---|
| 42.1 gr | 2.770" | 24.0" | 3469 fps | ••• | |
| 43.3 gr | 2.770" | 24.0" | 3555 fps | ••• | |
| 44.4 gr | 2.770" | 24.0" | 3635 fps | ••• | |
| ••• | 2.770" | 24.0" | 3713 fps | ••• | |
| ••• | 2.770" | 24.0" | 3785 fps | ••• | |
| ••• | 2.770" | 24.0" | 3845 fps | ••• | |
| ••• | 2.770" | 24.0" | 3503 fps | ••• | |
| ••• | 2.770" | 24.0" | 3585 fps | ••• | |
| ••• | 2.770" | 24.0" | 3669 fps | ••• | |
| ••• | 2.770" | 24.0" | 3742 fps | ••• | |
| ••• | 2.770" | 24.0" | 3826 fps | ••• | |
| ••• | 2.770" | 24.0" | 3422 fps | ••• | |
| ••• | 2.770" | 24.0" | 3506 fps | ••• | |
| ••• | 2.770" | 24.0" | 3579 fps | ••• | |
| ••• | 2.770" | 24.0" | 3659 fps | ••• | |
| ••• | 2.770" | 24.0" | 3730 fps | ••• | |
| ••• | 2.770" | 24.0" | 3811 fps | ••• | |
| ••• | 2.770" | 24.0" | 3410 fps | ••• | |
| ••• | 2.770" | 24.0" | 3477 fps | ••• | |
| ••• | 2.770" | 24.0" | 3553 fps | ••• | |
| ••• | 2.770" | 24.0" | 3628 fps | ••• | |
| ••• | 2.770" | 24.0" | 3699 fps | ••• | |
| ••• | 2.770" | 24.0" | 3466 fps | ••• | |
| ••• | 2.770" | 24.0" | 3533 fps | ••• | |
| ••• | 2.770" | 24.0" | 3612 fps | ••• | |
| ••• | 2.770" | 24.0" | 3694 fps | ••• | |
| ••• | 2.770" | 24.0" | 3774 fps | ••• | |
| ••• | 2.770" | 24.0" | 3860 fps | ••• | |
| ••• | 2.770" | 24.0" | 3358 fps | ••• | |
| ••• | 2.770" | 24.0" | 3426 fps | ••• | |
| ••• | 2.770" | 24.0" | 3506 fps | ••• | |
| ••• | 2.770" | 24.0" | 3582 fps | ••• | |
| ••• | 2.770" | 24.0" | 3670 fps | ••• | |
| ••• | 2.770" | 24.0" | 3750 fps | ••• | |
| ••• | 2.770" | 24.0" | 3245 fps | ••• | |
| ••• | 2.770" | 24.0" | 3324 fps | ••• | |
| ••• | 2.770" | 24.0" | 3411 fps | ••• | |
| ••• | 2.770" | 24.0" | 3491 fps | ••• | |
| ••• | 2.770" | 24.0" | 3572 fps | ••• | |
| ••• | 2.770" | 24.0" | 3660 fps | ••• | |
| ••• | 2.770" | 24.0" | 3613 fps | ••• | |
| ••• | 2.770" | 24.0" | 3702 fps | ••• | |
| ••• | 2.770" | 24.0" | 3794 fps | ••• | |
| ••• | 2.770" | 24.0" | 3572 fps | ••• | |
| ••• | 2.770" | 24.0" | 3800 fps | ••• | |
| ••• | 2.770" | 24.0" | 3449 fps | ••• | |
| ••• | 2.770" | 24.0" | 3546 fps | ••• | |
| ••• | 2.770" | 24.0" | 3629 fps | ••• | |
| ••• | 2.770" | 24.0" | 3704 fps | ••• | |
| ••• | 2.770" | 24.0" | 3764 fps | ••• | |
Charge weights beyond the first rows and all pressure values are only visible with an active Pro licence.