
Load data for 6 mm Creedmoor + 95gr Sierra Tipped MatchKing
Based on SAAMI, the max. allowed case length is 1.920 in / 48.77 mm, the max. cartridge length is 2.800 in / 71.12 mm, and the max. allowed pressure is 62,001 PSI / 4,275 bar.
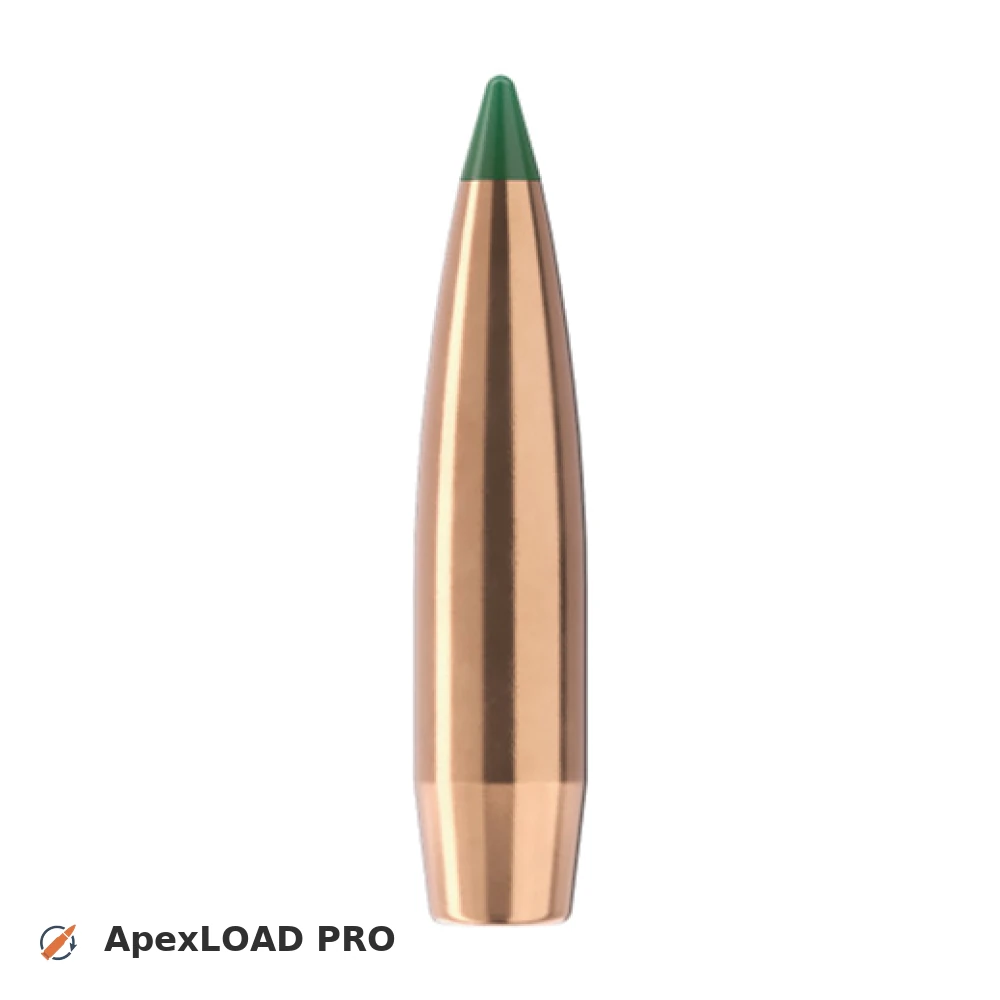
Based on SAAMI, the max. allowed case length is 1.920 in / 48.77 mm, the max. cartridge length is 2.800 in / 71.12 mm, and the max. allowed pressure is 62,001 PSI / 4,275 bar.
Load Specifications
ImperialMetric
Cartridge:6 mm Creedmoor load data
Case Length (L3):1.920" | 48.8 mm
Cartridge Length (COL/L6):•••
Seated Depth:0.328" | 8.3 mm
Case Capacity:51.5 gow | 3.34 cm³
Primer Size:Large Rifle (LR)
Max. Pressure (SAAMI):62,001 psi | 4,275 bar
Barrel Length:24.0" | 610 mm
Min. Twist Rate:1:8.5
Get PRO license to unlock all data and calculators
Community Loads for 6 mm Creedmoor + 95gr Sierra Tipped MatchKing
Real loads for this combination shared by our community. Charge weights are only fully visible with an active Pro licence.
| Powder | Charge (gr) | C.O.L. | Barrel Length | Velocity (fps) | Pressure (psi) |
|---|---|---|---|---|---|
| 34.3 gr | 2.770" | 24.0" | 2832 fps | ••• | |
| 35.6 gr | 2.770" | 24.0" | 2918 fps | ••• | |
| 37.0 gr | 2.770" | 24.0" | 3012 fps | ••• | |
| ••• | 2.770" | 24.0" | 3096 fps | ••• | |
| ••• | 2.770" | 24.0" | 2914 fps | ••• | |
| ••• | 2.770" | 24.0" | 3013 fps | ••• | |
| ••• | 2.770" | 24.0" | 3116 fps | ••• | |
| ••• | 2.770" | 24.0" | 2891 fps | ••• | |
| ••• | 2.770" | 24.0" | 2989 fps | ••• | |
| ••• | 2.770" | 24.0" | 2759 fps | ••• | |
| ••• | 2.770" | 24.0" | 2849 fps | ••• | |
| ••• | 2.770" | 24.0" | 2934 fps | ••• | |
| ••• | 2.770" | 24.0" | 3018 fps | ••• | |
| ••• | 2.770" | 24.0" | 3100 fps | ••• | |
| ••• | 2.770" | 24.0" | 3186 fps | ••• | |
| ••• | 2.770" | 24.0" | 2772 fps | ••• | |
| ••• | 2.770" | 24.0" | 2868 fps | ••• | |
| ••• | 2.770" | 24.0" | 2957 fps | ••• | |
| ••• | 2.770" | 24.0" | 3054 fps | ••• | |
| ••• | 2.770" | 24.0" | 2732 fps | ••• | |
| ••• | 2.770" | 24.0" | 2839 fps | ••• | |
| ••• | 2.770" | 24.0" | 2947 fps | ••• | |
| ••• | 2.770" | 24.0" | 3056 fps | ••• | |
| ••• | 2.770" | 24.0" | 2897 fps | ••• | |
| ••• | 2.770" | 24.0" | 2996 fps | ••• | |
| ••• | 2.770" | 24.0" | 3091 fps | ••• | |
| ••• | 2.770" | 24.0" | 2892 fps | ••• | |
| ••• | 2.770" | 24.0" | 2990 fps | ••• | |
| ••• | 2.770" | 24.0" | 3091 fps | ••• | |
| ••• | 2.770" | 24.0" | 2756 fps | ••• | |
| ••• | 2.770" | 24.0" | 2843 fps | ••• | |
| ••• | 2.770" | 24.0" | 2928 fps | ••• | |
| ••• | 2.770" | 24.0" | 3013 fps | ••• | |
| ••• | 2.770" | 24.0" | 2796 fps | ••• | |
| ••• | 2.770" | 24.0" | 2882 fps | ••• | |
| ••• | 2.770" | 24.0" | 2849 fps | ••• | |
| ••• | 2.770" | 24.0" | 2943 fps | ••• | |
| ••• | 2.770" | 24.0" | 3029 fps | ••• | |
| ••• | 2.770" | 24.0" | 2899 fps | ••• | |
| ••• | 2.770" | 24.0" | 2987 fps | ••• | |
| ••• | 2.770" | 24.0" | 2818 fps | ••• | |
| ••• | 2.770" | 24.0" | 2904 fps | ••• | |
| ••• | 2.770" | 24.0" | 3001 fps | ••• | |
| ••• | 2.770" | 24.0" | 3103 fps | ••• | |
| ••• | 2.770" | 24.0" | 2873 fps | ••• | |
| ••• | 2.770" | 24.0" | 2975 fps | ••• | |
| ••• | 2.770" | 24.0" | 3085 fps | ••• | |
| ••• | 2.770" | 24.0" | 2794 fps | ••• | |
| ••• | 2.770" | 24.0" | 2878 fps | ••• | |
| ••• | 2.770" | 24.0" | 2972 fps | ••• | |
Charge weights beyond the first rows and all pressure values are only visible with an active Pro licence.