
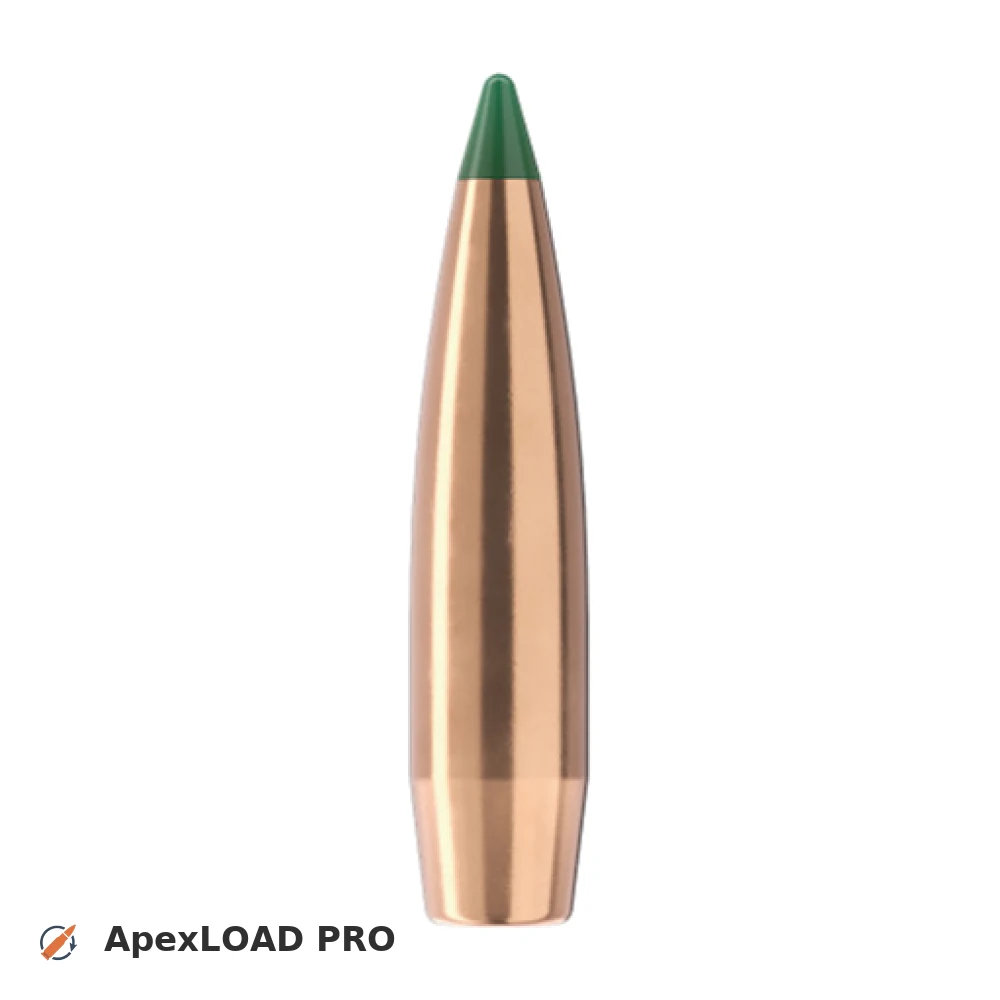
Load data for 6 mm Creedmoor + 90gr Sierra Tipped GameKing
579 suitable loads across 101 powder(s) for cartridge 6 mm Creedmoor with 90gr Sierra Tipped GameKing bullet.
The most recommended powders for this combination are Alliant Reloder-17, ReloadSwiss RS 70 and Hodgdon Superformance.
Based on SAAMI, the max. allowed case length is 1.920 in / 48.77 mm, the max. cartridge length is 2.800 in / 71.12 mm, and the max. allowed pressure is 62,001 PSI / 4,275 bar.
Based on SAAMI, the max. allowed case length is 1.920 in / 48.77 mm, the max. cartridge length is 2.800 in / 71.12 mm, and the max. allowed pressure is 62,001 PSI / 4,275 bar.
Load Specifications
Get PRO license to unlock all data and calculators
Community Loads for 6 mm Creedmoor + 90gr Sierra Tipped GameKing
Real loads for this combination shared by our community. Charge weights are only fully visible with an active Pro licence.
| Powder | Charge (gr) | C.O.L. | Barrel Length | Velocity (fps) | Pressure (psi) |
|---|---|---|---|---|---|
| 37.0 gr | 2.770" | 24.0" | 2980 fps | ••• | |
| 38.3 gr | 2.770" | 24.0" | 3065 fps | ••• | |
| 37.8 gr | 2.770" | 24.0" | 2865 fps | ••• | |
| ••• | 2.770" | 24.0" | 2962 fps | ••• | |
| ••• | 2.770" | 24.0" | 3068 fps | ••• | |
| ••• | 2.770" | 24.0" | 3163 fps | ••• | |
| ••• | 2.770" | 24.0" | 3262 fps | ••• | |
| ••• | 2.770" | 24.0" | 2839 fps | ••• | |
| ••• | 2.770" | 24.0" | 2937 fps | ••• | |
| ••• | 2.770" | 24.0" | 3033 fps | ••• | |
| ••• | 2.770" | 24.0" | 3129 fps | ••• | |
| ••• | 2.730" | 20.0" | 3150 fps | ••• | |
| ••• | 2.730" | 20.0" | 3176 fps | ••• | |
| ••• | 2.730" | 20.0" | 3182 fps | ••• | |
| ••• | 2.770" | 24.0" | 2702 fps | ••• | |
| ••• | 2.770" | 24.0" | 2790 fps | ••• | |
| ••• | 2.770" | 24.0" | 2872 fps | ••• | |
| ••• | 2.770" | 24.0" | 2954 fps | ••• | |
| ••• | 2.770" | 24.0" | 3037 fps | ••• | |
| ••• | 2.770" | 24.0" | 3118 fps | ••• | |
| ••• | 2.770" | 24.0" | 3203 fps | ••• | |
| ••• | 2.770" | 24.0" | 2729 fps | ••• | |
| ••• | 2.770" | 24.0" | 2824 fps | ••• | |
| ••• | 2.770" | 24.0" | 2911 fps | ••• | |
| ••• | 2.770" | 24.0" | 3007 fps | ••• | |
| ••• | 2.770" | 24.0" | 3100 fps | ••• | |
| ••• | 2.770" | 24.0" | 2669 fps | ••• | |
| ••• | 2.770" | 24.0" | 2771 fps | ••• | |
| ••• | 2.770" | 24.0" | 2878 fps | ••• | |
| ••• | 2.770" | 24.0" | 2982 fps | ••• | |
| ••• | 2.770" | 24.0" | 3066 fps | ••• | |
| ••• | 2.770" | 24.0" | 2961 fps | ••• | |
| ••• | 2.770" | 24.0" | 3066 fps | ••• | |
| ••• | 2.770" | 24.0" | 2900 fps | ••• | |
| ••• | 2.770" | 24.0" | 2985 fps | ••• | |
| ••• | 2.770" | 24.0" | 3068 fps | ••• | |
| ••• | 2.770" | 24.0" | 2935 fps | ••• | |
| ••• | 2.770" | 24.0" | 2811 fps | ••• | |
| ••• | 2.770" | 24.0" | 2903 fps | ••• | |
| ••• | 2.770" | 24.0" | 2987 fps | ••• | |
| ••• | 2.770" | 24.0" | 3078 fps | ••• | |
| ••• | 2.770" | 24.0" | 3168 fps | ••• | |
| ••• | 2.770" | 24.0" | 3047 fps | ••• | |
| ••• | 2.770" | 24.0" | 2964 fps | ••• | |
| ••• | 2.770" | 24.0" | 3066 fps | ••• | |
| ••• | 2.770" | 24.0" | 3172 fps | ••• | |
| ••• | 2.770" | 24.0" | 2820 fps | ••• | |
| ••• | 2.770" | 24.0" | 2919 fps | ••• | |
| ••• | 2.770" | 24.0" | 3028 fps | ••• | |
| ••• | 2.770" | 24.0" | 3127 fps | ••• | |
| ••• | 2.770" | 24.0" | 2855 fps | ••• | |
| ••• | 2.770" | 24.0" | 2950 fps | ••• | |
| ••• | 2.770" | 24.0" | 3041 fps | ••• | |
Charge weights beyond the first rows and all pressure values are only visible with an active Pro licence.