
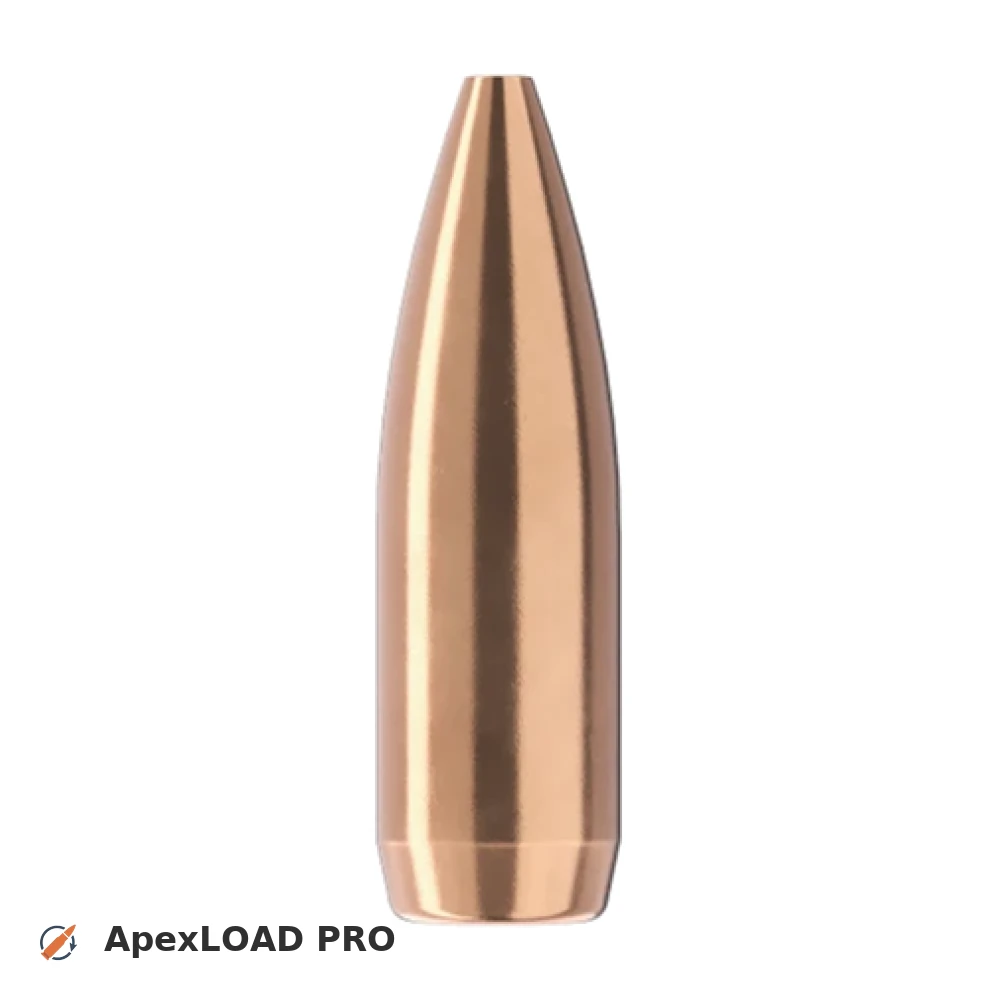
Load data for 6 mm Creedmoor + 70gr Sierra MatchKing
Based on SAAMI, the max. allowed case length is 1.920 in / 48.77 mm, the max. cartridge length is 2.800 in / 71.12 mm, and the max. allowed pressure is 62,001 PSI / 4,275 bar.
Based on SAAMI, the max. allowed case length is 1.920 in / 48.77 mm, the max. cartridge length is 2.800 in / 71.12 mm, and the max. allowed pressure is 62,001 PSI / 4,275 bar.
Load Specifications
ImperialMetric
Bullet:.243 | 70gr | MatchKing
Cartridge:6 mm Creedmoor load data
Case Length (L3):1.920" | 48.8 mm
Cartridge Length (COL/L6):•••
Seated Depth:0.225" | 5.7 mm
Case Capacity:51.5 gow | 3.34 cm³
Primer Size:Large Rifle (LR)
Max. Pressure (SAAMI):62,001 psi | 4,275 bar
Barrel Length:24.0" | 610 mm
Min. Twist Rate:1:12.0
Get PRO license to unlock all data and calculators
Community Loads for 6 mm Creedmoor + 70gr Sierra MatchKing
Real loads for this combination shared by our community. Charge weights are only fully visible with an active Pro licence.
| Powder | Charge (gr) | C.O.L. | Barrel Length | Velocity (fps) | Pressure (psi) |
|---|---|---|---|---|---|
| 37.2 gr | 2.525" | 24.0" | 3102 fps | ••• | |
| 38.7 gr | 2.525" | 24.0" | 3211 fps | ••• | |
| 40.1 gr | 2.525" | 24.0" | 3313 fps | ••• | |
| ••• | 2.525" | 24.0" | 3015 fps | ••• | |
| ••• | 2.525" | 24.0" | 3143 fps | ••• | |
| ••• | 2.525" | 24.0" | 3268 fps | ••• | |
| ••• | 2.525" | 24.0" | 3383 fps | ••• | |
| ••• | 2.525" | 24.0" | 3040 fps | ••• | |
| ••• | 2.525" | 24.0" | 3181 fps | ••• | |
| ••• | 2.525" | 24.0" | 3296 fps | ••• | |
| ••• | 2.525" | 24.0" | 3357 fps | ••• | |
| ••• | 2.525" | 24.0" | 3519 fps | ••• | |
| ••• | 2.525" | 24.0" | 3144 fps | ••• | |
| ••• | 2.525" | 24.0" | 3246 fps | ••• | |
| ••• | 2.525" | 24.0" | 3355 fps | ••• | |
| ••• | 2.525" | 24.0" | 3456 fps | ••• | |
| ••• | 2.525" | 24.0" | 3247 fps | ••• | |
| ••• | 2.525" | 24.0" | 3361 fps | ••• | |
| ••• | 2.525" | 24.0" | 3168 fps | ••• | |
| ••• | 2.525" | 24.0" | 3269 fps | ••• | |
| ••• | 2.525" | 24.0" | 3375 fps | ••• | |
| ••• | 2.525" | 24.0" | 3199 fps | ••• | |
| ••• | 2.525" | 24.0" | 3294 fps | ••• | |
| ••• | 2.525" | 24.0" | 3072 fps | ••• | |
| ••• | 2.525" | 24.0" | 3172 fps | ••• | |
| ••• | 2.525" | 24.0" | 3281 fps | ••• | |
| ••• | 2.525" | 24.0" | 3038 fps | ••• | |
| ••• | 2.525" | 24.0" | 3139 fps | ••• | |
| ••• | 2.525" | 24.0" | 3155 fps | ••• | |
| ••• | 2.525" | 24.0" | 3245 fps | ••• | |
| ••• | 2.525" | 24.0" | 3345 fps | ••• | |
| ••• | 2.525" | 24.0" | 3445 fps | ••• | |
| ••• | 2.525" | 24.0" | 3125 fps | ••• | |
| ••• | 2.525" | 24.0" | 3222 fps | ••• | |
| ••• | 2.525" | 24.0" | 3190 fps | ••• | |
| ••• | 2.525" | 24.0" | 3295 fps | ••• | |
| ••• | 2.525" | 24.0" | 3091 fps | ••• | |
| ••• | 2.525" | 24.0" | 3182 fps | ••• | |
| ••• | 2.525" | 24.0" | 3283 fps | ••• | |
| ••• | 2.525" | 24.0" | 2904 fps | ••• | |
| ••• | 2.525" | 24.0" | 3005 fps | ••• | |
| ••• | 2.525" | 24.0" | 3117 fps | ••• | |
| ••• | 2.525" | 24.0" | 3241 fps | ••• | |
| ••• | 2.525" | 24.0" | 3120 fps | ••• | |
| ••• | 2.525" | 24.0" | 3227 fps | ••• | |
| ••• | 2.525" | 24.0" | 3330 fps | ••• | |
| ••• | 2.525" | 24.0" | 2994 fps | ••• | |
| ••• | 2.525" | 24.0" | 3089 fps | ••• | |
| ••• | 2.525" | 24.0" | 3187 fps | ••• | |
| ••• | 2.525" | 24.0" | 3284 fps | ••• | |
Charge weights beyond the first rows and all pressure values are only visible with an active Pro licence.