
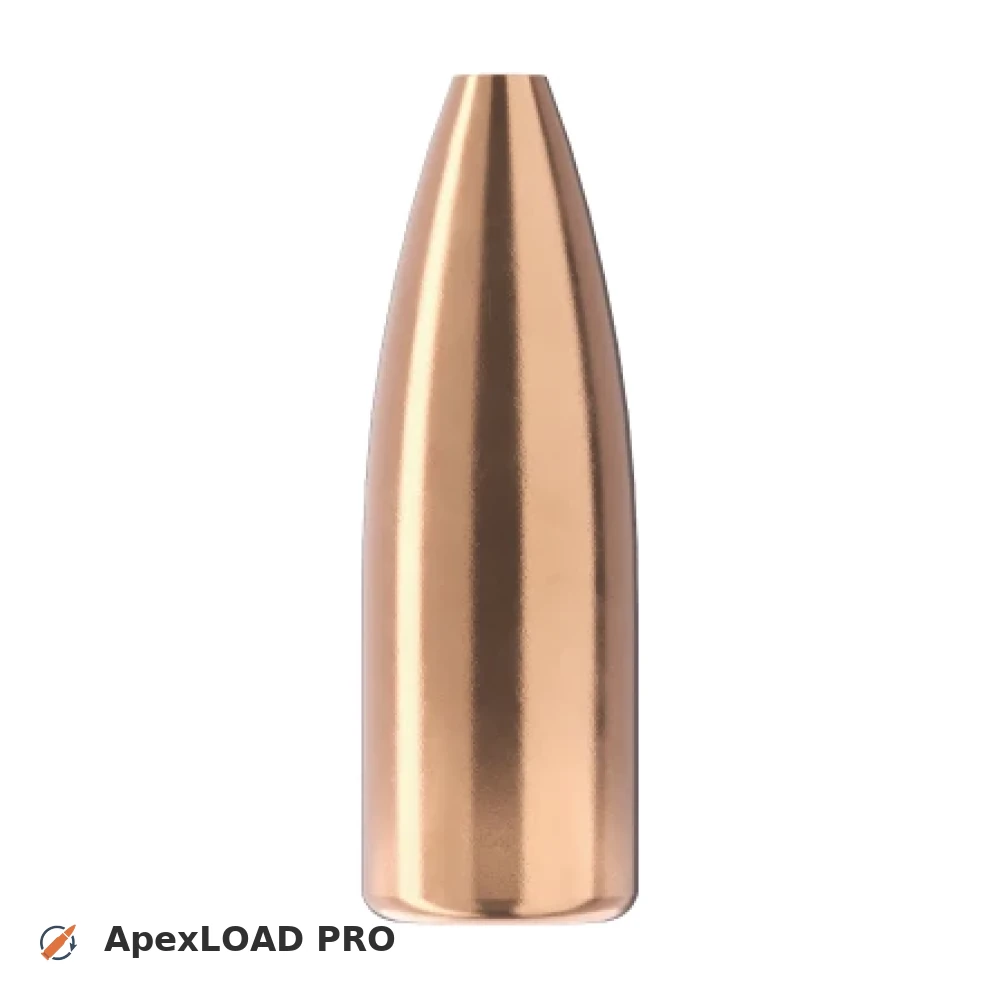
Load data for 6 mm Creedmoor + 60gr Sierra VarmintKing
Based on SAAMI, the max. allowed case length is 1.920 in / 48.77 mm, the max. cartridge length is 2.800 in / 71.12 mm, and the max. allowed pressure is 62,001 PSI / 4,275 bar.
Based on SAAMI, the max. allowed case length is 1.920 in / 48.77 mm, the max. cartridge length is 2.800 in / 71.12 mm, and the max. allowed pressure is 62,001 PSI / 4,275 bar.
Load Specifications
ImperialMetric
Bullet:.243 | 60gr | VarmintKing
Cartridge:6 mm Creedmoor load data
Case Length (L3):1.920" | 48.8 mm
Cartridge Length (COL/L6):•••
Seated Depth:0.261" | 6.6 mm
Case Capacity:51.5 gow | 3.34 cm³
Primer Size:Large Rifle (LR)
Max. Pressure (SAAMI):62,001 psi | 4,275 bar
Barrel Length:24.0" | 610 mm
Min. Twist Rate:1:11.5
Get PRO license to unlock all data and calculators
Community Loads for 6 mm Creedmoor + 60gr Sierra VarmintKing
Real loads for this combination shared by our community. Charge weights are only fully visible with an active Pro licence.
| Powder | Charge (gr) | C.O.L. | Barrel Length | Velocity (fps) | Pressure (psi) |
|---|---|---|---|---|---|
| 39.0 gr | 2.500" | 24.0" | 3310 fps | ••• | |
| 40.4 gr | 2.500" | 24.0" | 3416 fps | ••• | |
| 41.7 gr | 2.500" | 24.0" | 3515 fps | ••• | |
| ••• | 2.500" | 24.0" | 3218 fps | ••• | |
| ••• | 2.500" | 24.0" | 3319 fps | ••• | |
| ••• | 2.500" | 24.0" | 3419 fps | ••• | |
| ••• | 2.410" | 24.0" | 3577 fps | ••• | |
| ••• | 2.500" | 24.0" | 3530 fps | ••• | |
| ••• | 2.410" | 24.0" | 3530 fps | ••• | |
| ••• | 2.410" | 24.0" | 3421 fps | ••• | |
| ••• | 2.500" | 24.0" | 3383 fps | ••• | |
| ••• | 2.500" | 24.0" | 3484 fps | ••• | |
| ••• | 2.500" | 24.0" | 3584 fps | ••• | |
| ••• | 2.500" | 24.0" | 3256 fps | ••• | |
| ••• | 2.500" | 24.0" | 3332 fps | ••• | |
| ••• | 2.500" | 24.0" | 3417 fps | ••• | |
| ••• | 2.500" | 24.0" | 3278 fps | ••• | |
| ••• | 2.500" | 24.0" | 3377 fps | ••• | |
| ••• | 2.500" | 24.0" | 3475 fps | ••• | |
| ••• | 2.500" | 24.0" | 3337 fps | ••• | |
| ••• | 2.500" | 24.0" | 3424 fps | ••• | |
| ••• | 2.410" | 24.0" | 3516 fps | ••• | |
| ••• | 2.500" | 24.0" | 3506 fps | ••• | |
| ••• | 2.500" | 24.0" | 3301 fps | ••• | |
| ••• | 2.500" | 24.0" | 3392 fps | ••• | |
| ••• | 2.410" | 24.0" | 3471 fps | ••• | |
| ••• | 2.500" | 24.0" | 3475 fps | ••• | |
| ••• | 2.500" | 24.0" | 3091 fps | ••• | |
| ••• | 2.500" | 24.0" | 3180 fps | ••• | |
| ••• | 2.500" | 24.0" | 3276 fps | ••• | |
| ••• | 2.410" | 24.0" | 3379 fps | ••• | |
| ••• | 2.500" | 24.0" | 3217 fps | ••• | |
| ••• | 2.500" | 24.0" | 3287 fps | ••• | |
| ••• | 2.500" | 24.0" | 3367 fps | ••• | |
| ••• | 2.410" | 24.0" | 3472 fps | ••• | |
| ••• | 2.500" | 24.0" | 3295 fps | ••• | |
| ••• | 2.500" | 24.0" | 3393 fps | ••• | |
| ••• | 2.500" | 24.0" | 3489 fps | ••• | |
| ••• | 2.500" | 24.0" | 3224 fps | ••• | |
| ••• | 2.500" | 24.0" | 3337 fps | ••• | |
| ••• | 2.500" | 24.0" | 3453 fps | ••• | |
| ••• | 2.500" | 24.0" | 3565 fps | ••• | |
| ••• | 2.500" | 24.0" | 3334 fps | ••• | |
| ••• | 2.500" | 24.0" | 3436 fps | ••• | |
| ••• | 2.500" | 24.0" | 3519 fps | ••• | |
| ••• | 2.500" | 24.0" | 3602 fps | ••• | |
| ••• | 2.500" | 24.0" | 3256 fps | ••• | |
| ••• | 2.500" | 24.0" | 3341 fps | ••• | |
| ••• | 2.500" | 24.0" | 3431 fps | ••• | |
| ••• | 2.410" | 24.0" | 3278 fps | ••• | |
Charge weights beyond the first rows and all pressure values are only visible with an active Pro licence.