
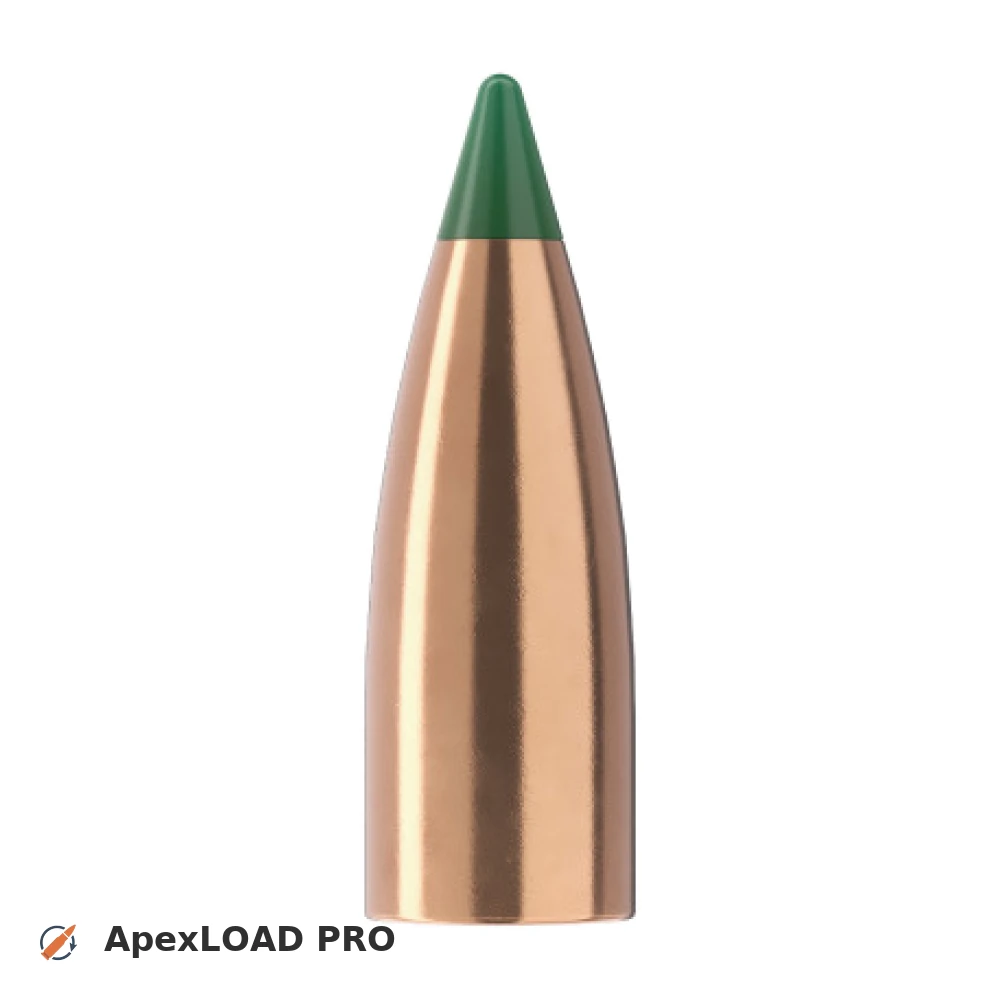
Load data for 6 mm Creedmoor + 55gr Sierra Tipped VarmintKing
Based on SAAMI, the max. allowed case length is 1.920 in / 48.77 mm, the max. cartridge length is 2.800 in / 71.12 mm, and the max. allowed pressure is 62,001 PSI / 4,275 bar.
Based on SAAMI, the max. allowed case length is 1.920 in / 48.77 mm, the max. cartridge length is 2.800 in / 71.12 mm, and the max. allowed pressure is 62,001 PSI / 4,275 bar.
Load Specifications
ImperialMetric
Cartridge:6 mm Creedmoor load data
Case Length (L3):1.920" | 48.8 mm
Cartridge Length (COL/L6):•••
Seated Depth:0.092" | 2.3 mm
Case Capacity:51.5 gow | 3.34 cm³
Primer Size:Large Rifle (LR)
Max. Pressure (SAAMI):62,001 psi | 4,275 bar
Barrel Length:24.0" | 610 mm
Min. Twist Rate:1:12.5
Get PRO license to unlock all data and calculators
Community Loads for 6 mm Creedmoor + 55gr Sierra Tipped VarmintKing
Real loads for this combination shared by our community. Charge weights are only fully visible with an active Pro licence.
| Powder | Charge (gr) | C.O.L. | Barrel Length | Velocity (fps) | Pressure (psi) |
|---|---|---|---|---|---|
| 42.5 gr | 2.575" | 24.0" | 3429 fps | ••• | |
| 43.6 gr | 2.575" | 24.0" | 3523 fps | ••• | |
| 44.7 gr | 2.575" | 24.0" | 3615 fps | ••• | |
| ••• | 2.575" | 24.0" | 3717 fps | ••• | |
| ••• | 2.575" | 24.0" | 3808 fps | ••• | |
| ••• | 2.575" | 24.0" | 3908 fps | ••• | |
| ••• | 2.575" | 24.0" | 3304 fps | ••• | |
| ••• | 2.575" | 24.0" | 3410 fps | ••• | |
| ••• | 2.575" | 24.0" | 3509 fps | ••• | |
| ••• | 2.575" | 24.0" | 3594 fps | ••• | |
| ••• | 2.575" | 24.0" | 3678 fps | ••• | |
| ••• | 2.575" | 24.0" | 3750 fps | ••• | |
| ••• | 2.575" | 24.0" | 3818 fps | ••• | |
| ••• | 2.575" | 24.0" | 3359 fps | ••• | |
| ••• | 2.575" | 24.0" | 3418 fps | ••• | |
| ••• | 2.575" | 24.0" | 3483 fps | ••• | |
| ••• | 2.575" | 24.0" | 3563 fps | ••• | |
| ••• | 2.575" | 24.0" | 3647 fps | ••• | |
| ••• | 2.575" | 24.0" | 3746 fps | ••• | |
| ••• | 2.575" | 24.0" | 3618 fps | ••• | |
| ••• | 2.575" | 24.0" | 3387 fps | ••• | |
| ••• | 2.575" | 24.0" | 3438 fps | ••• | |
| ••• | 2.575" | 24.0" | 3509 fps | ••• | |
| ••• | 2.575" | 24.0" | 3584 fps | ••• | |
| ••• | 2.575" | 24.0" | 3665 fps | ••• | |
| ••• | 2.575" | 24.0" | 3757 fps | ••• | |
| ••• | 2.575" | 24.0" | 3852 fps | ••• | |
| ••• | 2.575" | 24.0" | 3389 fps | ••• | |
| ••• | 2.575" | 24.0" | 3493 fps | ••• | |
| ••• | 2.575" | 24.0" | 3588 fps | ••• | |
| ••• | 2.575" | 24.0" | 3677 fps | ••• | |
| ••• | 2.575" | 24.0" | 3767 fps | ••• | |
| ••• | 2.575" | 24.0" | 3293 fps | ••• | |
| ••• | 2.575" | 24.0" | 3375 fps | ••• | |
| ••• | 2.575" | 24.0" | 3451 fps | ••• | |
| ••• | 2.575" | 24.0" | 3537 fps | ••• | |
| ••• | 2.575" | 24.0" | 3618 fps | ••• | |
| ••• | 2.575" | 24.0" | 3703 fps | ••• | |
| ••• | 2.575" | 24.0" | 3234 fps | ••• | |
| ••• | 2.575" | 24.0" | 3314 fps | ••• | |
| ••• | 2.575" | 24.0" | 3394 fps | ••• | |
| ••• | 2.575" | 24.0" | 3478 fps | ••• | |
| ••• | 2.575" | 24.0" | 3572 fps | ••• | |
| ••• | 2.575" | 24.0" | 3672 fps | ••• | |
| ••• | 2.575" | 24.0" | 3422 fps | ••• | |
| ••• | 2.575" | 24.0" | 3495 fps | ••• | |
| ••• | 2.575" | 24.0" | 3564 fps | ••• | |
| ••• | 2.575" | 24.0" | 3637 fps | ••• | |
| ••• | 2.575" | 24.0" | 3697 fps | ••• | |
| ••• | 2.575" | 24.0" | 3767 fps | ••• | |
Charge weights beyond the first rows and all pressure values are only visible with an active Pro licence.