
Load data for 6 mm ARC + 55gr Sierra Tipped VarmintKing
The most recommended powders for this combination are Ramshot X-Terminator.
Based on SAAMI, the max. allowed case length is 1.490 in / 37.85 mm, the max. cartridge length is 2.260 in / 57.40 mm, and the max. allowed pressure is 52,000 PSI / 3,585 bar.
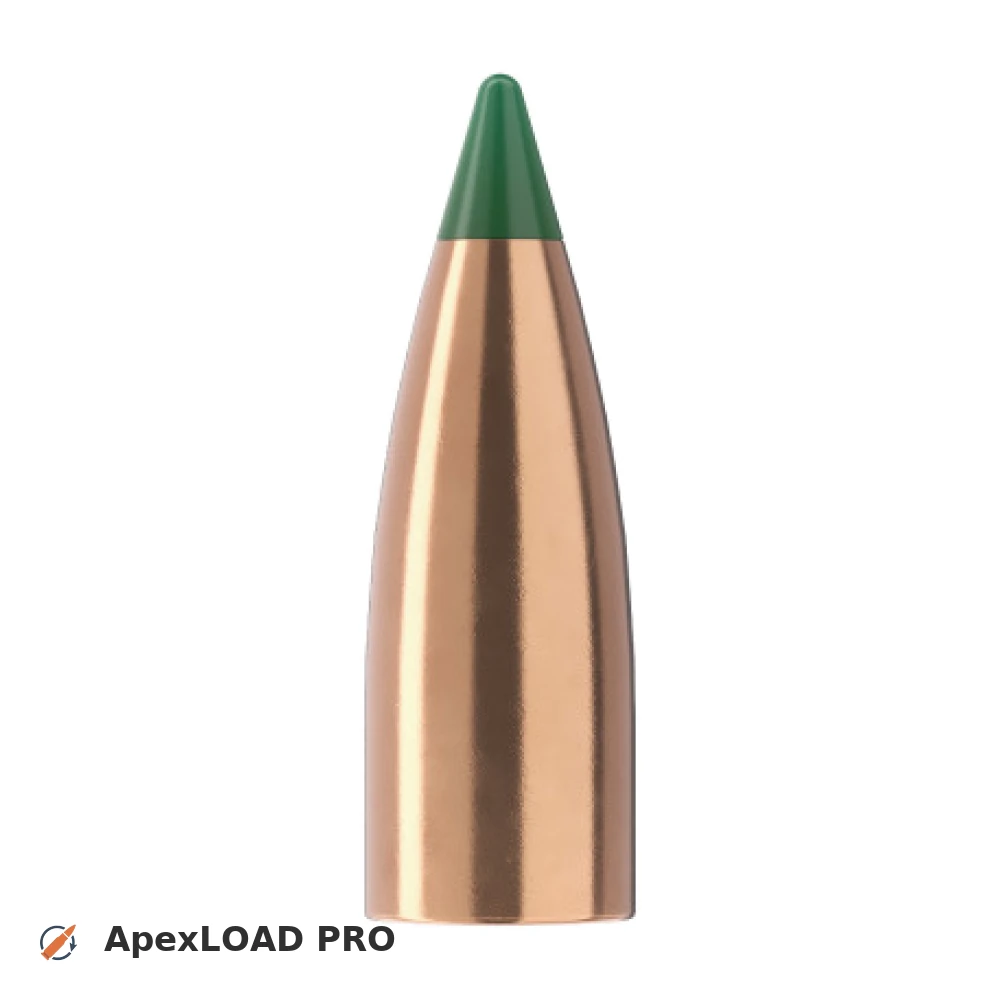
Based on SAAMI, the max. allowed case length is 1.490 in / 37.85 mm, the max. cartridge length is 2.260 in / 57.40 mm, and the max. allowed pressure is 52,000 PSI / 3,585 bar.
Load Specifications
ImperialMetric
Cartridge:6 mm ARC load data
Case Length (L3):1.500" | 38.1 mm
Cartridge Length (COL/L6):•••
Seated Depth:0.197" | 5.0 mm
Case Capacity:34.5 gow | 2.24 cm³
Primer Size:Small Rifle (SR)
Max. Pressure (SAAMI):52,000 psi | 3,585 bar
Barrel Length:24.0" | 610 mm
Min. Twist Rate:1:12.5
Get PRO license to unlock all data and calculators
Community Loads for 6 mm ARC + 55gr Sierra Tipped VarmintKing
Real loads for this combination shared by our community. Charge weights are only fully visible with an active Pro licence.
| Powder | Charge (gr) | C.O.L. | Barrel Length | Velocity (fps) | Pressure (psi) |
|---|---|---|---|---|---|
| 26.3 gr | 2.050" | 24.0" | 3240 fps | ••• | |
| 26.7 gr | 2.050" | 24.0" | 3280 fps | ••• | |
| 27.1 gr | 2.050" | 24.0" | 3324 fps | ••• | |
| ••• | 2.050" | 24.0" | 3367 fps | ••• | |
| ••• | 2.050" | 24.0" | 3376 fps | ••• | |
| ••• | 2.050" | 24.0" | 3418 fps | ••• | |
| ••• | 2.050" | 24.0" | 3460 fps | ••• | |
| ••• | 2.050" | 24.0" | 3500 fps | ••• | |
| ••• | 2.050" | 24.0" | 3150 fps | ••• | |
| ••• | 2.050" | 24.0" | 3201 fps | ••• | |
| ••• | 2.050" | 24.0" | 3251 fps | ••• | |
| ••• | 2.050" | 24.0" | 3125 fps | ••• | |
| ••• | 2.050" | 24.0" | 3177 fps | ••• | |
| ••• | 2.050" | 24.0" | 3230 fps | ••• | |
| ••• | 2.050" | 24.0" | 3282 fps | ••• | |
| ••• | 2.050" | 24.0" | 3336 fps | ••• | |
| ••• | 2.050" | 24.0" | 3378 fps | ••• | |
| ••• | 2.050" | 24.0" | 3429 fps | ••• | |
| ••• | 2.050" | 24.0" | 3106 fps | ••• | |
| ••• | 2.050" | 24.0" | 3159 fps | ••• | |
| ••• | 2.050" | 24.0" | 3210 fps | ••• | |
| ••• | 2.050" | 24.0" | 3002 fps | ••• | |
| ••• | 2.050" | 24.0" | 3052 fps | ••• | |
| ••• | 2.050" | 24.0" | 3090 fps | ••• | |
| ••• | 2.050" | 24.0" | 3141 fps | ••• | |
| ••• | 2.050" | 24.0" | 3192 fps | ••• | |
| ••• | 2.050" | 24.0" | 3222 fps | ••• | |
| ••• | 2.050" | 24.0" | 3241 fps | ••• | |
| ••• | 2.050" | 24.0" | 3282 fps | ••• | |
| ••• | 2.050" | 24.0" | 3324 fps | ••• | |
| ••• | 2.050" | 24.0" | 3235 fps | ••• | |
| ••• | 2.050" | 24.0" | 3287 fps | ••• | |
| ••• | 2.050" | 24.0" | 3331 fps | ••• | |
| ••• | 2.050" | 24.0" | 3361 fps | ••• | |
| ••• | 2.050" | 24.0" | 3025 fps | ••• | |
| ••• | 2.050" | 24.0" | 3117 fps | ••• | |
| ••• | 2.050" | 24.0" | 3120 fps | ••• | |
| ••• | 2.050" | 24.0" | 3169 fps | ••• | |
Charge weights beyond the first rows and all pressure values are only visible with an active Pro licence.