
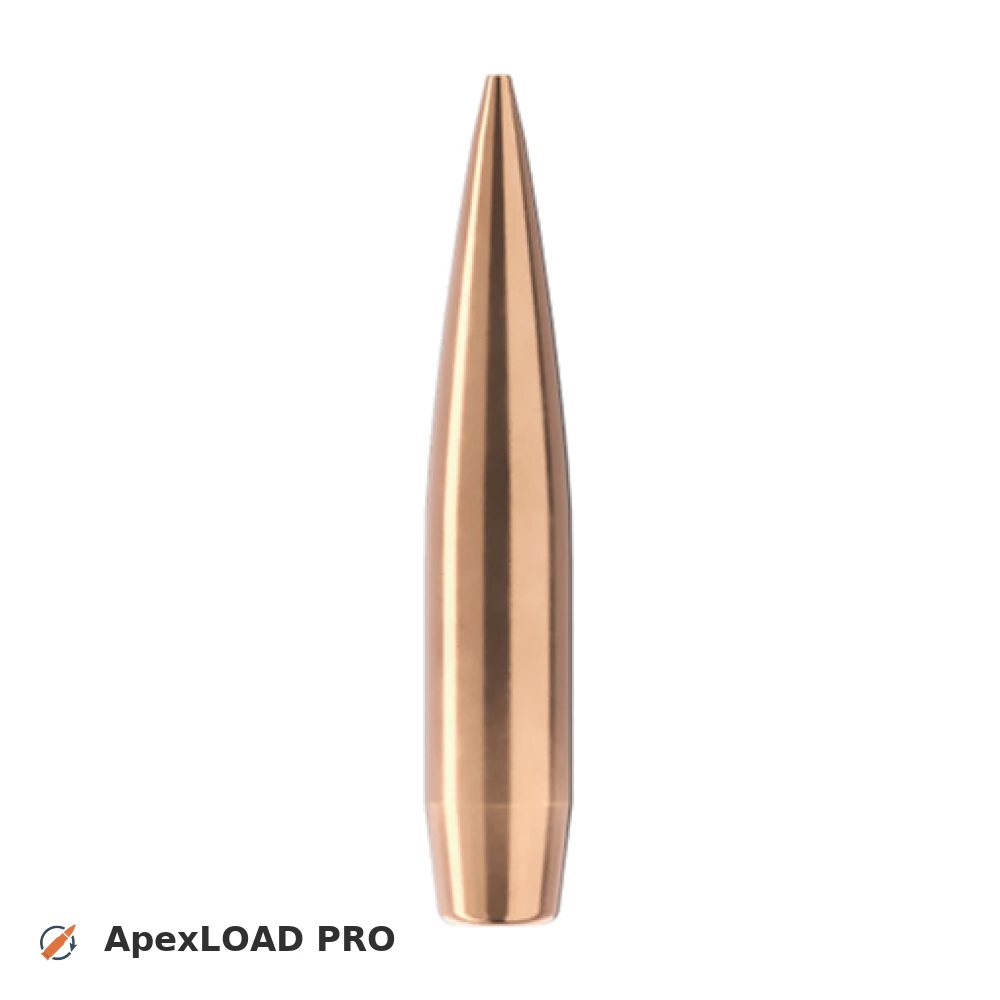
Load data for 6.5 PRC + 150gr Sierra MatchKing
464 suitable loads across 74 powder(s) for cartridge 6.5 PRC with 150gr Sierra MatchKing bullet.
The most recommended powders for this combination are Vihtavuori N560, Accurate MAGPRO and Ramshot Grand.
Based on C.I.P., the max. allowed case length is 2.030 in / 51.56 mm, the max. cartridge length is 2.955 in / 75.06 mm, and the max. allowed pressure is 64,977 PSI / 4,480 bar.
Based on C.I.P., the max. allowed case length is 2.030 in / 51.56 mm, the max. cartridge length is 2.955 in / 75.06 mm, and the max. allowed pressure is 64,977 PSI / 4,480 bar.
Load Specifications
Get PRO license to unlock all data and calculators
Community Loads for 6.5 PRC + 150gr Sierra MatchKing
Real loads for this combination shared by our community. Charge weights are only fully visible with an active Pro licence.
| Powder | Charge (gr) | C.O.L. | Barrel Length | Velocity (fps) | Pressure (psi) |
|---|---|---|---|---|---|
| 46.3 gr | 2.955" | 24.0" | 2437 fps | ••• | |
| 47.5 gr | 2.955" | 24.0" | 2497 fps | ••• | |
| 48.6 gr | 2.955" | 24.0" | 2551 fps | ••• | |
| ••• | 2.955" | 24.0" | 2480 fps | ••• | |
| ••• | 2.955" | 24.0" | 2540 fps | ••• | |
| ••• | 2.955" | 24.0" | 2597 fps | ••• | |
| ••• | 2.955" | 24.0" | 2498 fps | ••• | |
| ••• | 2.955" | 24.0" | 2556 fps | ••• | |
| ••• | 2.955" | 24.0" | 2613 fps | ••• | |
| ••• | 2.955" | 24.0" | 2671 fps | ••• | |
| ••• | 2.955" | 24.0" | 2732 fps | ••• | |
| ••• | 2.955" | 24.0" | 2532 fps | ••• | |
| ••• | 2.955" | 24.0" | 2591 fps | ••• | |
| ••• | 2.955" | 24.0" | 2649 fps | ••• | |
| ••• | 2.955" | 24.0" | 2712 fps | ••• | |
| ••• | 2.955" | 24.0" | 2512 fps | ••• | |
| ••• | 2.955" | 24.0" | 2573 fps | ••• | |
| ••• | 2.955" | 24.0" | 2475 fps | ••• | |
| ••• | 2.955" | 24.0" | 2558 fps | ••• | |
| ••• | 2.955" | 24.0" | 2545 fps | ••• | |
| ••• | 2.955" | 24.0" | 2608 fps | ••• | |
| ••• | 2.955" | 24.0" | 2683 fps | ••• | |
| ••• | 2.955" | 24.0" | 2757 fps | ••• | |
| ••• | 2.955" | 24.0" | 2830 fps | ••• | |
| ••• | 2.955" | 24.0" | 2502 fps | ••• | |
| ••• | 2.955" | 24.0" | 2555 fps | ••• | |
| ••• | 2.955" | 24.0" | 2601 fps | ••• | |
| ••• | 2.955" | 24.0" | 2419 fps | ••• | |
| ••• | 2.955" | 24.0" | 2538 fps | ••• | |
| ••• | 2.955" | 24.0" | 2590 fps | ••• | |
| ••• | 2.955" | 24.0" | 2645 fps | ••• | |
| ••• | 2.955" | 24.0" | 2696 fps | ••• | |
| ••• | 2.955" | 24.0" | 2420 fps | ••• | |
| ••• | 2.955" | 24.0" | 2525 fps | ••• | |
| ••• | 2.955" | 24.0" | 2576 fps | ••• | |
| ••• | 2.955" | 24.0" | 2625 fps | ••• | |
| ••• | 2.955" | 24.0" | 2677 fps | ••• | |
| ••• | 2.955" | 24.0" | 2730 fps | ••• | |
| ••• | 2.955" | 24.0" | 2501 fps | ••• | |
| ••• | 2.955" | 24.0" | 2567 fps | ••• | |
| ••• | 2.955" | 24.0" | 2632 fps | ••• | |
Charge weights beyond the first rows and all pressure values are only visible with an active Pro licence.