
Load data for .33 Nosler + 210gr Nosler Partition
The most recommended powders for this combination are Alliant Reloder-19.
Based on SAAMI, the max. allowed case length is 2.460 in / 62.48 mm, the max. cartridge length is 3.340 in / 84.84 mm, and the max. allowed pressure is 65,000 PSI / 4,482 bar.
Based on SAAMI, the max. allowed case length is 2.460 in / 62.48 mm, the max. cartridge length is 3.340 in / 84.84 mm, and the max. allowed pressure is 65,000 PSI / 4,482 bar.
Load Specifications
ImperialMetric
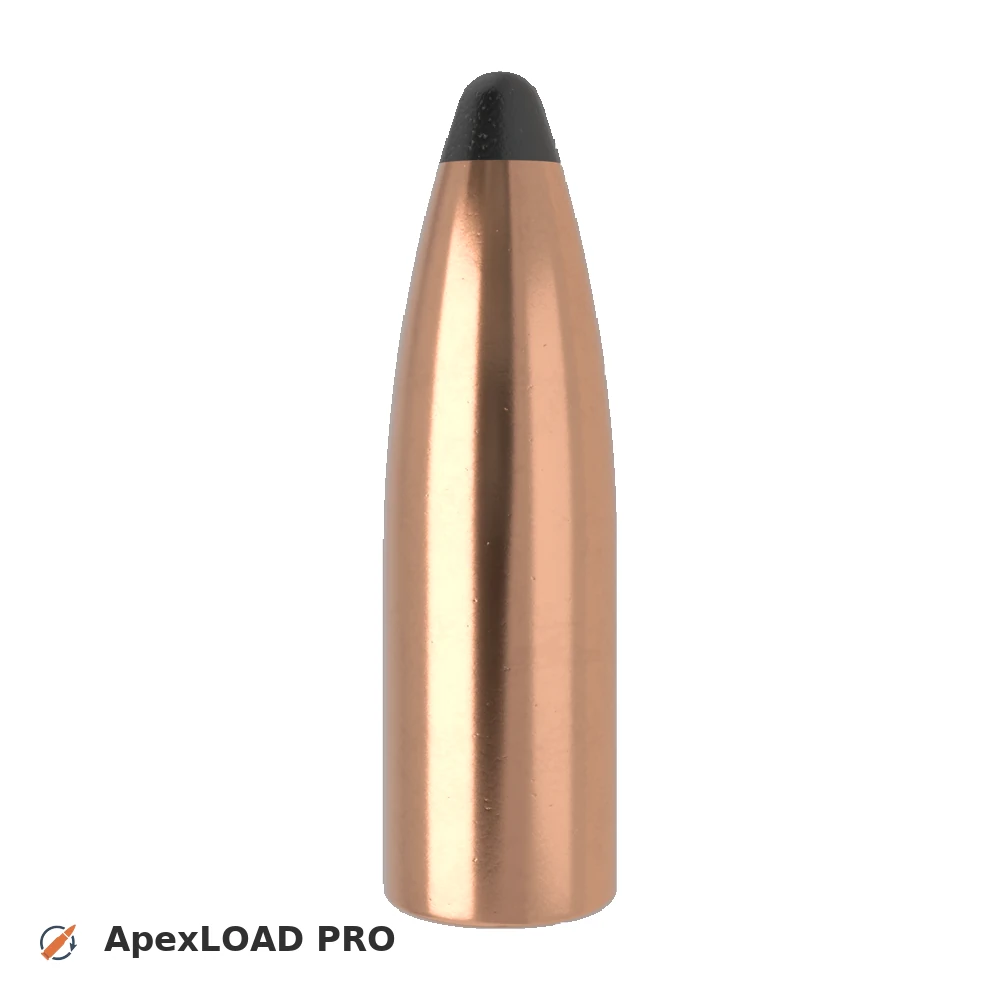
Bullet:.338 | 210gr | Partition
Cartridge:.33 Nosler load data
Case Length (L3):2.460" | 62.5 mm
Cartridge Length (COL/L6):•••
Seated Depth:0.360" | 9.1 mm
Case Capacity:96 gow | 6.22 cm³
Primer Size:Large Rifle Magnum (LRM)
Max. Pressure (SAAMI):65,000 psi | 4,482 bar
Barrel Length:24.0" | 610 mm
Min. Twist Rate:1:16.5
Get PRO license to unlock all data and calculators
Community Loads for .33 Nosler + 210gr Nosler Partition
Real loads for this combination shared by our community. Charge weights are only fully visible with an active Pro licence.
| Powder | Charge (gr) | C.O.L. | Barrel Length | Velocity (fps) | Pressure (psi) |
|---|---|---|---|---|---|
| 68.0 gr | 3.300" | 26.0" | 2670 fps | ••• | |
| 70.0 gr | 3.300" | 26.0" | 2735 fps | ••• | |
| 72.0 gr | 3.300" | 26.0" | 2800 fps | ••• | |
| ••• | 3.300" | 26.0" | 2788 fps | ••• | |
| ••• | 3.300" | 26.0" | 2855 fps | ••• | |
| ••• | 3.300" | 26.0" | 2922 fps | ••• | |
| ••• | 3.300" | 24.0" | 2867 fps | ••• | |
| ••• | 3.300" | 26.0" | 2692 fps | ••• | |
| ••• | 3.300" | 26.0" | 2760 fps | ••• | |
| ••• | 3.300" | 26.0" | 2828 fps | ••• | |
| ••• | 3.300" | 26.0" | 2815 fps | ••• | |
| ••• | 3.300" | 26.0" | 2884 fps | ••• | |
| ••• | 3.300" | 26.0" | 2953 fps | ••• | |
| ••• | 3.300" | 24.0" | 2666 fps | ••• | |
| ••• | 3.300" | 24.0" | 2841 fps | ••• | |
| ••• | 3.300" | 24.0" | 2785 fps | ••• | |
| ••• | 3.300" | 26.0" | 2658 fps | ••• | |
| ••• | 3.300" | 26.0" | 2727 fps | ••• | |
| ••• | 3.300" | 26.0" | 2798 fps | ••• | |
| ••• | 3.300" | 24.0" | 2694 fps | ••• | |
| ••• | 3.300" | 24.0" | 2839 fps | ••• | |
| ••• | 3.300" | 24.0" | 2686 fps | ••• | |
| ••• | 3.300" | 24.0" | 2839 fps | ••• | |
| ••• | 3.300" | 26.0" | 2659 fps | ••• | |
| ••• | 3.300" | 26.0" | 2727 fps | ••• | |
| ••• | 3.300" | 26.0" | 2798 fps | ••• | |
| ••• | 3.300" | 24.0" | 2721 fps | ••• | |
| ••• | 3.300" | 24.0" | 2913 fps | ••• | |
| ••• | 3.300" | 26.0" | 2790 fps | ••• | |
| ••• | 3.300" | 26.0" | 2855 fps | ••• | |
| ••• | 3.300" | 26.0" | 2917 fps | ••• | |
Charge weights beyond the first rows and all pressure values are only visible with an active Pro licence.