
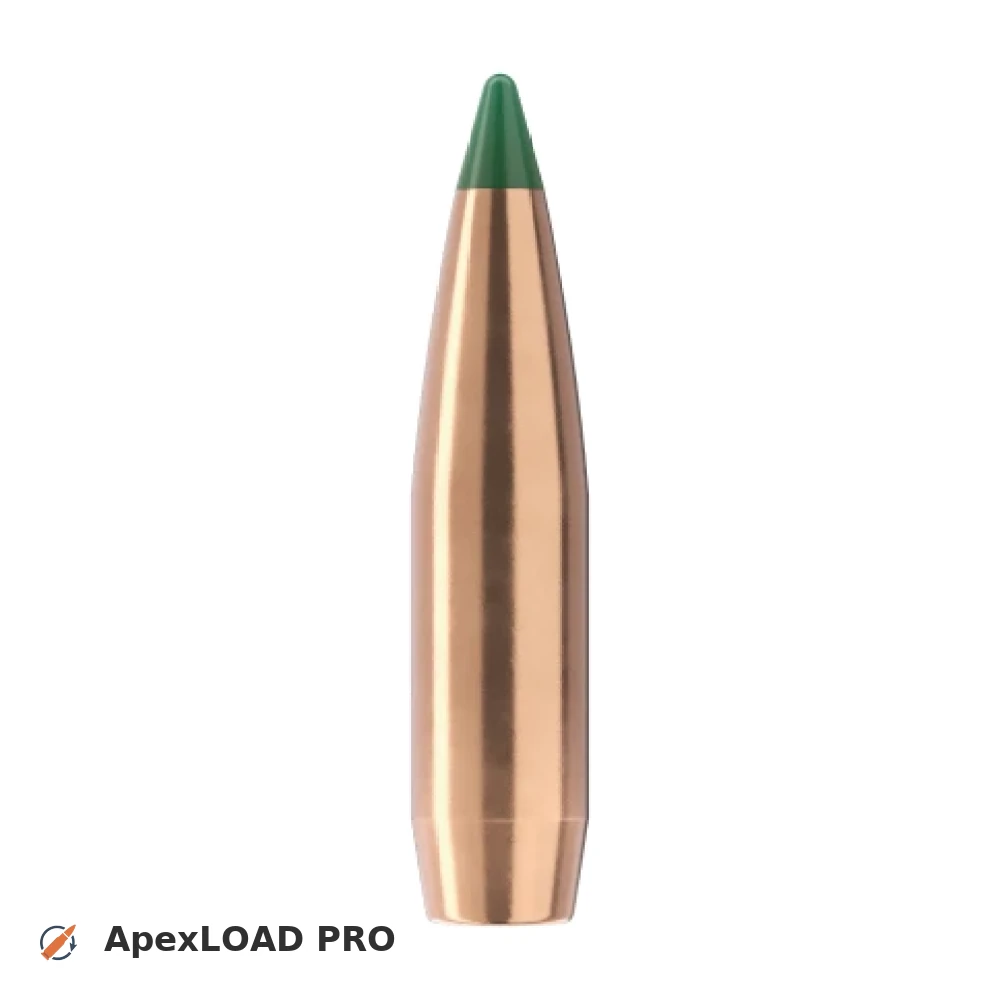
Load data for .300 WSM + 195gr Sierra Tipped MatchKing
621 suitable loads across 107 powder(s) for cartridge .300 WSM with 195gr Sierra Tipped MatchKing bullet.
The most recommended powders for this combination are ReloadSwiss RS 70, Alliant Reloder-16 and Hodgdon Superformance.
Based on C.I.P., the max. allowed case length is 2.100 in / 53.34 mm, the max. cartridge length is 2.860 in / 72.64 mm, and the max. allowed pressure is 63,817 PSI / 4,400 bar.
Based on C.I.P., the max. allowed case length is 2.100 in / 53.34 mm, the max. cartridge length is 2.860 in / 72.64 mm, and the max. allowed pressure is 63,817 PSI / 4,400 bar.
Load Specifications
Get PRO license to unlock all data and calculators
Community Loads for .300 WSM + 195gr Sierra Tipped MatchKing
Real loads for this combination shared by our community. Charge weights are only fully visible with an active Pro licence.
| Powder | Charge (gr) | C.O.L. | Barrel Length | Velocity (fps) | Pressure (psi) |
|---|---|---|---|---|---|
| 62.3 gr | 2.860" | 24.0" | 2714 fps | ••• | |
| 63.4 gr | 2.860" | 24.0" | 2758 fps | ••• | |
| 64.6 gr | 2.860" | 24.0" | 2807 fps | ••• | |
| ••• | 2.860" | 24.0" | 2856 fps | ••• | |
| ••• | 2.860" | 24.0" | 2611 fps | ••• | |
| ••• | 2.860" | 24.0" | 2658 fps | ••• | |
| ••• | 2.860" | 24.0" | 2706 fps | ••• | |
| ••• | 2.860" | 24.0" | 2753 fps | ••• | |
| ••• | 2.860" | 24.0" | 2801 fps | ••• | |
| ••• | 2.860" | 24.0" | 2657 fps | ••• | |
| ••• | 2.860" | 24.0" | 2725 fps | ••• | |
| ••• | 2.860" | 24.0" | 2596 fps | ••• | |
| ••• | 2.860" | 24.0" | 2652 fps | ••• | |
| ••• | 2.860" | 24.0" | 2704 fps | ••• | |
| ••• | 2.860" | 24.0" | 2760 fps | ••• | |
| ••• | 2.860" | 24.0" | 2812 fps | ••• | |
| ••• | 2.860" | 24.0" | 2626 fps | ••• | |
| ••• | 2.860" | 24.0" | 2681 fps | ••• | |
| ••• | 2.860" | 24.0" | 2741 fps | ••• | |
| ••• | 2.860" | 24.0" | 2800 fps | ••• | |
| ••• | 2.860" | 24.0" | 2660 fps | ••• | |
| ••• | 2.860" | 24.0" | 2715 fps | ••• | |
| ••• | 2.860" | 24.0" | 2777 fps | ••• | |
| ••• | 2.860" | 24.0" | 2840 fps | ••• | |
| ••• | 2.860" | 24.0" | 2569 fps | ••• | |
| ••• | 2.860" | 24.0" | 2618 fps | ••• | |
| ••• | 2.860" | 24.0" | 2672 fps | ••• | |
| ••• | 2.860" | 24.0" | 2721 fps | ••• | |
| ••• | 2.860" | 24.0" | 2775 fps | ••• | |
| ••• | 2.860" | 24.0" | 2826 fps | ••• | |
| ••• | 2.860" | 24.0" | 2696 fps | ••• | |
| ••• | 2.860" | 24.0" | 2754 fps | ••• | |
| ••• | 2.860" | 24.0" | 2811 fps | ••• | |
| ••• | 2.860" | 24.0" | 2613 fps | ••• | |
| ••• | 2.860" | 24.0" | 2661 fps | ••• | |
| ••• | 2.860" | 24.0" | 2712 fps | ••• | |
| ••• | 2.860" | 24.0" | 2764 fps | ••• | |
| ••• | 2.860" | 24.0" | 2822 fps | ••• | |
Charge weights beyond the first rows and all pressure values are only visible with an active Pro licence.