
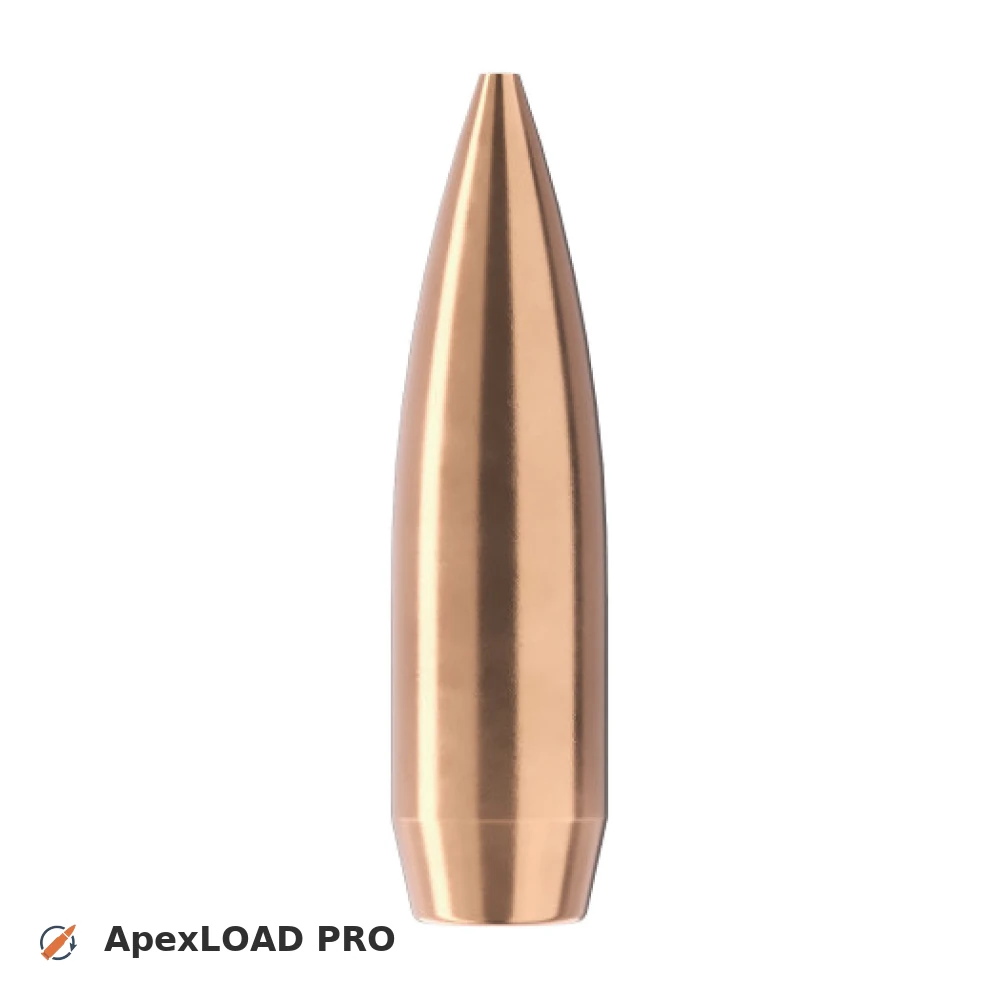
Load data for .300 WSM + 168gr Sierra MatchKing
603 suitable loads across 106 powder(s) for cartridge .300 WSM with 168gr Sierra MatchKing bullet.
The most recommended powders for this combination are ReloadSwiss RS 70, Hodgdon Superformance and Alliant Reloder-17.
Based on C.I.P., the max. allowed case length is 2.100 in / 53.34 mm, the max. cartridge length is 2.860 in / 72.64 mm, and the max. allowed pressure is 63,817 PSI / 4,400 bar.
Based on C.I.P., the max. allowed case length is 2.100 in / 53.34 mm, the max. cartridge length is 2.860 in / 72.64 mm, and the max. allowed pressure is 63,817 PSI / 4,400 bar.
Load Specifications
Get PRO license to unlock all data and calculators
Community Loads for .300 WSM + 168gr Sierra MatchKing
Real loads for this combination shared by our community. Charge weights are only fully visible with an active Pro licence.
| Powder | Charge (gr) | C.O.L. | Barrel Length | Velocity (fps) | Pressure (psi) |
|---|---|---|---|---|---|
| 63.5 gr | 2.860" | 24.0" | 2733 fps | ••• | |
| 65.8 gr | 2.860" | 24.0" | 2829 fps | ••• | |
| 68.0 gr | 2.860" | 24.0" | 2921 fps | ••• | |
| ••• | 2.860" | 24.0" | 2967 fps | ••• | |
| ••• | 2.860" | 24.0" | 3007 fps | ••• | |
| ••• | 2.860" | 24.0" | 2748 fps | ••• | |
| ••• | 2.860" | 24.0" | 2864 fps | ••• | |
| ••• | 2.860" | 24.0" | 2912 fps | ••• | |
| ••• | 2.860" | 24.0" | 2954 fps | ••• | |
| ••• | 2.860" | 24.0" | 2993 fps | ••• | |
| ••• | 2.860" | 24.0" | 2936 fps | ••• | |
| ••• | 2.860" | 24.0" | 2694 fps | ••• | |
| ••• | 2.860" | 24.0" | 2802 fps | ••• | |
| ••• | 2.860" | 24.0" | 2903 fps | ••• | |
| ••• | 2.860" | 24.0" | 2953 fps | ••• | |
| ••• | 2.860" | 24.0" | 2839 fps | ••• | |
| ••• | 2.860" | 24.0" | 2899 fps | ••• | |
| ••• | 2.860" | 24.0" | 2955 fps | ••• | |
| ••• | 2.860" | 24.0" | 2616 fps | ••• | |
| ••• | 2.860" | 24.0" | 2690 fps | ••• | |
| ••• | 2.860" | 24.0" | 2782 fps | ••• | |
| ••• | 2.860" | 24.0" | 2875 fps | ••• | |
| ••• | 2.860" | 24.0" | 2925 fps | ••• | |
| ••• | 2.860" | 24.0" | 2849 fps | ••• | |
| ••• | 2.860" | 24.0" | 2942 fps | ••• | |
| ••• | 2.860" | 24.0" | 2994 fps | ••• | |
| ••• | 2.860" | 24.0" | 3046 fps | ••• | |
| ••• | 2.860" | 24.0" | 2566 fps | ••• | |
| ••• | 2.860" | 24.0" | 2690 fps | ••• | |
| ••• | 2.860" | 24.0" | 2797 fps | ••• | |
| ••• | 2.860" | 24.0" | 2902 fps | ••• | |
| ••• | 2.860" | 24.0" | 2949 fps | ••• | |
| ••• | 2.860" | 24.0" | 2669 fps | ••• | |
| ••• | 2.860" | 24.0" | 2771 fps | ••• | |
| ••• | 2.860" | 24.0" | 2904 fps | ••• | |
| ••• | 2.860" | 24.0" | 2884 fps | ••• | |
| ••• | 2.860" | 24.0" | 2937 fps | ••• | |
| ••• | 2.860" | 24.0" | 2989 fps | ••• | |
Charge weights beyond the first rows and all pressure values are only visible with an active Pro licence.