
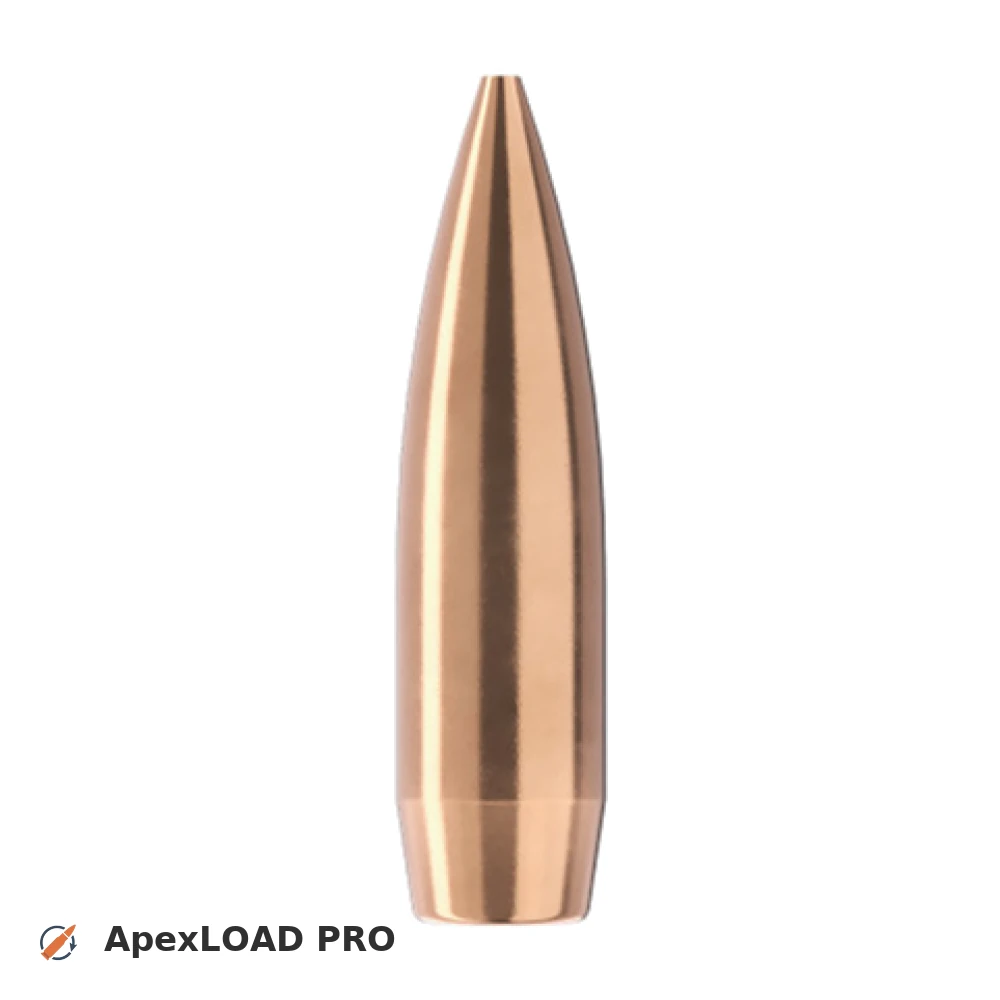
Load data for .300 Rem. SA Ultra Mag. + 175gr Sierra MatchKing
Based on SAAMI, the max. allowed case length is 2.015 in / 51.18 mm, the max. cartridge length is 2.825 in / 71.75 mm, and the max. allowed pressure is 65,000 PSI / 4,482 bar.
Based on SAAMI, the max. allowed case length is 2.015 in / 51.18 mm, the max. cartridge length is 2.825 in / 71.75 mm, and the max. allowed pressure is 65,000 PSI / 4,482 bar.
Load Specifications
ImperialMetric
Bullet:.308 | 175gr | MatchKing
Cartridge:.300 Rem. SA Ultra Mag. load data
Case Length (L3):2.003" | 50.9 mm
Cartridge Length (COL/L6):•••
Seated Depth:0.418" | 10.6 mm
Case Capacity:74 gow | 4.80 cm³
Primer Size:Large Rifle (LR)
Max. Pressure (SAAMI):65,000 psi | 4,482 bar
Barrel Length:24.0" | 610 mm
Min. Twist Rate:1:13.5
Get PRO license to unlock all data and calculators
Community Loads for .300 Rem. SA Ultra Mag. + 175gr Sierra MatchKing
Real loads for this combination shared by our community. Charge weights are only fully visible with an active Pro licence.
| Powder | Charge (gr) | C.O.L. | Barrel Length | Velocity (fps) | Pressure (psi) |
|---|---|---|---|---|---|
| 64.0 gr | 2.825" | 24.0" | 2769 fps | ••• | |
| 49.9 gr | 2.825" | 24.0" | 2609 fps | ••• | |
| 52.4 gr | 2.825" | 24.0" | 2715 fps | ••• | |
| ••• | 2.825" | 24.0" | 2760 fps | ••• | |
| ••• | 2.825" | 24.0" | 2802 fps | ••• | |
| ••• | 2.825" | 24.0" | 2560 fps | ••• | |
| ••• | 2.825" | 24.0" | 2645 fps | ••• | |
| ••• | 2.825" | 24.0" | 2737 fps | ••• | |
| ••• | 2.825" | 24.0" | 2780 fps | ••• | |
| ••• | 2.825" | 24.0" | 2828 fps | ••• | |
| ••• | 2.825" | 24.0" | 2876 fps | ••• | |
| ••• | 2.825" | 24.0" | 2579 fps | ••• | |
| ••• | 2.825" | 24.0" | 2664 fps | ••• | |
| ••• | 2.825" | 24.0" | 2707 fps | ••• | |
| ••• | 2.825" | 24.0" | 2741 fps | ••• | |
| ••• | 2.825" | 24.0" | 2781 fps | ••• | |
| ••• | 2.825" | 24.0" | 2926 fps | ••• | |
| ••• | 2.825" | 24.0" | 2629 fps | ••• | |
| ••• | 2.825" | 24.0" | 2740 fps | ••• | |
| ••• | 2.825" | 24.0" | 2788 fps | ••• | |
| ••• | 2.825" | 24.0" | 2835 fps | ••• | |
| ••• | 2.825" | 24.0" | 2881 fps | ••• | |
| ••• | 2.825" | 24.0" | 2529 fps | ••• | |
| ••• | 2.825" | 24.0" | 2629 fps | ••• | |
| ••• | 2.825" | 24.0" | 2678 fps | ••• | |
| ••• | 2.825" | 24.0" | 2722 fps | ••• | |
| ••• | 2.825" | 24.0" | 2671 fps | ••• | |
| ••• | 2.825" | 24.0" | 2725 fps | ••• | |
| ••• | 2.825" | 24.0" | 2696 fps | ••• | |
| ••• | 2.825" | 24.0" | 2746 fps | ••• | |
| ••• | 2.825" | 24.0" | 2792 fps | ••• | |
| ••• | 2.825" | 24.0" | 2575 fps | ••• | |
| ••• | 2.825" | 24.0" | 2620 fps | ••• | |
| ••• | 2.825" | 24.0" | 2413 fps | ••• | |
| ••• | 2.825" | 24.0" | 2503 fps | ••• | |
| ••• | 2.825" | 24.0" | 2590 fps | ••• | |
| ••• | 2.825" | 24.0" | 2675 fps | ••• | |
| ••• | 2.825" | 24.0" | 2721 fps | ••• | |
| ••• | 2.825" | 24.0" | 2763 fps | ••• | |
| ••• | 2.825" | 24.0" | 2617 fps | ••• | |
| ••• | 2.825" | 24.0" | 2706 fps | ••• | |
| ••• | 2.825" | 24.0" | 2793 fps | ••• | |
| ••• | 2.825" | 24.0" | 2840 fps | ••• | |
| ••• | 2.825" | 24.0" | 2885 fps | ••• | |
| ••• | 2.825" | 24.0" | 2611 fps | ••• | |
| ••• | 2.825" | 24.0" | 2714 fps | ••• | |
| ••• | 2.825" | 24.0" | 2762 fps | ••• | |
| ••• | 2.825" | 24.0" | 2804 fps | ••• | |
Charge weights beyond the first rows and all pressure values are only visible with an active Pro licence.