
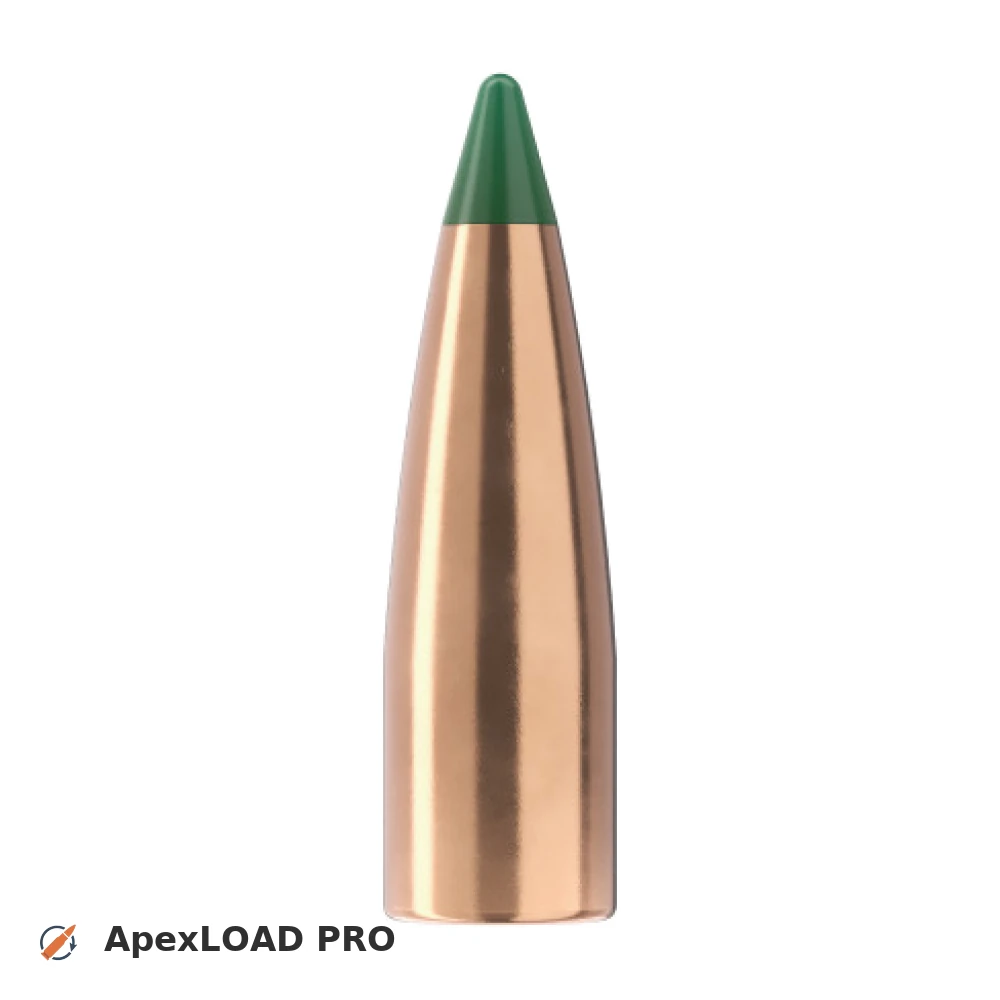
Load data for .300 Rem. SA Ultra Mag. + 125gr Sierra Tipped MatchKing
585 suitable loads across 96 powder(s) for cartridge .300 Rem. SA Ultra Mag. with 125gr Sierra Tipped MatchKing bullet.
The most recommended powders for this combination are Alliant Power Pro 2000-MR, ReloadSwiss RS 52 and Hodgdon LEVERevolution.
Based on SAAMI, the max. allowed case length is 2.015 in / 51.18 mm, the max. cartridge length is 2.825 in / 71.75 mm, and the max. allowed pressure is 65,000 PSI / 4,482 bar.
Based on SAAMI, the max. allowed case length is 2.015 in / 51.18 mm, the max. cartridge length is 2.825 in / 71.75 mm, and the max. allowed pressure is 65,000 PSI / 4,482 bar.
Load Specifications
Get PRO license to unlock all data and calculators
Community Loads for .300 Rem. SA Ultra Mag. + 125gr Sierra Tipped MatchKing
Real loads for this combination shared by our community. Charge weights are only fully visible with an active Pro licence.
| Powder | Charge (gr) | C.O.L. | Barrel Length | Velocity (fps) | Pressure (psi) |
|---|---|---|---|---|---|
| 52.0 gr | 2.825" | 24.0" | 2838 fps | ••• | |
| 54.2 gr | 2.825" | 24.0" | 2945 fps | ••• | |
| 56.2 gr | 2.825" | 24.0" | 3041 fps | ••• | |
| ••• | 2.825" | 24.0" | 3129 fps | ••• | |
| ••• | 2.825" | 24.0" | 3167 fps | ••• | |
| ••• | 2.825" | 24.0" | 3200 fps | ••• | |
| ••• | 2.825" | 24.0" | 2862 fps | ••• | |
| ••• | 2.825" | 24.0" | 2938 fps | ••• | |
| ••• | 2.825" | 24.0" | 3021 fps | ••• | |
| ••• | 2.825" | 24.0" | 3097 fps | ••• | |
| ••• | 2.825" | 24.0" | 3137 fps | ••• | |
| ••• | 2.825" | 24.0" | 3179 fps | ••• | |
| ••• | 2.825" | 24.0" | 3224 fps | ••• | |
| ••• | 2.825" | 24.0" | 2986 fps | ••• | |
| ••• | 2.825" | 24.0" | 3091 fps | ••• | |
| ••• | 2.825" | 24.0" | 3196 fps | ••• | |
| ••• | 2.825" | 24.0" | 3257 fps | ••• | |
| ••• | 2.825" | 24.0" | 3307 fps | ••• | |
| ••• | 2.825" | 24.0" | 2949 fps | ••• | |
| ••• | 2.825" | 24.0" | 3016 fps | ••• | |
| ••• | 2.825" | 24.0" | 3087 fps | ••• | |
| ••• | 2.825" | 24.0" | 3129 fps | ••• | |
| ••• | 2.825" | 24.0" | 3172 fps | ••• | |
| ••• | 2.825" | 24.0" | 2947 fps | ••• | |
| ••• | 2.825" | 24.0" | 3036 fps | ••• | |
| ••• | 2.825" | 24.0" | 3127 fps | ••• | |
| ••• | 2.825" | 24.0" | 3173 fps | ••• | |
| ••• | 2.825" | 24.0" | 3214 fps | ••• | |
| ••• | 2.825" | 24.0" | 3256 fps | ••• | |
| ••• | 2.825" | 24.0" | 2809 fps | ••• | |
| ••• | 2.825" | 24.0" | 2893 fps | ••• | |
| ••• | 2.825" | 24.0" | 2985 fps | ••• | |
| ••• | 2.825" | 24.0" | 3095 fps | ••• | |
| ••• | 2.825" | 24.0" | 3155 fps | ••• | |
| ••• | 2.825" | 24.0" | 2994 fps | ••• | |
| ••• | 2.825" | 24.0" | 3074 fps | ••• | |
| ••• | 2.825" | 24.0" | 3158 fps | ••• | |
| ••• | 2.825" | 24.0" | 3258 fps | ••• | |
| ••• | 2.825" | 24.0" | 3308 fps | ••• | |
| ••• | 2.825" | 24.0" | 3009 fps | ••• | |
| ••• | 2.825" | 24.0" | 3107 fps | ••• | |
| ••• | 2.825" | 24.0" | 3166 fps | ••• | |
| ••• | 2.825" | 24.0" | 3226 fps | ••• | |
| ••• | 2.825" | 24.0" | 3292 fps | ••• | |
| ••• | 2.825" | 24.0" | 2821 fps | ••• | |
| ••• | 2.825" | 24.0" | 2908 fps | ••• | |
| ••• | 2.825" | 24.0" | 2984 fps | ••• | |
| ••• | 2.825" | 24.0" | 3053 fps | ••• | |
| ••• | 2.825" | 24.0" | 3088 fps | ••• | |
| ••• | 2.825" | 24.0" | 3119 fps | ••• | |
Charge weights beyond the first rows and all pressure values are only visible with an active Pro licence.