
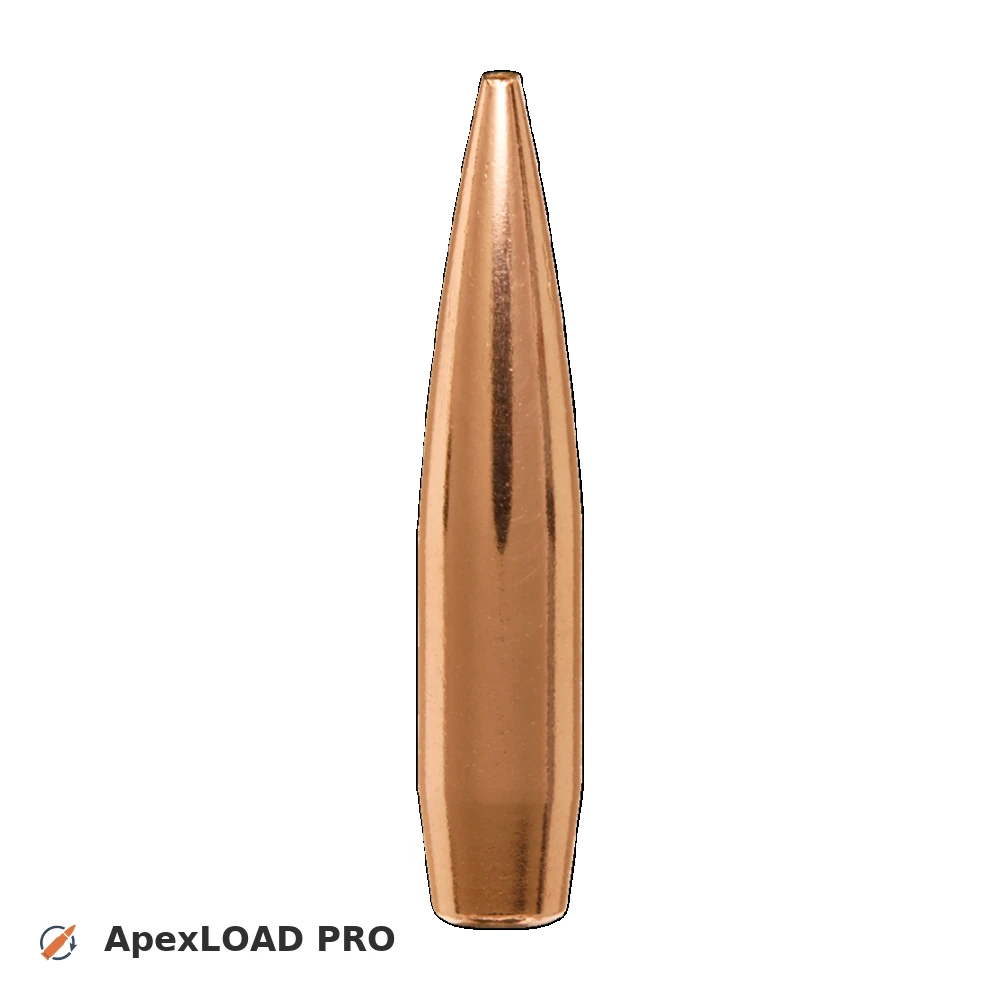
Load data for .300 PRC + 215gr Berger Hybrid Target
466 suitable loads across 75 powder(s) for cartridge .300 PRC with 215gr Berger Hybrid Target bullet.
The most recommended powders for this combination are Hodgdon Retumbo, Hodgdon H1000 and ReloadSwiss RS 76.
Based on SAAMI, the max. allowed case length is 2.580 in / 65.53 mm, the max. cartridge length is 3.700 in / 93.98 mm, and the max. allowed pressure is 65,000 PSI / 4,482 bar.
Based on SAAMI, the max. allowed case length is 2.580 in / 65.53 mm, the max. cartridge length is 3.700 in / 93.98 mm, and the max. allowed pressure is 65,000 PSI / 4,482 bar.
Load Specifications
Get PRO license to unlock all data and calculators
Community Loads for .300 PRC + 215gr Berger Hybrid Target
Real loads for this combination shared by our community. Charge weights are only fully visible with an active Pro licence.
| Powder | Charge (gr) | C.O.L. | Barrel Length | Velocity (fps) | Pressure (psi) |
|---|---|---|---|---|---|
| 85.0 gr | 3.700" | 26.0" | 2979 fps | ••• | |
| 74.0 gr | 3.575" | 24.0" | 2520 fps | ••• | |
| 88.0 gr | 3.700" | 26.0" | 2762 fps | ••• | |
| ••• | 3.655" | 22.0" | 2356 fps | ••• | |
| ••• | 3.575" | 24.0" | 2544 fps | ••• | |
| ••• | 3.700" | 26.0" | 2667 fps | ••• | |
| ••• | 3.700" | 22.0" | 2572 fps | ••• | |
| ••• | 3.685" | 22.0" | 2605 fps | ••• | |
| ••• | 3.725" | 22.0" | 2589 fps | ••• | |
| ••• | 3.640" | 26.0" | 2792 fps | ••• | |
| ••• | 3.575" | 24.0" | 2724 fps | ••• | |
| ••• | 3.718" | 26.0" | 2904 fps | ••• | |
| ••• | 3.700" | 22.0" | 2641 fps | ••• | |
| ••• | 3.700" | 30.0" | 2864 fps | ••• | |
| ••• | 3.685" | 22.0" | 2671 fps | ••• | |
| ••• | 3.700" | 22.0" | 2697 fps | ••• | |
| ••• | 3.715" | 22.0" | 2690 fps | ••• | |
| ••• | 3.700" | 22.0" | 2697 fps | ••• | |
| ••• | 3.715" | 22.0" | 2697 fps | ••• | |
| ••• | 3.750" | 30.0" | 2930 fps | ••• | |
| ••• | 3.700" | 30.0" | 2959 fps | ••• | |
| ••• | 3.655" | 22.0" | 2805 fps | ••• | |
| ••• | 3.700" | 26.0" | 2904 fps | ••• | |
| ••• | 3.700" | 26.0" | 2936 fps | ••• | |
| ••• | 3.700" | 24.0" | 2900 fps | ••• | |
| ••• | 3.575" | 24.0" | 2682 fps | ••• | |
| ••• | 3.575" | 24.4" | 2887 fps | ••• | |
| ••• | 3.575" | 24.0" | 2894 fps | ••• | |
| ••• | 3.645" | 24.4" | 2936 fps | ••• | |
| ••• | 3.575" | 24.0" | 2599 fps | ••• | |
| ••• | 3.575" | 24.0" | 2471 fps | ••• | |
| ••• | 3.575" | 24.0" | 2682 fps | ••• | |
| ••• | 3.575" | 24.0" | 2459 fps | ••• | |
| ••• | 3.575" | 24.0" | 2641 fps | ••• | |
| ••• | 3.575" | 24.0" | 2498 fps | ••• | |
| ••• | 3.575" | 24.0" | 2707 fps | ••• | |
| ••• | 3.575" | 24.0" | 2684 fps | ••• | |
| ••• | 3.575" | 24.0" | 2884 fps | ••• | |
| ••• | 3.681" | 26.0" | 2546 fps | ••• | |
| ••• | 3.644" | 22.0" | 2733 fps | ••• | |
| ••• | 3.681" | 26.0" | 2434 fps | ••• | |
| ••• | 3.681" | 26.0" | 2696 fps | ••• | |
| ••• | 3.700" | 26.0" | 2871 fps | ••• | |
| ••• | 3.700" | 26.0" | 3005 fps | ••• | |
| ••• | 3.700" | 26.0" | 2638 fps | ••• | |
| ••• | 3.700" | 30.0" | 2890 fps | ••• | |
| ••• | 3.718" | 26.0" | 3005 fps | ••• | |
| ••• | 3.700" | 26.0" | 2995 fps | ••• | |
| ••• | 3.575" | 24.0" | 2710 fps | ••• | |
| ••• | 3.575" | 24.0" | 2915 fps | ••• | |
Charge weights beyond the first rows and all pressure values are only visible with an active Pro licence.