
Load data for .260 Rem. + 150gr Sierra MatchKing
The most recommended powders for this combination are ReloadSwiss RS 70, Alliant Reloder-16 and Hodgdon Superformance.
Based on C.I.P., the max. allowed case length is 2.035 in / 51.69 mm, the max. cartridge length is 2.800 in / 71.12 mm, and the max. allowed pressure is 60,191 PSI / 4,150 bar.
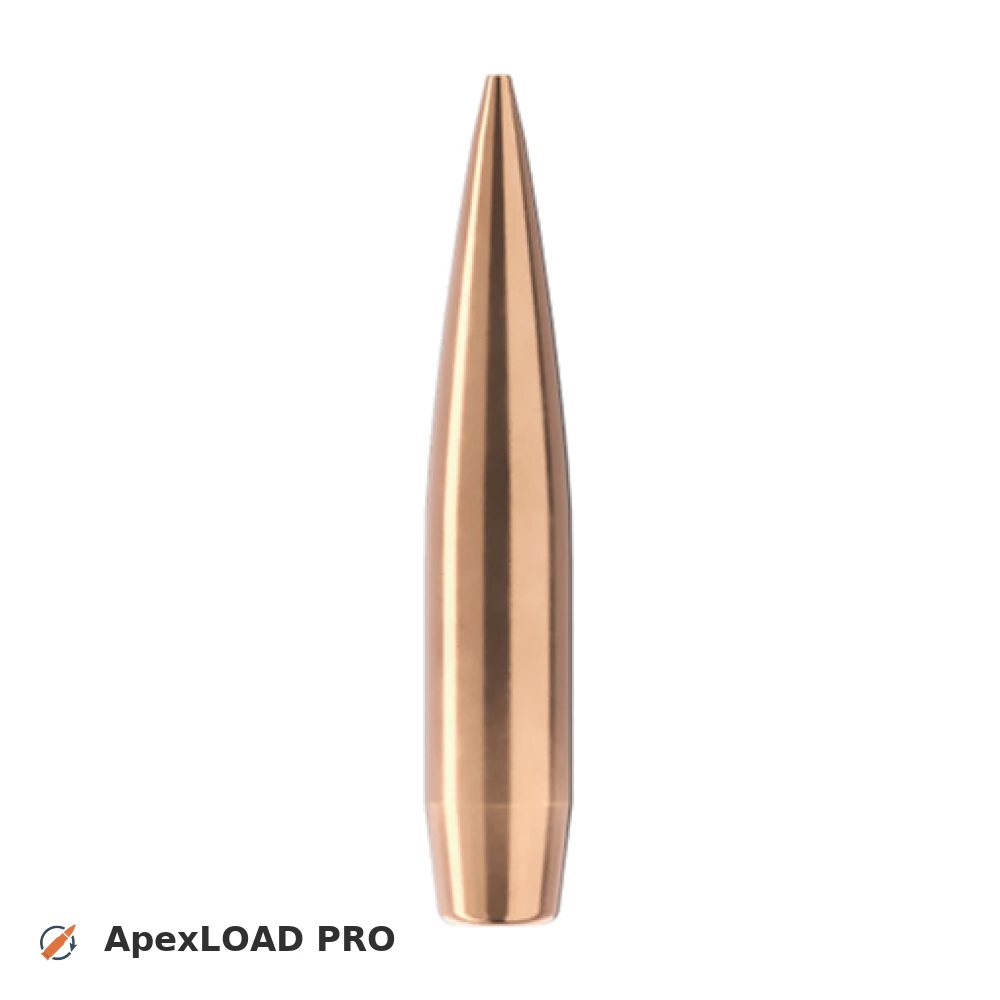
Based on C.I.P., the max. allowed case length is 2.035 in / 51.69 mm, the max. cartridge length is 2.800 in / 71.12 mm, and the max. allowed pressure is 60,191 PSI / 4,150 bar.
Load Specifications
ImperialMetric
Bullet:.264 | 150gr | MatchKing
Cartridge:.260 Rem. load data
Case Length (L3):2.030" | 51.6 mm
Cartridge Length (COL/L6):•••
Seated Depth:0.746" | 19.0 mm
Case Capacity:55 gow | 3.56 cm³
Primer Size:Large Rifle (LR)
Max. Pressure (C.I.P.):60,191 psi | 4,150 bar
Barrel Length:24.0" | 610 mm
Min. Twist Rate:1:8.0
Get PRO license to unlock all data and calculators
Community Loads for .260 Rem. + 150gr Sierra MatchKing
Real loads for this combination shared by our community. Charge weights are only fully visible with an active Pro licence.
| Powder | Charge (gr) | C.O.L. | Barrel Length | Velocity (fps) | Pressure (psi) |
|---|---|---|---|---|---|
| 34.7 gr | 2.800" | 24.0" | 2287 fps | ••• | |
| 37.1 gr | 2.800" | 24.0" | 2429 fps | ••• | |
| 33.0 gr | 2.800" | 24.0" | 2250 fps | ••• | |
| ••• | 2.800" | 24.0" | 2363 fps | ••• | |
| ••• | 2.800" | 24.0" | 2489 fps | ••• | |
| ••• | 2.800" | 24.0" | 2615 fps | ••• | |
| ••• | 2.800" | 24.0" | 2325 fps | ••• | |
| ••• | 2.800" | 24.0" | 2442 fps | ••• | |
| ••• | 2.800" | 24.0" | 2151 fps | ••• | |
| ••• | 2.800" | 24.0" | 2265 fps | ••• | |
| ••• | 2.800" | 24.0" | 2373 fps | ••• | |
| ••• | 2.800" | 24.0" | 2482 fps | ••• | |
| ••• | 2.800" | 24.0" | 2152 fps | ••• | |
| ••• | 2.800" | 24.0" | 2262 fps | ••• | |
| ••• | 2.800" | 24.0" | 2377 fps | ••• | |
| ••• | 2.800" | 24.0" | 2495 fps | ••• | |
| ••• | 2.800" | 24.0" | 2305 fps | ••• | |
| ••• | 2.800" | 24.0" | 2420 fps | ••• | |
| ••• | 2.800" | 24.0" | 2542 fps | ••• | |
| ••• | 2.800" | 24.0" | 2156 fps | ••• | |
| ••• | 2.800" | 24.0" | 2273 fps | ••• | |
| ••• | 2.800" | 24.0" | 2387 fps | ••• | |
| ••• | 2.800" | 24.0" | 2333 fps | ••• | |
| ••• | 2.800" | 24.0" | 2466 fps | ••• | |
| ••• | 2.800" | 24.0" | 2344 fps | ••• | |
| ••• | 2.800" | 24.0" | 2455 fps | ••• | |
| ••• | 2.800" | 24.0" | 2257 fps | ••• | |
| ••• | 2.800" | 24.0" | 2406 fps | ••• | |
| ••• | 2.800" | 24.0" | 2513 fps | ••• | |
| ••• | 2.800" | 24.0" | 2243 fps | ••• | |
| ••• | 2.800" | 24.0" | 2350 fps | ••• | |
| ••• | 2.800" | 24.0" | 2457 fps | ••• | |
| ••• | 2.800" | 24.0" | 2363 fps | ••• | |
| ••• | 2.800" | 24.0" | 2469 fps | ••• | |
| ••• | 2.800" | 24.0" | 2564 fps | ••• | |
| ••• | 2.800" | 24.0" | 2214 fps | ••• | |
| ••• | 2.800" | 24.0" | 2353 fps | ••• | |
| ••• | 2.800" | 24.0" | 2471 fps | ••• | |
| ••• | 2.800" | 24.0" | 2579 fps | ••• | |
| ••• | 2.800" | 24.0" | 2286 fps | ••• | |
| ••• | 2.800" | 24.0" | 2390 fps | ••• | |
| ••• | 2.800" | 24.0" | 2488 fps | ••• | |
| ••• | 2.800" | 24.0" | 2590 fps | ••• | |
| ••• | 2.800" | 24.0" | 2352 fps | ••• | |
| ••• | 2.800" | 24.0" | 2452 fps | ••• | |
| ••• | 2.800" | 24.0" | 2585 fps | ••• | |
| ••• | 2.800" | 24.0" | 2214 fps | ••• | |
| ••• | 2.800" | 24.0" | 2340 fps | ••• | |
| ••• | 2.800" | 24.0" | 2458 fps | ••• | |
| ••• | 2.800" | 24.0" | 2562 fps | ••• | |
Charge weights beyond the first rows and all pressure values are only visible with an active Pro licence.