
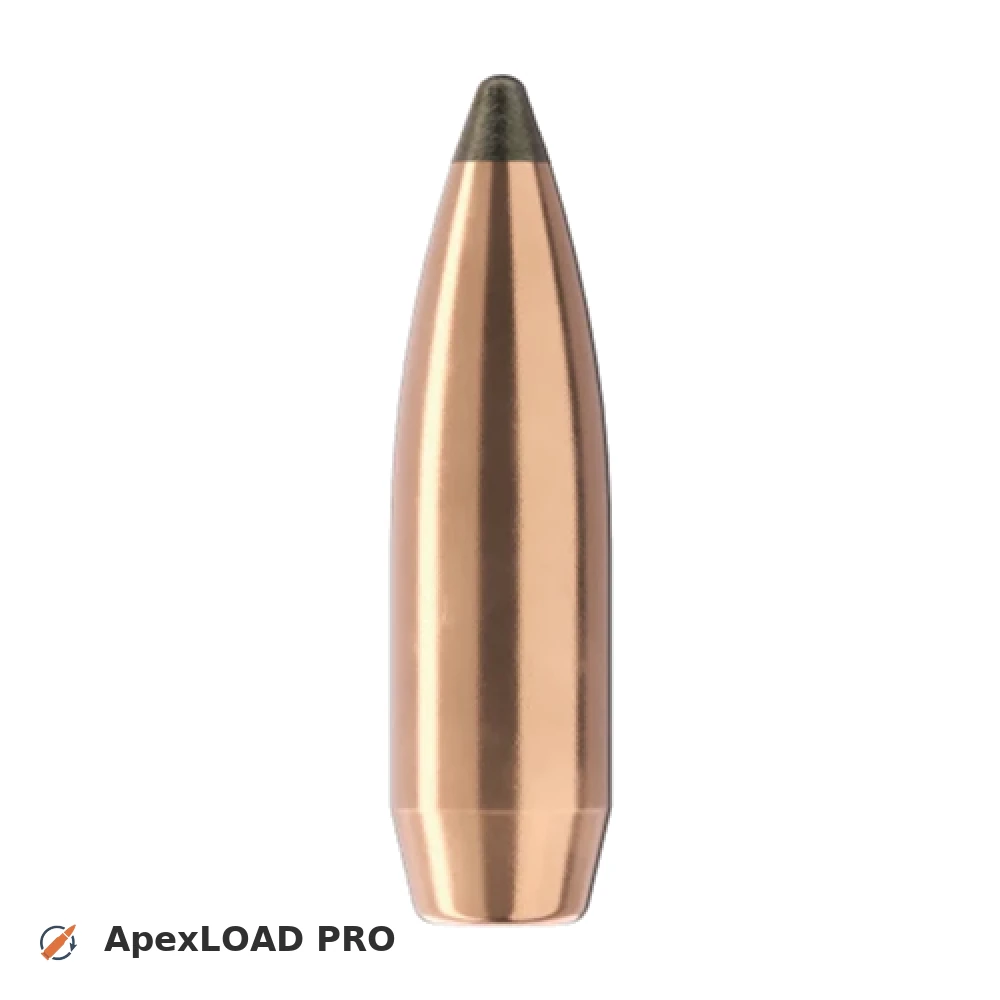
Load data for .250 Savage + 100gr Sierra GameKing
The most recommended powders for this combination are Hodgdon H4350.
Based on C.I.P., the max. allowed case length is 1.912 in / 48.56 mm, the max. cartridge length is 2.515 in / 63.88 mm, and the max. allowed pressure is 52,939 PSI / 3,650 bar.
Based on C.I.P., the max. allowed case length is 1.912 in / 48.56 mm, the max. cartridge length is 2.515 in / 63.88 mm, and the max. allowed pressure is 52,939 PSI / 3,650 bar.
Load Specifications
ImperialMetric
Bullet:.257 | 100gr | GameKing
Cartridge:.250 Savage load data
Case Length (L3):1.912" | 48.6 mm
Cartridge Length (COL/L6):•••
Seated Depth:0.426" | 10.8 mm
Case Capacity:45.5 gow | 2.95 cm³
Primer Size:Large Rifle (LR)
Max. Pressure (C.I.P.):52,939 psi | 3,650 bar
Barrel Length:24.0" | 610 mm
Min. Twist Rate:1:11.5
Get PRO license to unlock all data and calculators
Community Loads for .250 Savage + 100gr Sierra GameKing
Real loads for this combination shared by our community. Charge weights are only fully visible with an active Pro licence.
| Powder | Charge (gr) | C.O.L. | Barrel Length | Velocity (fps) | Pressure (psi) |
|---|---|---|---|---|---|
| 32.0 gr | 2.515" | 24.0" | 2727 fps | ••• | |
| 33.1 gr | 2.515" | 24.0" | 2803 fps | ••• | |
| 30.9 gr | 2.515" | 24.0" | 2600 fps | ••• | |
| ••• | 2.515" | 24.0" | 2697 fps | ••• | |
| ••• | 2.515" | 24.0" | 2792 fps | ••• | |
| ••• | 2.515" | 24.0" | 2488 fps | ••• | |
| ••• | 2.515" | 24.0" | 2582 fps | ••• | |
| ••• | 2.515" | 24.0" | 2682 fps | ••• | |
| ••• | 2.515" | 24.0" | 2779 fps | ••• | |
| ••• | 2.515" | 24.0" | 2456 fps | ••• | |
| ••• | 2.515" | 24.0" | 2585 fps | ••• | |
| ••• | 2.515" | 24.0" | 2711 fps | ••• | |
| ••• | 2.515" | 24.0" | 2828 fps | ••• | |
| ••• | 2.515" | 24.0" | 2930 fps | ••• | |
| ••• | 2.515" | 24.0" | 2588 fps | ••• | |
| ••• | 2.515" | 24.0" | 2691 fps | ••• | |
| ••• | 2.515" | 24.0" | 2801 fps | ••• | |
| ••• | 2.515" | 24.0" | 2528 fps | ••• | |
| ••• | 2.515" | 24.0" | 2645 fps | ••• | |
| ••• | 2.515" | 24.0" | 2754 fps | ••• | |
| ••• | 2.515" | 24.0" | 2862 fps | ••• | |
| ••• | 2.515" | 24.0" | 2464 fps | ••• | |
| ••• | 2.515" | 24.0" | 2582 fps | ••• | |
| ••• | 2.515" | 24.0" | 2689 fps | ••• | |
| ••• | 2.515" | 24.0" | 2783 fps | ••• | |
| ••• | 2.515" | 24.0" | 2646 fps | ••• | |
| ••• | 2.515" | 24.0" | 2764 fps | ••• | |
| ••• | 2.515" | 24.0" | 2875 fps | ••• | |
| ••• | 2.515" | 24.0" | 2380 fps | ••• | |
| ••• | 2.515" | 24.0" | 2482 fps | ••• | |
| ••• | 2.515" | 24.0" | 2584 fps | ••• | |
| ••• | 2.515" | 24.0" | 2694 fps | ••• | |
| ••• | 2.515" | 24.0" | 2811 fps | ••• | |
| ••• | 2.515" | 24.0" | 2644 fps | ••• | |
| ••• | 2.515" | 24.0" | 2747 fps | ••• | |
| ••• | 2.515" | 24.0" | 2627 fps | ••• | |
| ••• | 2.515" | 24.0" | 2745 fps | ••• | |
| ••• | 2.515" | 24.0" | 2852 fps | ••• | |
| ••• | 2.515" | 24.0" | 2520 fps | ••• | |
| ••• | 2.515" | 24.0" | 2612 fps | ••• | |
| ••• | 2.515" | 24.0" | 2705 fps | ••• | |
| ••• | 2.515" | 24.0" | 2669 fps | ••• | |
| ••• | 2.515" | 24.0" | 2769 fps | ••• | |
| ••• | 2.515" | 24.0" | 2861 fps | ••• | |
| ••• | 2.515" | 24.0" | 2684 fps | ••• | |
| ••• | 2.515" | 24.0" | 2789 fps | ••• | |
| ••• | 2.515" | 24.0" | 2448 fps | ••• | |
| ••• | 2.515" | 24.0" | 2538 fps | ••• | |
| ••• | 2.515" | 24.0" | 2641 fps | ••• | |
| ••• | 2.515" | 24.0" | 2751 fps | ••• | |
Charge weights beyond the first rows and all pressure values are only visible with an active Pro licence.