
Load data for .243 WSSM + 62gr Barnes Varmint Grenade FB
Based on C.I.P., the max. allowed case length is 1.670 in / 42.42 mm, the max. cartridge length is 2.360 in / 59.94 mm, and the max. allowed pressure is 63,817 PSI / 4,400 bar.
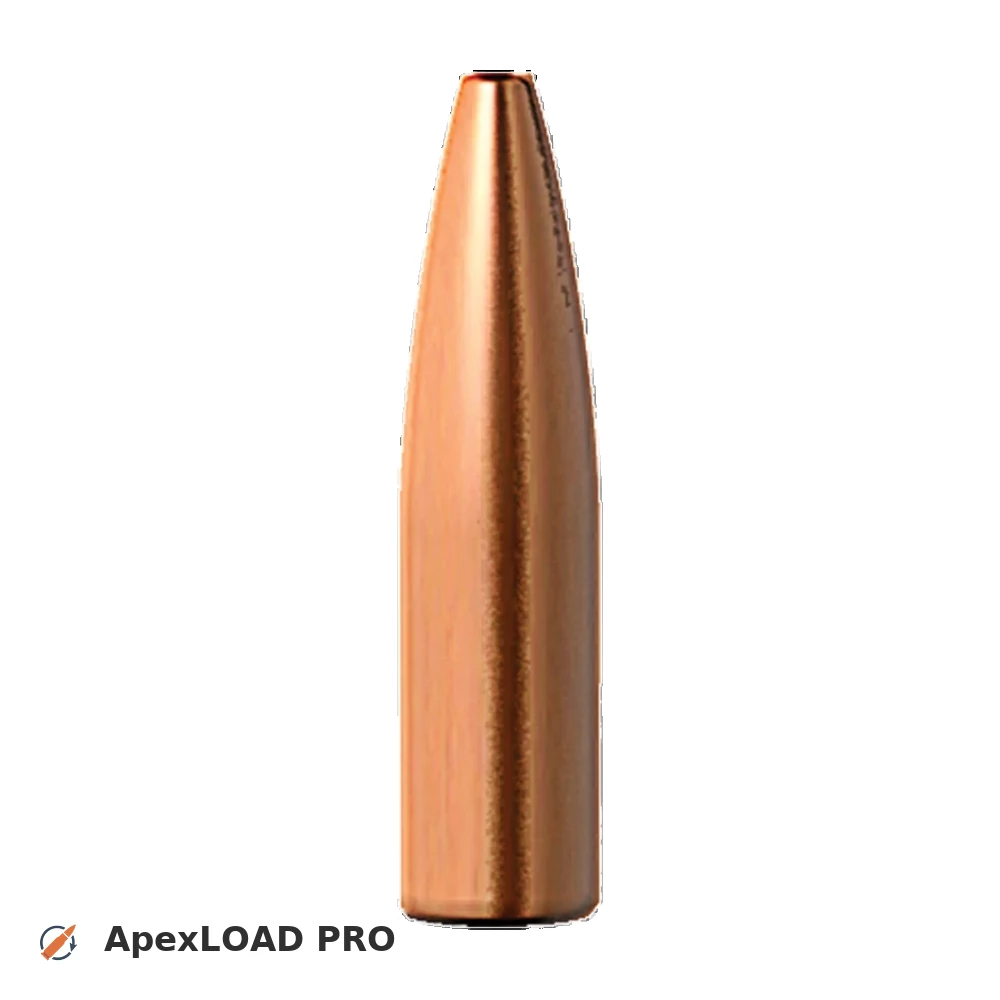
Based on C.I.P., the max. allowed case length is 1.670 in / 42.42 mm, the max. cartridge length is 2.360 in / 59.94 mm, and the max. allowed pressure is 63,817 PSI / 4,400 bar.
Load Specifications
ImperialMetric
Cartridge:.243 WSSM load data
Case Length (L3):1.663" | 42.2 mm
Cartridge Length (COL/L6):•••
Seated Depth:0.401" | 10.2 mm
Case Capacity:53.9 gow | 3.49 cm³
Primer Size:Large Rifle (LR)
Max. Pressure (C.I.P.):63,817 psi | 4,400 bar
Barrel Length:24.0" | 610 mm
Min. Twist Rate:1:9.0
Get PRO license to unlock all data and calculators
Community Loads for .243 WSSM + 62gr Barnes Varmint Grenade FB
Real loads for this combination shared by our community. Charge weights are only fully visible with an active Pro licence.
| Powder | Charge (gr) | C.O.L. | Barrel Length | Velocity (fps) | Pressure (psi) |
|---|---|---|---|---|---|
| 45.0 gr | 2.360" | 24.0" | 3560 fps | ••• | |
| 38.0 gr | 2.240" | 24.0" | 3325 fps | ••• | |
| 40.0 gr | 2.240" | 24.0" | 3474 fps | ••• | |
| ••• | 2.240" | 24.0" | 3351 fps | ••• | |
| ••• | 2.240" | 24.0" | 3534 fps | ••• | |
| ••• | 2.240" | 24.0" | 3392 fps | ••• | |
| ••• | 2.240" | 24.0" | 3565 fps | ••• | |
| ••• | 2.240" | 24.0" | 3581 fps | ••• | |
| ••• | 2.240" | 24.0" | 3778 fps | ••• | |
| ••• | 2.240" | 24.0" | 3611 fps | ••• | |
| ••• | 2.240" | 24.0" | 3428 fps | ••• | |
| ••• | 2.240" | 24.0" | 3543 fps | ••• | |
| ••• | 2.240" | 24.0" | 3737 fps | ••• | |
| ••• | 2.240" | 24.0" | 3775 fps | ••• | |
| ••• | 2.240" | 24.0" | 3371 fps | ••• | |
| ••• | 2.240" | 24.0" | 3675 fps | ••• | |
| ••• | 2.240" | 24.0" | 3342 fps | ••• | |
| ••• | 2.240" | 24.0" | 3491 fps | ••• | |
| ••• | 2.240" | 24.0" | 3433 fps | ••• | |
| ••• | 2.240" | 24.0" | 3618 fps | ••• | |
| ••• | 2.240" | 24.0" | 3352 fps | ••• | |
| ••• | 2.240" | 24.0" | 3496 fps | ••• | |
| ••• | 2.240" | 24.0" | 3317 fps | ••• | |
| ••• | 2.240" | 24.0" | 3500 fps | ••• | |
| ••• | 2.240" | 24.0" | 3439 fps | ••• | |
| ••• | 2.240" | 24.0" | 3528 fps | ••• | |
| ••• | 2.240" | 24.0" | 3392 fps | ••• | |
| ••• | 2.240" | 24.0" | 3565 fps | ••• | |
| ••• | 2.240" | 24.0" | 3463 fps | ••• | |
| ••• | 2.240" | 24.0" | 3235 fps | ••• | |
| ••• | 2.240" | 24.0" | 3612 fps | ••• | |
| ••• | 2.240" | 24.0" | 3428 fps | ••• | |
| ••• | 2.240" | 24.0" | 3543 fps | ••• | |
| ••• | 2.240" | 24.0" | 3775 fps | ••• | |
| ••• | 2.240" | 24.0" | 3376 fps | ••• | |
| ••• | 2.240" | 24.0" | 3379 fps | ••• | |
| ••• | 2.240" | 24.0" | 3572 fps | ••• | |
| ••• | 2.240" | 24.0" | 3679 fps | ••• | |
Charge weights beyond the first rows and all pressure values are only visible with an active Pro licence.