
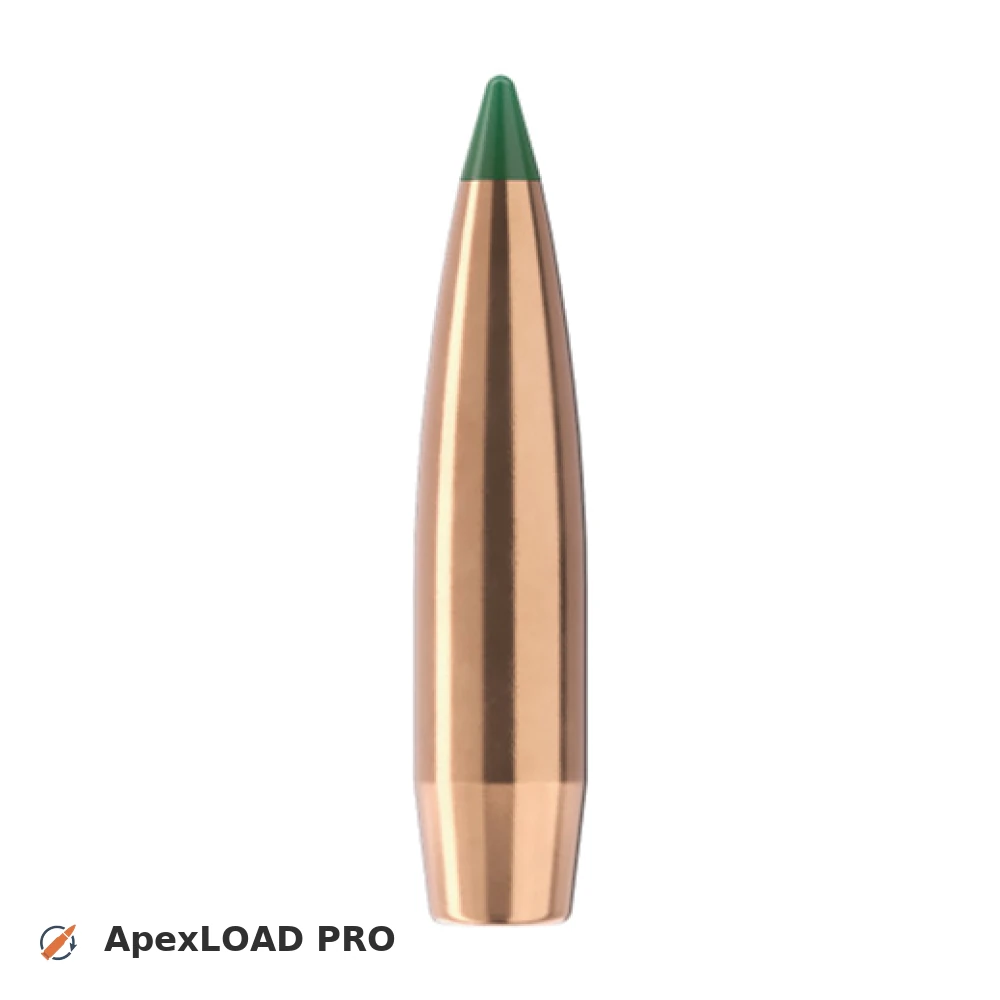
Load data for .240 Weath. Mag. + 95gr Sierra Tipped MatchKing
Based on C.I.P., the max. allowed case length is 2.500 in / 63.50 mm, the max. cartridge length is 3.100 in / 78.74 mm, and the max. allowed pressure is 63,817 PSI / 4,400 bar.
Based on C.I.P., the max. allowed case length is 2.500 in / 63.50 mm, the max. cartridge length is 3.100 in / 78.74 mm, and the max. allowed pressure is 63,817 PSI / 4,400 bar.
Load Specifications
ImperialMetric
Cartridge:.240 Weath. Mag. load data
Case Length (L3):2.500" | 63.5 mm
Cartridge Length (COL/L6):•••
Seated Depth:0.328" | 8.3 mm
Case Capacity:64 gow | 4.15 cm³
Primer Size:Large Rifle (LR)
Max. Pressure (C.I.P.):63,817 psi | 4,400 bar
Barrel Length:24.0" | 610 mm
Min. Twist Rate:1:8.5
Get PRO license to unlock all data and calculators
Community Loads for .240 Weath. Mag. + 95gr Sierra Tipped MatchKing
Real loads for this combination shared by our community. Charge weights are only fully visible with an active Pro licence.
| Powder | Charge (gr) | C.O.L. | Barrel Length | Velocity (fps) | Pressure (psi) |
|---|---|---|---|---|---|
| 43.8 gr | 3.350" | 24.0" | 2957 fps | ••• | |
| 45.9 gr | 3.350" | 24.0" | 3078 fps | ••• | |
| 47.7 gr | 3.350" | 24.0" | 3179 fps | ••• | |
| ••• | 3.350" | 24.0" | 2906 fps | ••• | |
| ••• | 3.350" | 24.0" | 3038 fps | ••• | |
| ••• | 3.350" | 24.0" | 3144 fps | ••• | |
| ••• | 3.350" | 24.0" | 3189 fps | ••• | |
| ••• | 3.350" | 24.0" | 2839 fps | ••• | |
| ••• | 3.350" | 24.0" | 2946 fps | ••• | |
| ••• | 3.350" | 24.0" | 3040 fps | ••• | |
| ••• | 3.350" | 24.0" | 2905 fps | ••• | |
| ••• | 3.350" | 24.0" | 3016 fps | ••• | |
| ••• | 3.350" | 24.0" | 3122 fps | ••• | |
| ••• | 3.350" | 24.0" | 2976 fps | ••• | |
| ••• | 3.350" | 24.0" | 3041 fps | ••• | |
| ••• | 3.350" | 24.0" | 3030 fps | ••• | |
| ••• | 3.350" | 24.0" | 3114 fps | ••• | |
| ••• | 3.350" | 24.0" | 3153 fps | ••• | |
| ••• | 3.350" | 24.0" | 2755 fps | ••• | |
| ••• | 3.350" | 24.0" | 2856 fps | ••• | |
| ••• | 3.350" | 24.0" | 2960 fps | ••• | |
| ••• | 3.350" | 24.0" | 3067 fps | ••• | |
| ••• | 3.350" | 24.0" | 2852 fps | ••• | |
| ••• | 3.350" | 24.0" | 2956 fps | ••• | |
| ••• | 3.350" | 24.0" | 3045 fps | ••• | |
| ••• | 3.350" | 24.0" | 2892 fps | ••• | |
| ••• | 3.350" | 24.0" | 3018 fps | ••• | |
| ••• | 3.350" | 24.0" | 3129 fps | ••• | |
| ••• | 3.350" | 24.0" | 3187 fps | ••• | |
| ••• | 3.350" | 24.0" | 2935 fps | ••• | |
| ••• | 3.350" | 24.0" | 3029 fps | ••• | |
| ••• | 3.350" | 24.0" | 3121 fps | ••• | |
| ••• | 3.350" | 24.0" | 3203 fps | ••• | |
| ••• | 3.350" | 24.0" | 2730 fps | ••• | |
| ••• | 3.350" | 24.0" | 2826 fps | ••• | |
| ••• | 3.350" | 24.0" | 2919 fps | ••• | |
| ••• | 3.350" | 24.0" | 2792 fps | ••• | |
| ••• | 3.350" | 24.0" | 2895 fps | ••• | |
| ••• | 3.350" | 24.0" | 2986 fps | ••• | |
| ••• | 3.350" | 24.0" | 3077 fps | ••• | |
| ••• | 3.350" | 24.0" | 3161 fps | ••• | |
| ••• | 3.350" | 24.0" | 3198 fps | ••• | |
| ••• | 3.350" | 24.0" | 2842 fps | ••• | |
| ••• | 3.350" | 24.0" | 2930 fps | ••• | |
| ••• | 3.350" | 24.0" | 3022 fps | ••• | |
| ••• | 3.350" | 24.0" | 3104 fps | ••• | |
| ••• | 3.350" | 24.0" | 2943 fps | ••• | |
| ••• | 3.350" | 24.0" | 3052 fps | ••• | |
| ••• | 3.350" | 24.0" | 3147 fps | ••• | |
| ••• | 3.350" | 24.0" | 3188 fps | ••• | |
Charge weights beyond the first rows and all pressure values are only visible with an active Pro licence.