
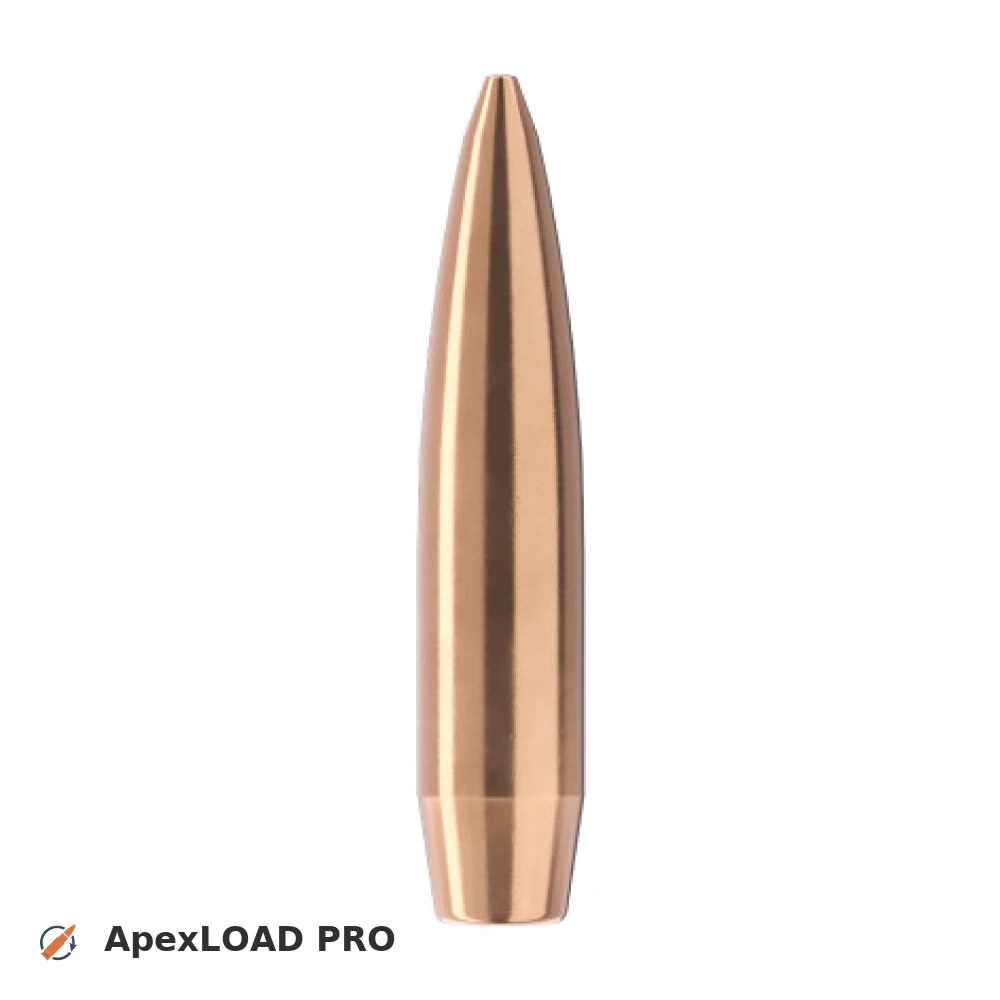
Load data for .240 Weath. Mag. + 107gr Sierra MatchKing
The most recommended powders for this combination are Alliant Power Pro Varmint.
Based on C.I.P., the max. allowed case length is 2.500 in / 63.50 mm, the max. cartridge length is 3.100 in / 78.74 mm, and the max. allowed pressure is 63,817 PSI / 4,400 bar.
Based on C.I.P., the max. allowed case length is 2.500 in / 63.50 mm, the max. cartridge length is 3.100 in / 78.74 mm, and the max. allowed pressure is 63,817 PSI / 4,400 bar.
Load Specifications
ImperialMetric
Bullet:.243 | 107gr | MatchKing
Cartridge:.240 Weath. Mag. load data
Case Length (L3):2.500" | 63.5 mm
Cartridge Length (COL/L6):•••
Seated Depth:0.667" | 16.9 mm
Case Capacity:64 gow | 4.15 cm³
Primer Size:Large Rifle (LR)
Max. Pressure (C.I.P.):63,817 psi | 4,400 bar
Barrel Length:24.0" | 610 mm
Min. Twist Rate:1:8.0
Get PRO license to unlock all data and calculators
Community Loads for .240 Weath. Mag. + 107gr Sierra MatchKing
Real loads for this combination shared by our community. Charge weights are only fully visible with an active Pro licence.
| Powder | Charge (gr) | C.O.L. | Barrel Length | Velocity (fps) | Pressure (psi) |
|---|---|---|---|---|---|
| 44.6 gr | 3.100" | 24.0" | 2753 fps | ••• | |
| 46.4 gr | 3.100" | 24.0" | 2854 fps | ••• | |
| 47.9 gr | 3.100" | 24.0" | 2937 fps | ••• | |
| ••• | 3.100" | 24.0" | 2688 fps | ••• | |
| ••• | 3.100" | 24.0" | 2748 fps | ••• | |
| ••• | 3.100" | 24.0" | 2801 fps | ••• | |
| ••• | 3.100" | 24.0" | 2859 fps | ••• | |
| ••• | 3.100" | 24.0" | 2916 fps | ••• | |
| ••• | 3.100" | 24.0" | 2846 fps | ••• | |
| ••• | 3.100" | 24.0" | 2962 fps | ••• | |
| ••• | 3.100" | 24.0" | 3047 fps | ••• | |
| ••• | 3.100" | 24.0" | 3090 fps | ••• | |
| ••• | 3.100" | 24.0" | 2704 fps | ••• | |
| ••• | 3.100" | 24.0" | 2775 fps | ••• | |
| ••• | 3.100" | 24.0" | 2843 fps | ••• | |
| ••• | 3.100" | 24.0" | 2903 fps | ••• | |
| ••• | 3.100" | 24.0" | 2760 fps | ••• | |
| ••• | 3.100" | 24.0" | 2828 fps | ••• | |
| ••• | 3.100" | 24.0" | 2697 fps | ••• | |
| ••• | 3.100" | 24.0" | 2750 fps | ••• | |
| ••• | 3.100" | 24.0" | 2797 fps | ••• | |
| ••• | 3.100" | 24.0" | 2843 fps | ••• | |
| ••• | 3.100" | 24.0" | 2716 fps | ••• | |
| ••• | 3.100" | 24.0" | 2837 fps | ••• | |
| ••• | 3.100" | 24.0" | 2937 fps | ••• | |
| ••• | 3.100" | 24.0" | 3018 fps | ••• | |
| ••• | 3.100" | 24.0" | 3081 fps | ••• | |
| ••• | 3.100" | 24.0" | 3124 fps | ••• | |
| ••• | 3.100" | 24.0" | 2682 fps | ••• | |
| ••• | 3.100" | 24.0" | 2731 fps | ••• | |
| ••• | 3.100" | 24.0" | 2787 fps | ••• | |
| ••• | 3.100" | 24.0" | 2666 fps | ••• | |
| ••• | 3.100" | 24.0" | 2784 fps | ••• | |
| ••• | 3.100" | 24.0" | 2837 fps | ••• | |
| ••• | 3.100" | 24.0" | 2894 fps | ••• | |
| ••• | 3.100" | 24.0" | 2955 fps | ••• | |
| ••• | 3.100" | 24.0" | 3013 fps | ••• | |
| ••• | 3.100" | 24.0" | 3065 fps | ••• | |
| ••• | 3.100" | 24.0" | 2788 fps | ••• | |
| ••• | 3.100" | 24.0" | 2852 fps | ••• | |
| ••• | 3.100" | 24.0" | 2908 fps | ••• | |
| ••• | 3.100" | 24.0" | 2961 fps | ••• | |
| ••• | 3.100" | 24.0" | 3013 fps | ••• | |
| ••• | 3.100" | 24.0" | 3059 fps | ••• | |
| ••• | 3.100" | 24.0" | 2750 fps | ••• | |
| ••• | 3.100" | 24.0" | 2847 fps | ••• | |
| ••• | 3.100" | 24.0" | 2931 fps | ••• | |
| ••• | 3.100" | 24.0" | 2992 fps | ••• | |
| ••• | 3.100" | 24.0" | 3038 fps | ••• | |
Charge weights beyond the first rows and all pressure values are only visible with an active Pro licence.