
Load data for .224 Valkyrie + 77gr Sierra Tipped MatchKing
Based on SAAMI, the max. allowed case length is 1.600 in / 40.64 mm, the max. cartridge length is 2.260 in / 57.40 mm, and the max. allowed pressure is 55,000 PSI / 3,792 bar.
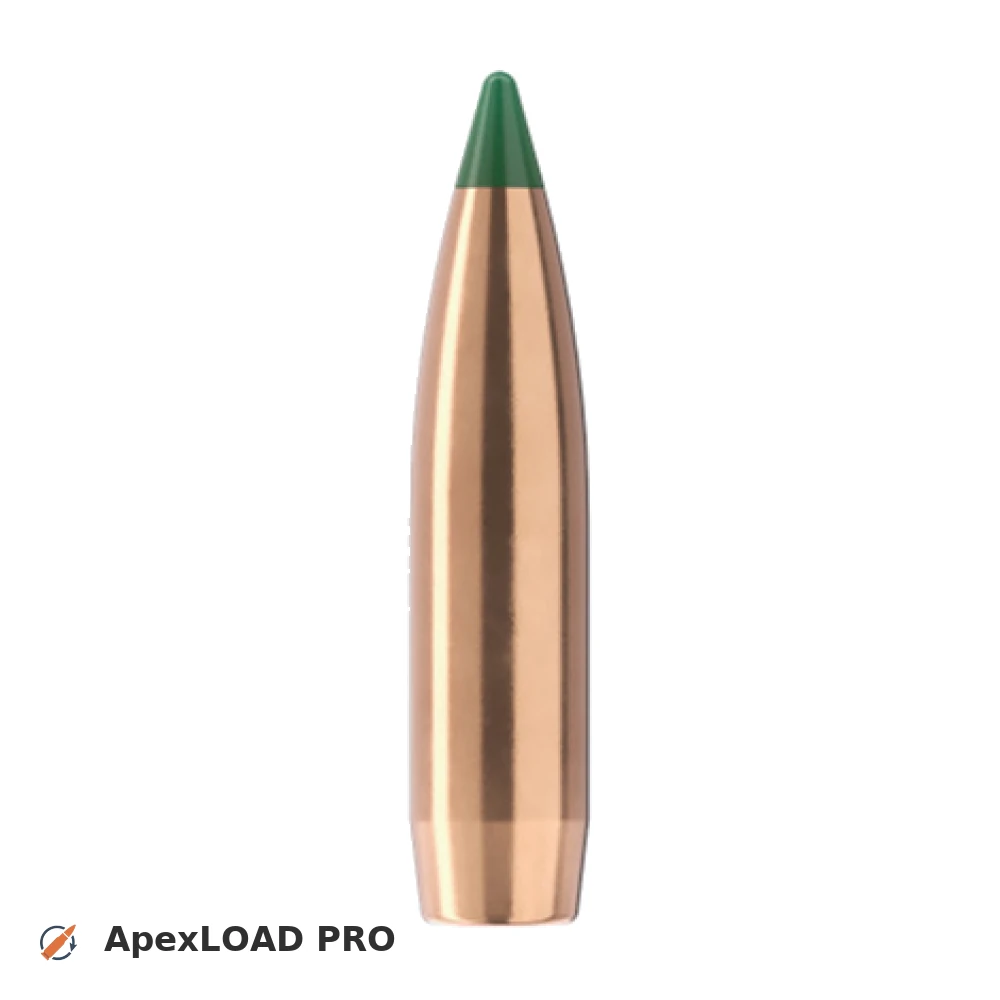
Based on SAAMI, the max. allowed case length is 1.600 in / 40.64 mm, the max. cartridge length is 2.260 in / 57.40 mm, and the max. allowed pressure is 55,000 PSI / 3,792 bar.
Load Specifications
ImperialMetric
Cartridge:.224 Valkyrie load data
Case Length (L3):1.600" | 40.6 mm
Cartridge Length (COL/L6):•••
Seated Depth:0.461" | 11.7 mm
Case Capacity:31.5 gow | 2.04 cm³
Primer Size:Small Rifle (SR)
Max. Pressure (SAAMI):55,000 psi | 3,792 bar
Barrel Length:24.0" | 610 mm
Min. Twist Rate:1:8.5
Get PRO license to unlock all data and calculators
Community Loads for .224 Valkyrie + 77gr Sierra Tipped MatchKing
Real loads for this combination shared by our community. Charge weights are only fully visible with an active Pro licence.
| Powder | Charge (gr) | C.O.L. | Barrel Length | Velocity (fps) | Pressure (psi) |
|---|---|---|---|---|---|
| 21.0 gr | 2.260" | 24.0" | 2454 fps | ••• | |
| 21.8 gr | 2.200" | 24.0" | 2533 fps | ••• | |
| 22.8 gr | 2.260" | 24.0" | 2615 fps | ••• | |
| ••• | 2.200" | 24.0" | 2646 fps | ••• | |
| ••• | 2.200" | 24.0" | 2759 fps | ••• | |
| ••• | 2.260" | 24.0" | 2628 fps | ••• | |
| ••• | 2.200" | 24.0" | 2410 fps | ••• | |
| ••• | 2.200" | 24.0" | 2503 fps | ••• | |
| ••• | 2.260" | 24.0" | 2515 fps | ••• | |
| ••• | 2.200" | 24.0" | 2616 fps | ••• | |
| ••• | 2.200" | 24.0" | 2718 fps | ••• | |
| ••• | 2.200" | 24.0" | 2565 fps | ••• | |
| ••• | 2.200" | 24.0" | 2674 fps | ••• | |
| ••• | 2.200" | 24.0" | 2516 fps | ••• | |
| ••• | 2.200" | 24.0" | 2631 fps | ••• | |
| ••• | 2.200" | 24.0" | 2734 fps | ••• | |
| ••• | 2.200" | 24.0" | 2391 fps | ••• | |
| ••• | 2.200" | 24.0" | 2487 fps | ••• | |
| ••• | 2.200" | 24.0" | 2591 fps | ••• | |
| ••• | 2.200" | 24.0" | 2418 fps | ••• | |
| ••• | 2.200" | 24.0" | 2506 fps | ••• | |
| ••• | 2.200" | 24.0" | 2607 fps | ••• | |
| ••• | 2.200" | 24.0" | 2697 fps | ••• | |
| ••• | 2.200" | 24.0" | 2659 fps | ••• | |
| ••• | 2.200" | 24.0" | 2681 fps | ••• | |
| ••• | 2.200" | 24.0" | 2498 fps | ••• | |
| ••• | 2.200" | 24.0" | 2593 fps | ••• | |
| ••• | 2.200" | 24.0" | 2689 fps | ••• | |
| ••• | 2.200" | 24.0" | 2409 fps | ••• | |
| ••• | 2.200" | 24.0" | 2504 fps | ••• | |
| ••• | 2.200" | 24.0" | 2598 fps | ••• | |
| ••• | 2.200" | 24.0" | 2693 fps | ••• | |
| ••• | 2.200" | 24.0" | 2451 fps | ••• | |
| ••• | 2.200" | 24.0" | 2535 fps | ••• | |
| ••• | 2.200" | 24.0" | 2629 fps | ••• | |
| ••• | 2.200" | 24.0" | 2723 fps | ••• | |
| ••• | 2.200" | 24.0" | 2404 fps | ••• | |
| ••• | 2.200" | 24.0" | 2497 fps | ••• | |
| ••• | 2.200" | 24.0" | 2589 fps | ••• | |
| ••• | 2.200" | 24.0" | 2501 fps | ••• | |
| ••• | 2.200" | 24.0" | 2594 fps | ••• | |
| ••• | 2.200" | 24.0" | 2687 fps | ••• | |
| ••• | 2.200" | 24.0" | 2558 fps | ••• | |
| ••• | 2.200" | 24.0" | 2672 fps | ••• | |
| ••• | 2.200" | 24.0" | 2469 fps | ••• | |
| ••• | 2.200" | 24.0" | 2570 fps | ••• | |
| ••• | 2.200" | 24.0" | 2335 fps | ••• | |
| ••• | 2.200" | 24.0" | 2435 fps | ••• | |
| ••• | 2.200" | 24.0" | 2523 fps | ••• | |
| ••• | 2.200" | 24.0" | 2612 fps | ••• | |
Charge weights beyond the first rows and all pressure values are only visible with an active Pro licence.