
Load data for .224 Valkyrie + 60gr Sierra Tipped MatchKing
Based on SAAMI, the max. allowed case length is 1.600 in / 40.64 mm, the max. cartridge length is 2.260 in / 57.40 mm, and the max. allowed pressure is 55,000 PSI / 3,792 bar.
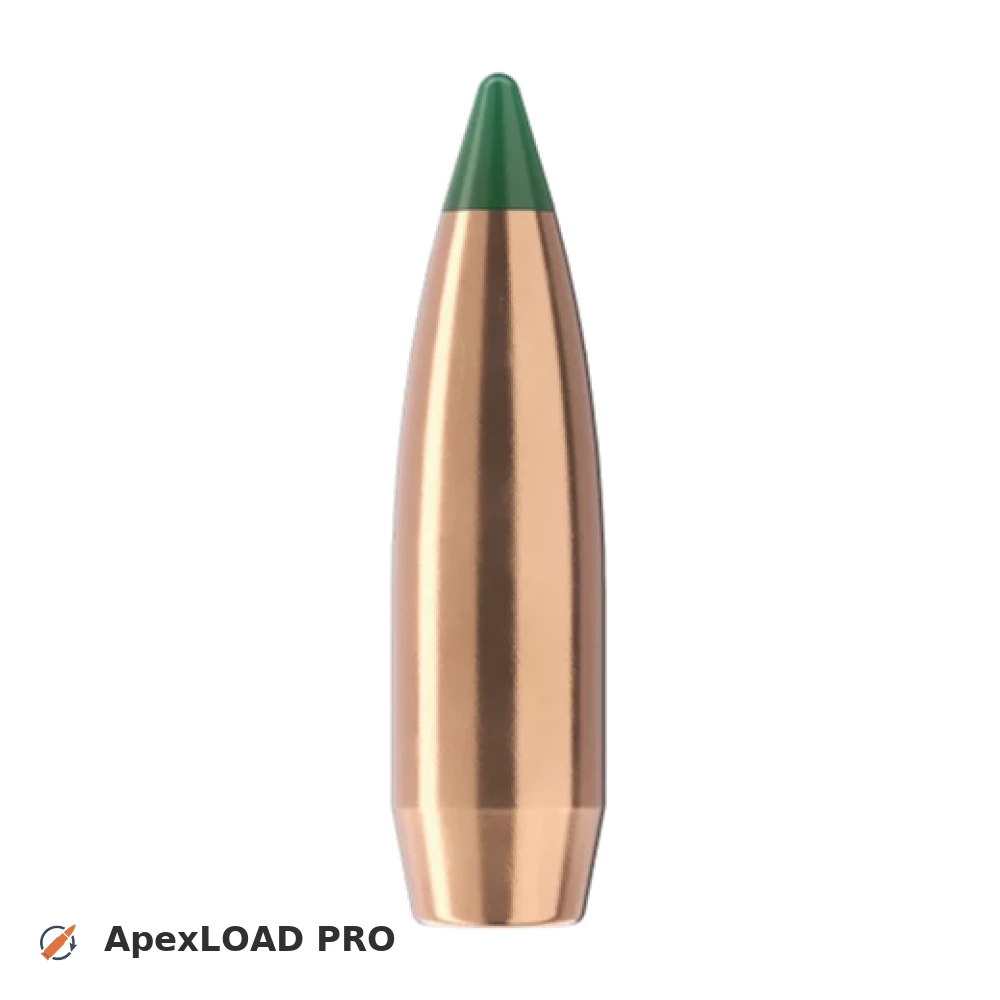
Based on SAAMI, the max. allowed case length is 1.600 in / 40.64 mm, the max. cartridge length is 2.260 in / 57.40 mm, and the max. allowed pressure is 55,000 PSI / 3,792 bar.
Load Specifications
ImperialMetric
Cartridge:.224 Valkyrie load data
Case Length (L3):1.600" | 40.6 mm
Cartridge Length (COL/L6):•••
Seated Depth:0.222" | 5.6 mm
Case Capacity:31.5 gow | 2.04 cm³
Primer Size:Small Rifle (SR)
Max. Pressure (SAAMI):55,000 psi | 3,792 bar
Barrel Length:24.0" | 610 mm
Min. Twist Rate:1:10.0
Get PRO license to unlock all data and calculators
Community Loads for .224 Valkyrie + 60gr Sierra Tipped MatchKing
Real loads for this combination shared by our community. Charge weights are only fully visible with an active Pro licence.
| Powder | Charge (gr) | C.O.L. | Barrel Length | Velocity (fps) | Pressure (psi) |
|---|---|---|---|---|---|
| 22.0 gr | 2.230" | 24.0" | 2576 fps | ••• | |
| 23.0 gr | 2.230" | 24.0" | 2685 fps | ••• | |
| 23.9 gr | 2.230" | 24.0" | 2783 fps | ••• | |
| ••• | 2.230" | 24.0" | 2742 fps | ••• | |
| ••• | 2.230" | 24.0" | 2851 fps | ••• | |
| ••• | 2.230" | 24.0" | 2959 fps | ••• | |
| ••• | 2.230" | 24.0" | 2764 fps | ••• | |
| ••• | 2.230" | 24.0" | 2884 fps | ••• | |
| ••• | 2.230" | 24.0" | 2994 fps | ••• | |
| ••• | 2.230" | 24.0" | 2622 fps | ••• | |
| ••• | 2.230" | 24.0" | 2738 fps | ••• | |
| ••• | 2.230" | 24.0" | 2856 fps | ••• | |
| ••• | 2.230" | 24.0" | 2974 fps | ••• | |
| ••• | 2.230" | 24.0" | 2537 fps | ••• | |
| ••• | 2.230" | 24.0" | 2633 fps | ••• | |
| ••• | 2.230" | 24.0" | 2710 fps | ••• | |
| ••• | 2.230" | 24.0" | 2776 fps | ••• | |
| ••• | 2.230" | 24.0" | 2589 fps | ••• | |
| ••• | 2.230" | 24.0" | 2680 fps | ••• | |
| ••• | 2.230" | 24.0" | 2784 fps | ••• | |
| ••• | 2.230" | 24.0" | 2900 fps | ••• | |
| ••• | 2.230" | 24.0" | 2833 fps | ••• | |
| ••• | 2.230" | 24.0" | 2947 fps | ••• | |
| ••• | 2.230" | 24.0" | 3061 fps | ••• | |
| ••• | 2.230" | 24.0" | 2827 fps | ••• | |
| ••• | 2.230" | 24.0" | 2676 fps | ••• | |
| ••• | 2.230" | 24.0" | 2774 fps | ••• | |
| ••• | 2.230" | 24.0" | 2873 fps | ••• | |
| ••• | 2.230" | 24.0" | 2619 fps | ••• | |
| ••• | 2.230" | 24.0" | 2715 fps | ••• | |
| ••• | 2.230" | 24.0" | 2824 fps | ••• | |
| ••• | 2.230" | 24.0" | 2933 fps | ••• | |
| ••• | 2.230" | 24.0" | 3052 fps | ••• | |
| ••• | 2.230" | 24.0" | 2570 fps | ••• | |
| ••• | 2.230" | 24.0" | 2667 fps | ••• | |
| ••• | 2.230" | 24.0" | 2764 fps | ••• | |
| ••• | 2.230" | 24.0" | 2862 fps | ••• | |
| ••• | 2.230" | 24.0" | 2565 fps | ••• | |
| ••• | 2.230" | 24.0" | 2657 fps | ••• | |
| ••• | 2.230" | 24.0" | 2751 fps | ••• | |
| ••• | 2.230" | 24.0" | 2734 fps | ••• | |
| ••• | 2.230" | 24.0" | 2841 fps | ••• | |
| ••• | 2.230" | 24.0" | 2938 fps | ••• | |
| ••• | 2.230" | 24.0" | 2724 fps | ••• | |
| ••• | 2.230" | 24.0" | 2844 fps | ••• | |
| ••• | 2.230" | 24.0" | 2985 fps | ••• | |
| ••• | 2.230" | 24.0" | 2549 fps | ••• | |
| ••• | 2.230" | 24.0" | 2643 fps | ••• | |
| ••• | 2.230" | 24.0" | 2724 fps | ••• | |
| ••• | 2.230" | 24.0" | 2818 fps | ••• | |
Charge weights beyond the first rows and all pressure values are only visible with an active Pro licence.