
Load data for .223 Rem. + 90gr Sierra HPBT MatchKinging
Based on SAAMI, the max. allowed case length is 1.760 in / 44.70 mm, the max. cartridge length is 2.260 in / 57.40 mm, and the max. allowed pressure is 55,000 PSI / 3,792 bar.
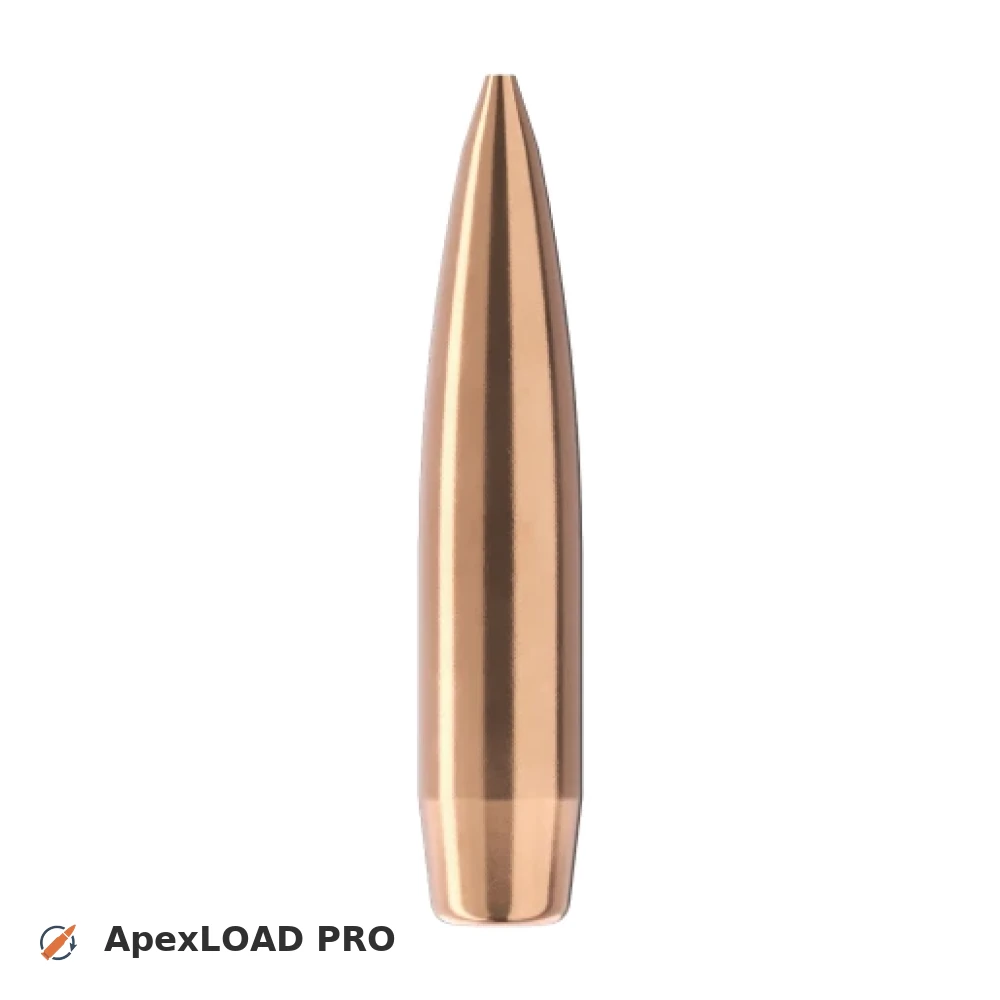
Based on SAAMI, the max. allowed case length is 1.760 in / 44.70 mm, the max. cartridge length is 2.260 in / 57.40 mm, and the max. allowed pressure is 55,000 PSI / 3,792 bar.
Load Specifications
ImperialMetric
Cartridge:.223 Rem. load data
Case Length (L3):1.759" | 44.7 mm
Cartridge Length (COL/L6):•••
Seated Depth:0.509" | 12.9 mm
Case Capacity:30 gow | 1.94 cm³
Primer Size:Small Rifle (SR)
Max. Pressure (SAAMI):55,000 psi | 3,792 bar
Barrel Length:24.0" | 610 mm
Min. Twist Rate:1:7.5
Get PRO license to unlock all data and calculators
Community Loads for .223 Rem. + 90gr Sierra HPBT MatchKinging
Real loads for this combination shared by our community. Charge weights are only fully visible with an active Pro licence.
| Powder | Charge (gr) | C.O.L. | Barrel Length | Velocity (fps) | Pressure (psi) |
|---|---|---|---|---|---|
| 19.6 gr | 2.380" | 24.0" | 2462 fps | ••• | |
| 19.7 gr | 2.380" | 24.0" | 2381 fps | ••• | |
| 18.6 gr | 2.380" | 24.0" | 2229 fps | ••• | |
| ••• | 2.430" | 24.0" | 2287 fps | ••• | |
| ••• | 2.430" | 24.0" | 2387 fps | ••• | |
| ••• | 2.380" | 24.0" | 2473 fps | ••• | |
| ••• | 2.430" | 24.0" | 2475 fps | ••• | |
| ••• | 2.430" | 24.0" | 2152 fps | ••• | |
| ••• | 2.430" | 24.0" | 2253 fps | ••• | |
| ••• | 2.430" | 24.0" | 2351 fps | ••• | |
| ••• | 2.430" | 24.0" | 2439 fps | ••• | |
| ••• | 2.430" | 24.0" | 2272 fps | ••• | |
| ••• | 2.430" | 24.0" | 2373 fps | ••• | |
| ••• | 2.430" | 24.0" | 2485 fps | ••• | |
| ••• | 2.430" | 24.0" | 2246 fps | ••• | |
| ••• | 2.430" | 24.0" | 2350 fps | ••• | |
| ••• | 2.430" | 24.0" | 2442 fps | ••• | |
| ••• | 2.430" | 24.0" | 2171 fps | ••• | |
| ••• | 2.430" | 24.0" | 2270 fps | ••• | |
| ••• | 2.430" | 24.0" | 2368 fps | ••• | |
| ••• | 2.380" | 24.0" | 2417 fps | ••• | |
| ••• | 2.430" | 24.0" | 2439 fps | ••• | |
| ••• | 2.380" | 24.0" | 2480 fps | ••• | |
| ••• | 2.430" | 24.0" | 2546 fps | ••• | |
| ••• | 2.380" | 24.0" | 2356 fps | ••• | |
| ••• | 2.430" | 24.0" | 2318 fps | ••• | |
| ••• | 2.380" | 24.0" | 2427 fps | ••• | |
| ••• | 2.430" | 24.0" | 2420 fps | ••• | |
| ••• | 2.430" | 24.0" | 2243 fps | ••• | |
| ••• | 2.430" | 24.0" | 2345 fps | ••• | |
| ••• | 2.430" | 24.0" | 2457 fps | ••• | |
| ••• | 2.380" | 24.0" | 2230 fps | ••• | |
| ••• | 2.380" | 24.0" | 2482 fps | ••• | |
| ••• | 2.380" | 24.0" | 2228 fps | ••• | |
| ••• | 2.380" | 24.0" | 2391 fps | ••• | |
| ••• | 2.430" | 24.0" | 2425 fps | ••• | |
| ••• | 2.430" | 24.0" | 2527 fps | ••• | |
| ••• | 2.380" | 24.0" | 2321 fps | ••• | |
| ••• | 2.430" | 24.0" | 2333 fps | ••• | |
| ••• | 2.380" | 24.0" | 2305 fps | ••• | |
| ••• | 2.430" | 24.0" | 2279 fps | ••• | |
| ••• | 2.430" | 24.0" | 2375 fps | ••• | |
| ••• | 2.430" | 24.0" | 2460 fps | ••• | |
| ••• | 2.354" | 25.0" | 2567 fps | ••• | |
| ••• | 2.354" | 25.0" | 2136 fps | ••• | |
| ••• | 2.354" | 25.0" | 2358 fps | ••• | |
| ••• | 2.380" | 24.0" | 2315 fps | ••• | |
| ••• | 2.380" | 24.0" | 2356 fps | ••• | |
| ••• | 2.380" | 24.0" | 2410 fps | ••• | |
| ••• | 2.380" | 24.0" | 2420 fps | ••• | |
Charge weights beyond the first rows and all pressure values are only visible with an active Pro licence.