
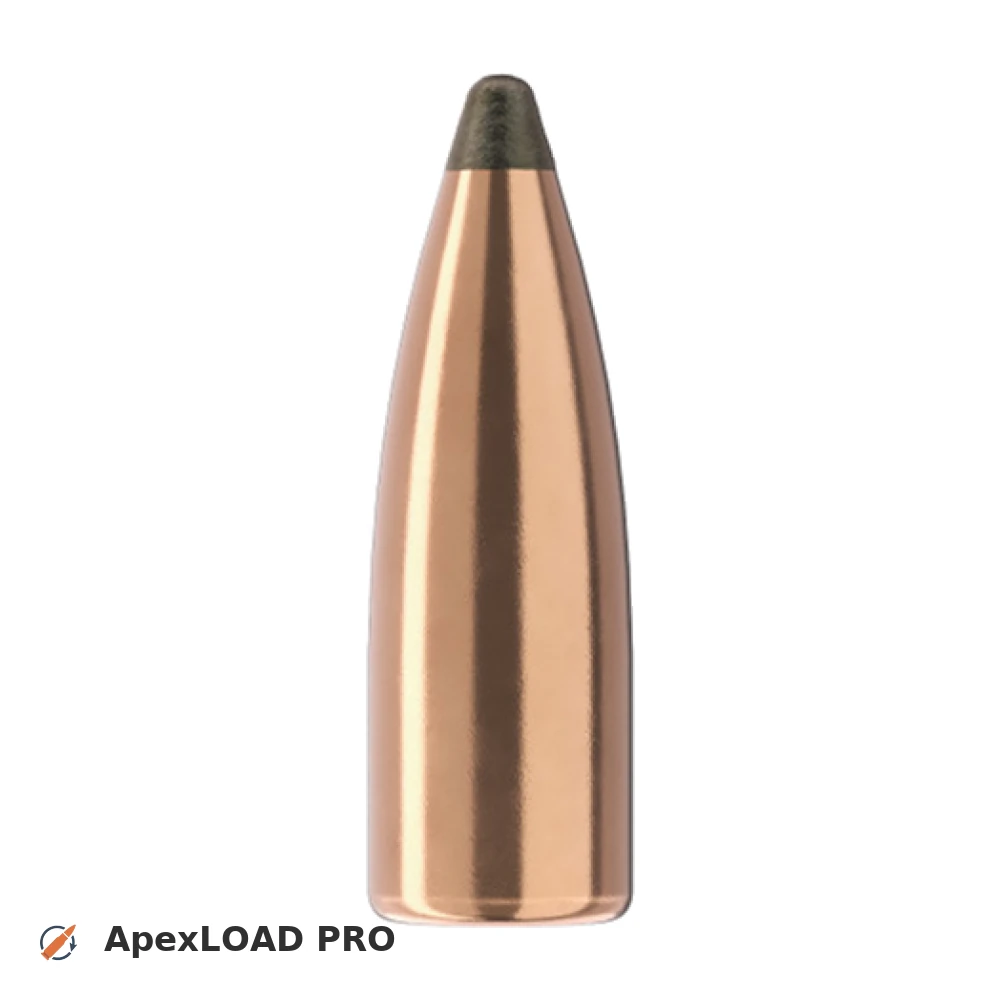
Load data for .223 Rem. + 55gr Sierra SP Blitz
The most recommended powders for this combination are Somchem S321.
Based on SAAMI, the max. allowed case length is 1.760 in / 44.70 mm, the max. cartridge length is 2.260 in / 57.40 mm, and the max. allowed pressure is 55,000 PSI / 3,792 bar.
Based on SAAMI, the max. allowed case length is 1.760 in / 44.70 mm, the max. cartridge length is 2.260 in / 57.40 mm, and the max. allowed pressure is 55,000 PSI / 3,792 bar.
Load Specifications
ImperialMetric
Bullet:.224 | 55gr | SP Blitz
Cartridge:.223 Rem. load data
Case Length (L3):1.759" | 44.7 mm
Cartridge Length (COL/L6):•••
Seated Depth:0.231" | 5.9 mm
Case Capacity:30 gow | 1.94 cm³
Primer Size:Small Rifle (SR)
Max. Pressure (SAAMI):55,000 psi | 3,792 bar
Barrel Length:24.0" | 610 mm
Min. Twist Rate:1:12.0
Get PRO license to unlock all data and calculators
Community Loads for .223 Rem. + 55gr Sierra SP Blitz
Real loads for this combination shared by our community. Charge weights are only fully visible with an active Pro licence.
| Powder | Charge (gr) | C.O.L. | Barrel Length | Velocity (fps) | Pressure (psi) |
|---|---|---|---|---|---|
| 22.4 gr | 2.250" | 20.0" | 2784 fps | ••• | |
| 23.1 gr | 2.250" | 20.0" | 2861 fps | ••• | |
| 23.8 gr | 2.250" | 20.0" | 2937 fps | ••• | |
| ••• | 2.250" | 20.0" | 2817 fps | ••• | |
| ••• | 2.250" | 20.0" | 2900 fps | ••• | |
| ••• | 2.250" | 20.0" | 2983 fps | ••• | |
| ••• | 2.250" | 20.0" | 3065 fps | ••• | |
| ••• | 2.250" | 20.0" | 2787 fps | ••• | |
| ••• | 2.250" | 20.0" | 2861 fps | ••• | |
| ••• | 2.250" | 20.0" | 2937 fps | ••• | |
| ••• | 2.250" | 20.0" | 2848 fps | ••• | |
| ••• | 2.250" | 20.0" | 2934 fps | ••• | |
| ••• | 2.250" | 20.0" | 3019 fps | ••• | |
| ••• | 2.250" | 20.0" | 2822 fps | ••• | |
| ••• | 2.250" | 20.0" | 2891 fps | ••• | |
| ••• | 2.250" | 20.0" | 2960 fps | ••• | |
| ••• | 2.250" | 20.0" | 2778 fps | ••• | |
| ••• | 2.250" | 20.0" | 2855 fps | ••• | |
| ••• | 2.250" | 20.0" | 2933 fps | ••• | |
| ••• | 2.250" | 20.0" | 3012 fps | ••• | |
| ••• | 2.250" | 20.0" | 2967 fps | ••• | |
| ••• | 2.250" | 20.0" | 3046 fps | ••• | |
| ••• | 2.250" | 20.0" | 2805 fps | ••• | |
| ••• | 2.250" | 20.0" | 2864 fps | ••• | |
| ••• | 2.250" | 20.0" | 2924 fps | ••• | |
| ••• | 2.250" | 20.0" | 2982 fps | ••• | |
| ••• | 2.250" | 20.0" | 2816 fps | ••• | |
| ••• | 2.250" | 20.0" | 2871 fps | ••• | |
| ••• | 2.250" | 20.0" | 2927 fps | ••• | |
| ••• | 2.250" | 20.0" | 2789 fps | ••• | |
| ••• | 2.250" | 20.0" | 2854 fps | ••• | |
| ••• | 2.250" | 20.0" | 2920 fps | ••• | |
| ••• | 2.250" | 20.0" | 2734 fps | ••• | |
| ••• | 2.250" | 20.0" | 2812 fps | ••• | |
| ••• | 2.250" | 20.0" | 2893 fps | ••• | |
| ••• | 2.260" | 23.7" | 3022 fps | ••• | |
| ••• | 2.260" | 23.7" | 3091 fps | ••• | |
| ••• | 2.260" | 23.7" | 3045 fps | ••• | |
| ••• | 2.250" | 20.0" | 2756 fps | ••• | |
| ••• | 2.250" | 20.0" | 2819 fps | ••• | |
| ••• | 2.250" | 20.0" | 2766 fps | ••• | |
| ••• | 2.250" | 20.0" | 2820 fps | ••• | |
| ••• | 2.250" | 20.0" | 2874 fps | ••• | |
| ••• | 2.250" | 20.0" | 2752 fps | ••• | |
| ••• | 2.250" | 20.0" | 2820 fps | ••• | |
| ••• | 2.250" | 20.0" | 2829 fps | ••• | |
| ••• | 2.250" | 20.0" | 2897 fps | ••• | |
| ••• | 2.250" | 20.0" | 2834 fps | ••• | |
| ••• | 2.250" | 20.0" | 2915 fps | ••• | |
| ••• | 2.250" | 20.0" | 2996 fps | ••• | |
| ••• | 2.250" | 20.0" | 2814 fps | ••• | |
| ••• | 2.250" | 20.0" | 2884 fps | ••• | |
| ••• | 2.250" | 20.0" | 2952 fps | ••• | |
Charge weights beyond the first rows and all pressure values are only visible with an active Pro licence.