
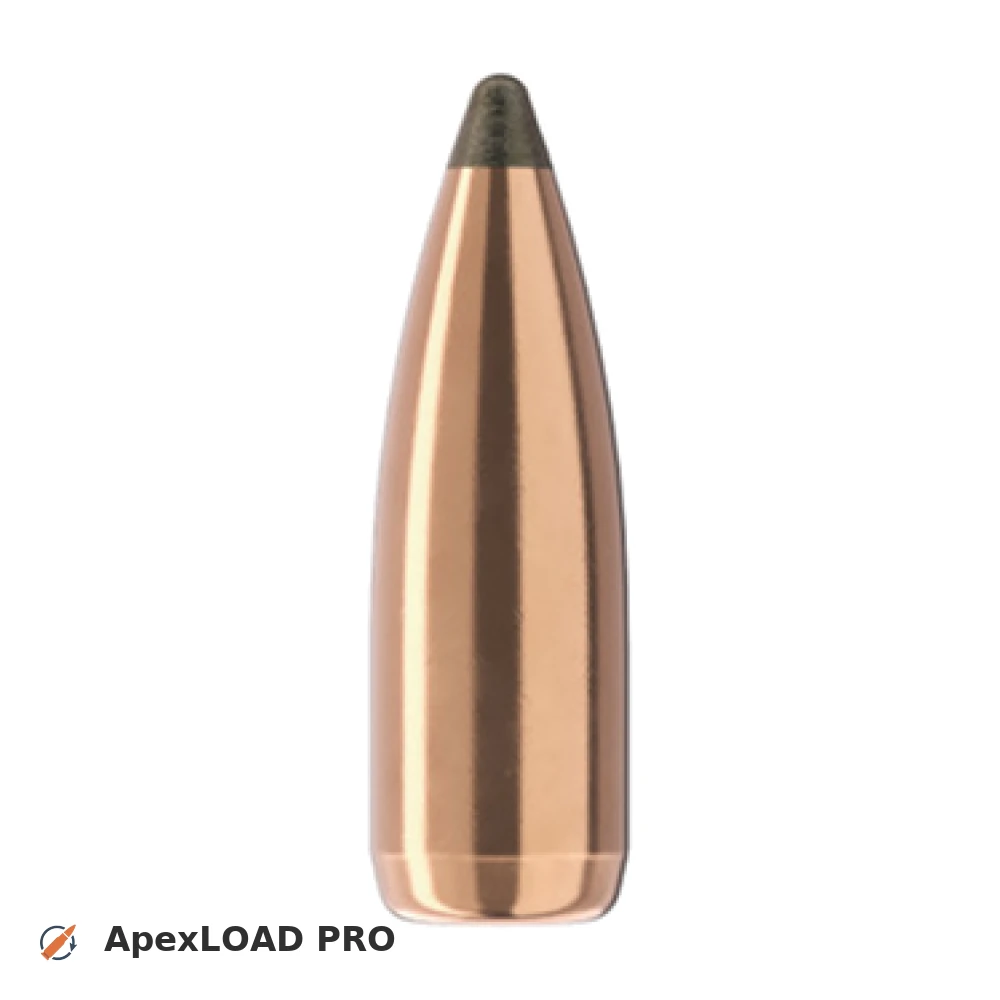
Load data for .223 Rem. + 55gr Sierra SBT GameKing
342 suitable loads across 57 powder(s) for cartridge .223 Rem. with 55gr Sierra SBT GameKing bullet.
The most recommended powders for this combination are Hodgdon H322, ADI AR 2207 and Alliant Reloder-10x.
Based on SAAMI, the max. allowed case length is 1.760 in / 44.70 mm, the max. cartridge length is 2.260 in / 57.40 mm, and the max. allowed pressure is 55,000 PSI / 3,792 bar.
Based on SAAMI, the max. allowed case length is 1.760 in / 44.70 mm, the max. cartridge length is 2.260 in / 57.40 mm, and the max. allowed pressure is 55,000 PSI / 3,792 bar.
Load Specifications
Get PRO license to unlock all data and calculators
Community Loads for .223 Rem. + 55gr Sierra SBT GameKing
Real loads for this combination shared by our community. Charge weights are only fully visible with an active Pro licence.
| Powder | Charge (gr) | C.O.L. | Barrel Length | Velocity (fps) | Pressure (psi) |
|---|---|---|---|---|---|
| 22.7 gr | 2.250" | 24.0" | 2901 fps | ••• | |
| 23.5 gr | 2.250" | 24.0" | 3000 fps | ••• | |
| 24.3 gr | 2.250" | 24.0" | 3096 fps | ••• | |
| ••• | 2.250" | 24.0" | 3192 fps | ••• | |
| ••• | 2.260" | 22.0" | 3045 fps | ••• | |
| ••• | 2.260" | 22.0" | 3031 fps | ••• | |
| ••• | 2.260" | 22.0" | 3074 fps | ••• | |
| ••• | 2.260" | 22.0" | 3189 fps | ••• | |
| ••• | 2.260" | 22.0" | 3127 fps | ••• | |
| ••• | 2.250" | 24.0" | 2674 fps | ••• | |
| ••• | 2.250" | 24.0" | 2759 fps | ••• | |
| ••• | 2.250" | 24.0" | 2855 fps | ••• | |
| ••• | 2.250" | 24.0" | 2937 fps | ••• | |
| ••• | 2.250" | 24.0" | 3031 fps | ••• | |
| ••• | 2.250" | 24.0" | 2913 fps | ••• | |
| ••• | 2.250" | 24.0" | 3006 fps | ••• | |
| ••• | 2.250" | 24.0" | 3096 fps | ••• | |
| ••• | 2.250" | 24.0" | 3184 fps | ••• | |
| ••• | 2.250" | 24.0" | 2765 fps | ••• | |
| ••• | 2.250" | 24.0" | 2835 fps | ••• | |
| ••• | 2.250" | 24.0" | 2916 fps | ••• | |
| ••• | 2.250" | 24.0" | 2997 fps | ••• | |
| ••• | 2.250" | 24.0" | 2780 fps | ••• | |
| ••• | 2.250" | 24.0" | 2869 fps | ••• | |
| ••• | 2.250" | 24.0" | 2957 fps | ••• | |
| ••• | 2.250" | 24.0" | 3024 fps | ••• | |
| ••• | 2.250" | 24.0" | 3088 fps | ••• | |
| ••• | 2.250" | 24.0" | 3035 fps | ••• | |
| ••• | 2.250" | 24.0" | 3121 fps | ••• | |
| ••• | 2.250" | 24.0" | 3205 fps | ••• | |
| ••• | 2.250" | 24.0" | 3281 fps | ••• | |
| ••• | 2.250" | 24.0" | 2719 fps | ••• | |
| ••• | 2.250" | 24.0" | 2798 fps | ••• | |
| ••• | 2.250" | 24.0" | 2880 fps | ••• | |
| ••• | 2.250" | 24.0" | 2983 fps | ••• | |
| ••• | 2.250" | 24.0" | 2647 fps | ••• | |
| ••• | 2.250" | 24.0" | 2716 fps | ••• | |
| ••• | 2.250" | 24.0" | 2785 fps | ••• | |
| ••• | 2.250" | 24.0" | 2867 fps | ••• | |
| ••• | 2.250" | 24.0" | 2949 fps | ••• | |
| ••• | 2.250" | 24.0" | 3029 fps | ••• | |
| ••• | 2.250" | 24.0" | 2550 fps | ••• | |
| ••• | 2.250" | 24.0" | 2628 fps | ••• | |
| ••• | 2.250" | 24.0" | 2711 fps | ••• | |
| ••• | 2.250" | 24.0" | 2790 fps | ••• | |
| ••• | 2.250" | 24.0" | 2883 fps | ••• | |
| ••• | 2.250" | 24.0" | 2949 fps | ••• | |
| ••• | 2.250" | 24.0" | 3028 fps | ••• | |
| ••• | 2.250" | 24.0" | 3109 fps | ••• | |
| ••• | 2.250" | 24.0" | 2891 fps | ••• | |
| ••• | 2.250" | 24.0" | 2955 fps | ••• | |
| ••• | 2.250" | 24.0" | 2836 fps | ••• | |
| ••• | 2.250" | 24.0" | 2919 fps | ••• | |
| ••• | 2.250" | 24.0" | 3024 fps | ••• | |
| ••• | 2.250" | 24.0" | 3118 fps | ••• | |
Charge weights beyond the first rows and all pressure values are only visible with an active Pro licence.