
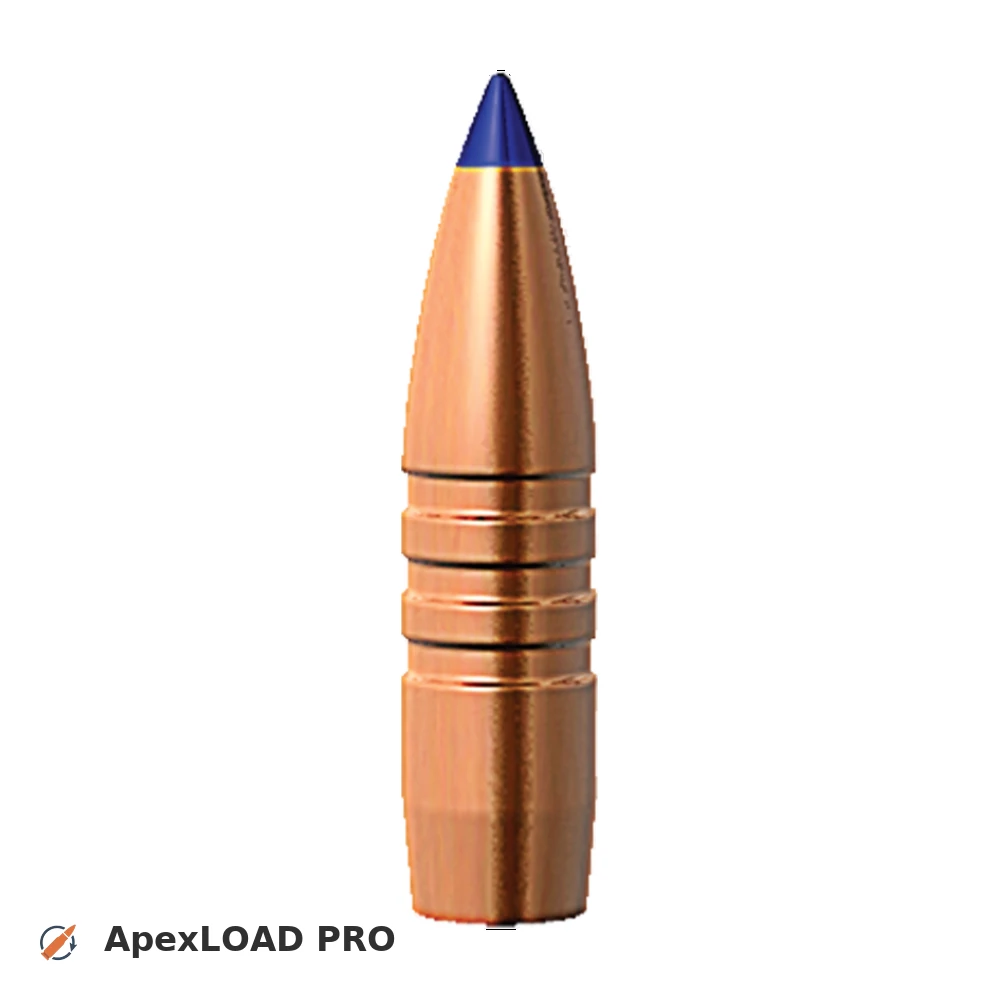
Load data for .223 Rem. + 55gr Barnes TTSX BT
242 suitable loads across 40 powder(s) for cartridge .223 Rem. with 55gr Barnes TTSX BT bullet.
The most recommended powders for this combination are Norma 200, ADI AR 2219 and Vihtavuori N135.
Based on SAAMI, the max. allowed case length is 1.760 in / 44.70 mm, the max. cartridge length is 2.260 in / 57.40 mm, and the max. allowed pressure is 55,000 PSI / 3,792 bar.
Based on SAAMI, the max. allowed case length is 1.760 in / 44.70 mm, the max. cartridge length is 2.260 in / 57.40 mm, and the max. allowed pressure is 55,000 PSI / 3,792 bar.
Load Specifications
Get PRO license to unlock all data and calculators
Community Loads for .223 Rem. + 55gr Barnes TTSX BT
Real loads for this combination shared by our community. Charge weights are only fully visible with an active Pro licence.
| Powder | Charge (gr) | C.O.L. | Barrel Length | Velocity (fps) | Pressure (psi) |
|---|---|---|---|---|---|
| 19.8 gr | 2.185" | 24.0" | 2703 fps | ••• | |
| 22.0 gr | 2.185" | 24.0" | 2973 fps | ••• | |
| 20.0 gr | 2.185" | 24.0" | 2838 fps | ••• | |
| ••• | 2.185" | 24.0" | 3129 fps | ••• | |
| ••• | 2.185" | 24.0" | 2867 fps | ••• | |
| ••• | 2.185" | 24.0" | 2804 fps | ••• | |
| ••• | 2.180" | 24.0" | 2881 fps | ••• | |
| ••• | 2.185" | 24.0" | 3101 fps | ••• | |
| ••• | 2.185" | 24.0" | 2964 fps | ••• | |
| ••• | 2.226" | 24.0" | 3192 fps | ••• | |
| ••• | 2.180" | 24.0" | 2688 fps | ••• | |
| ••• | 2.180" | 24.0" | 2979 fps | ••• | |
| ••• | 2.180" | 24.0" | 2905 fps | ••• | |
| ••• | 2.226" | 24.0" | 3107 fps | ••• | |
| ••• | 2.180" | 24.0" | 2745 fps | ••• | |
| ••• | 2.180" | 24.0" | 3061 fps | ••• | |
| ••• | 2.185" | 24.0" | 2938 fps | ••• | |
| ••• | 2.185" | 24.0" | 2821 fps | ••• | |
| ••• | 2.180" | 24.0" | 2781 fps | ••• | |
| ••• | 2.185" | 24.0" | 3153 fps | ••• | |
| ••• | 2.180" | 24.0" | 3112 fps | ••• | |
| ••• | 2.180" | 24.0" | 2949 fps | ••• | |
| ••• | 2.185" | 24.0" | 3040 fps | ••• | |
| ••• | 2.185" | 24.0" | 2887 fps | ••• | |
| ••• | 2.185" | 24.0" | 3068 fps | ••• | |
| ••• | 2.180" | 24.0" | 2659 fps | ••• | |
| ••• | 2.185" | 24.0" | 2754 fps | ••• | |
| ••• | 2.185" | 24.0" | 2924 fps | ••• | |
| ••• | 2.180" | 24.0" | 2937 fps | ••• | |
| ••• | 2.185" | 24.0" | 2880 fps | ••• | |
| ••• | 2.185" | 24.0" | 3030 fps | ••• | |
| ••• | 2.185" | 24.0" | 2833 fps | ••• | |
| ••• | 2.185" | 24.0" | 2926 fps | ••• | |
| ••• | 2.185" | 24.0" | 2774 fps | ••• | |
| ••• | 2.185" | 24.0" | 2653 fps | ••• | |
| ••• | 2.185" | 24.0" | 2961 fps | ••• | |
| ••• | 2.185" | 24.0" | 2782 fps | ••• | |
| ••• | 2.185" | 24.0" | 2964 fps | ••• | |
| ••• | 2.260" | 20.1" | 2887 fps | ••• | |
| ••• | 2.226" | 24.0" | 3159 fps | ••• | |
| ••• | 2.260" | 20.1" | 3022 fps | ••• | |
| ••• | 2.226" | 24.0" | 3202 fps | ••• | |
| ••• | 2.260" | 20.1" | 2930 fps | ••• | |
| ••• | 2.260" | 20.1" | 2831 fps | ••• | |
| ••• | 2.180" | 24.0" | 2632 fps | ••• | |
| ••• | 2.185" | 24.0" | 2970 fps | ••• | |
| ••• | 2.180" | 24.0" | 2925 fps | ••• | |
| ••• | 2.185" | 24.0" | 2987 fps | ••• | |
| ••• | 2.260" | 23.6" | 2913 fps | ••• | |
| ••• | 2.260" | 23.6" | 2972 fps | ••• | |
| ••• | 2.260" | 20.1" | 2995 fps | ••• | |
| ••• | 2.260" | 23.6" | 3153 fps | ••• | |
| ••• | 2.226" | 24.0" | 2920 fps | ••• | |
| ••• | 2.205" | 25.0" | 2893 fps | ••• | |
| ••• | 2.232" | 16.5" | 2664 fps | ••• | |
| ••• | 2.205" | 25.0" | 2760 fps | ••• | |
| ••• | 2.260" | 20.1" | 2874 fps | ••• | |
| ••• | 2.205" | 25.0" | 3091 fps | ••• | |
| ••• | 2.205" | 25.0" | 3004 fps | ••• | |
| ••• | 2.185" | 24.0" | 2779 fps | ••• | |
| ••• | 2.180" | 24.0" | 2768 fps | ••• | |
| ••• | 2.185" | 24.0" | 3104 fps | ••• | |
| ••• | 2.180" | 24.0" | 3089 fps | ••• | |
| ••• | 2.185" | 24.0" | 2970 fps | ••• | |
| ••• | 2.185" | 24.0" | 2668 fps | ••• | |
Charge weights beyond the first rows and all pressure values are only visible with an active Pro licence.