
Load data for .220 Swift + 90gr Sierra HPBT MatchKinging
Based on C.I.P., the max. allowed case length is 2.205 in / 56.01 mm, the max. cartridge length is 2.680 in / 68.07 mm, and the max. allowed pressure is 62,366 PSI / 4,300 bar.
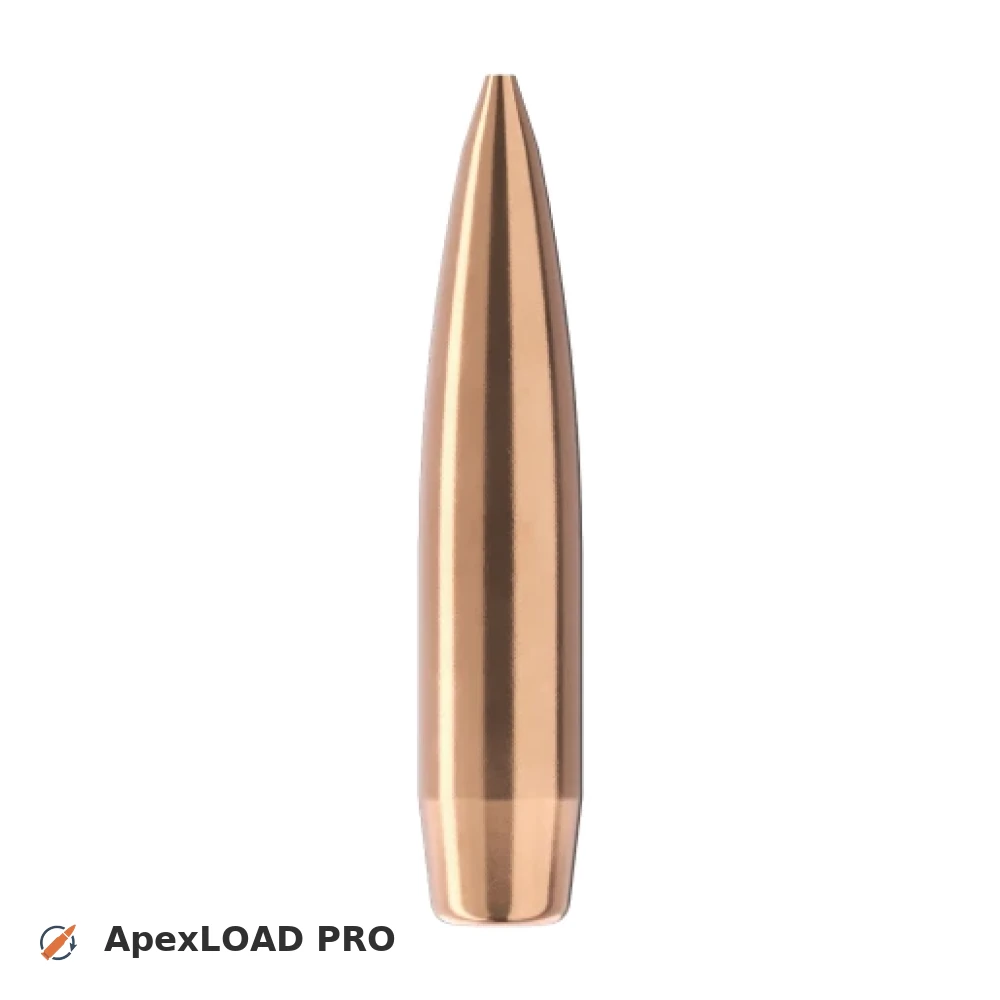
Based on C.I.P., the max. allowed case length is 2.205 in / 56.01 mm, the max. cartridge length is 2.680 in / 68.07 mm, and the max. allowed pressure is 62,366 PSI / 4,300 bar.
Load Specifications
ImperialMetric
Cartridge:.220 Swift load data
Case Length (L3):2.205" | 56.0 mm
Cartridge Length (COL/L6):•••
Seated Depth:0.424" | 10.8 mm
Case Capacity:47 gow | 3.05 cm³
Primer Size:Large Rifle (LR)
Max. Pressure (C.I.P.):62,366 psi | 4,300 bar
Barrel Length:24.0" | 610 mm
Min. Twist Rate:1:7.5
Get PRO license to unlock all data and calculators
Community Loads for .220 Swift + 90gr Sierra HPBT MatchKinging
Real loads for this combination shared by our community. Charge weights are only fully visible with an active Pro licence.
| Powder | Charge (gr) | C.O.L. | Barrel Length | Velocity (fps) | Pressure (psi) |
|---|---|---|---|---|---|
| 32.0 gr | 2.940" | 24.0" | 2742 fps | ••• | |
| 33.7 gr | 2.940" | 24.0" | 2820 fps | ••• | |
| 32.1 gr | 2.940" | 24.0" | 2524 fps | ••• | |
| ••• | 2.940" | 24.0" | 2622 fps | ••• | |
| ••• | 2.940" | 24.0" | 2651 fps | ••• | |
| ••• | 2.940" | 24.0" | 2711 fps | ••• | |
| ••• | 2.940" | 24.0" | 2720 fps | ••• | |
| ••• | 2.940" | 24.0" | 2765 fps | ••• | |
| ••• | 2.940" | 24.0" | 2816 fps | ••• | |
| ••• | 2.940" | 24.0" | 2863 fps | ••• | |
| ••• | 2.940" | 24.0" | 2908 fps | ••• | |
| ••• | 2.940" | 24.0" | 2559 fps | ••• | |
| ••• | 2.940" | 24.0" | 2618 fps | ••• | |
| ••• | 2.940" | 24.0" | 2678 fps | ••• | |
| ••• | 2.940" | 24.0" | 2788 fps | ••• | |
| ••• | 2.940" | 24.0" | 2431 fps | ••• | |
| ••• | 2.940" | 24.0" | 2547 fps | ••• | |
| ••• | 2.940" | 24.0" | 2610 fps | ••• | |
| ••• | 2.940" | 24.0" | 2672 fps | ••• | |
| ••• | 2.940" | 24.0" | 2734 fps | ••• | |
| ••• | 2.940" | 24.0" | 2788 fps | ••• | |
| ••• | 2.940" | 24.0" | 2604 fps | ••• | |
| ••• | 2.940" | 24.0" | 2661 fps | ••• | |
| ••• | 2.940" | 24.0" | 2724 fps | ••• | |
| ••• | 2.940" | 24.0" | 2660 fps | ••• | |
| ••• | 2.940" | 24.0" | 2580 fps | ••• | |
| ••• | 2.940" | 24.0" | 2630 fps | ••• | |
| ••• | 2.940" | 24.0" | 2639 fps | ••• | |
| ••• | 2.940" | 24.0" | 2696 fps | ••• | |
| ••• | 2.940" | 24.0" | 2753 fps | ••• | |
| ••• | 2.940" | 24.0" | 2791 fps | ••• | |
| ••• | 2.940" | 24.0" | 2915 fps | ••• | |
| ••• | 2.940" | 24.0" | 2395 fps | ••• | |
| ••• | 2.940" | 24.0" | 2472 fps | ••• | |
| ••• | 2.940" | 24.0" | 2566 fps | ••• | |
| ••• | 2.940" | 24.0" | 2615 fps | ••• | |
| ••• | 2.940" | 24.0" | 2666 fps | ••• | |
| ••• | 2.940" | 24.0" | 2717 fps | ••• | |
| ••• | 2.940" | 24.0" | 2776 fps | ••• | |
| ••• | 2.940" | 24.0" | 2558 fps | ••• | |
| ••• | 2.940" | 24.0" | 2574 fps | ••• | |
| ••• | 2.940" | 24.0" | 2645 fps | ••• | |
| ••• | 2.940" | 24.0" | 2716 fps | ••• | |
| ••• | 2.940" | 24.0" | 2741 fps | ••• | |
| ••• | 2.940" | 24.0" | 2773 fps | ••• | |
| ••• | 2.940" | 24.0" | 2821 fps | ••• | |
| ••• | 2.940" | 24.0" | 2867 fps | ••• | |
| ••• | 2.940" | 24.0" | 2948 fps | ••• | |
| ••• | 2.940" | 24.0" | 2697 fps | ••• | |
| ••• | 2.940" | 24.0" | 2815 fps | ••• | |
Charge weights beyond the first rows and all pressure values are only visible with an active Pro licence.