
Load data for .22 Nosler + 55gr Nosler Ballistic Tip Varmint
The most recommended powders for this combination are Hodgdon VARGET.
Based on SAAMI, the max. allowed case length is 1.760 in / 44.70 mm, the max. cartridge length is 2.260 in / 57.40 mm, and the max. allowed pressure is 55,000 PSI / 3,792 bar.
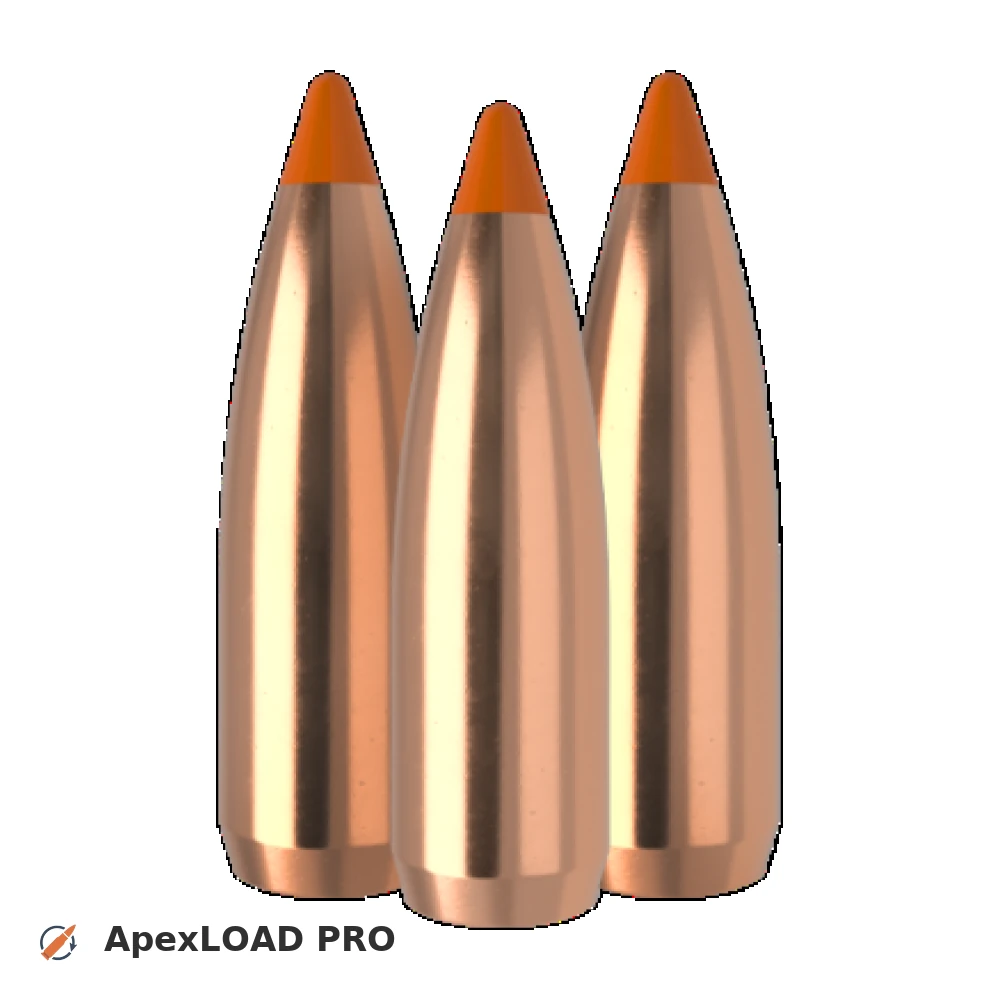
Based on SAAMI, the max. allowed case length is 1.760 in / 44.70 mm, the max. cartridge length is 2.260 in / 57.40 mm, and the max. allowed pressure is 55,000 PSI / 3,792 bar.
Load Specifications
ImperialMetric
Cartridge:.22 Nosler load data
Case Length (L3):1.745" | 44.3 mm
Cartridge Length (COL/L6):•••
Seated Depth:0.295" | 7.5 mm
Case Capacity:37 gow | 2.40 cm³
Primer Size:Small Rifle (SR)
Max. Pressure (SAAMI):55,000 psi | 3,792 bar
Barrel Length:24.0" | 610 mm
Min. Twist Rate:1:10.5
Get PRO license to unlock all data and calculators
Community Loads for .22 Nosler + 55gr Nosler Ballistic Tip Varmint
Real loads for this combination shared by our community. Charge weights are only fully visible with an active Pro licence.
| Powder | Charge (gr) | C.O.L. | Barrel Length | Velocity (fps) | Pressure (psi) |
|---|---|---|---|---|---|
| 27.5 gr | 2.260" | 24.0" | 3033 fps | ••• | |
| 28.5 gr | 2.260" | 24.0" | 3133 fps | ••• | |
| 29.5 gr | 2.260" | 24.0" | 3232 fps | ••• | |
| ••• | 2.260" | 24.0" | 3100 fps | ••• | |
| ••• | 2.260" | 24.0" | 3202 fps | ••• | |
| ••• | 2.260" | 24.0" | 3303 fps | ••• | |
| ••• | 2.260" | 24.0" | 3103 fps | ••• | |
| ••• | 2.260" | 24.0" | 3182 fps | ••• | |
| ••• | 2.260" | 24.0" | 3285 fps | ••• | |
| ••• | 2.260" | 24.0" | 3387 fps | ••• | |
| ••• | 2.260" | 24.0" | 3084 fps | ••• | |
| ••• | 2.260" | 24.0" | 3124 fps | ••• | |
| ••• | 2.260" | 24.0" | 3182 fps | ••• | |
| ••• | 2.260" | 24.0" | 3276 fps | ••• | |
| ••• | 2.260" | 24.0" | 3351 fps | ••• | |
| ••• | 2.260" | 24.0" | 3220 fps | ••• | |
| ••• | 2.260" | 24.0" | 3345 fps | ••• | |
| ••• | 2.260" | 24.0" | 3368 fps | ••• | |
| ••• | 2.260" | 24.0" | 3472 fps | ••• | |
| ••• | 2.260" | 24.0" | 3119 fps | ••• | |
| ••• | 2.260" | 24.0" | 3216 fps | ••• | |
| ••• | 2.260" | 24.0" | 3315 fps | ••• | |
| ••• | 2.260" | 24.0" | 3412 fps | ••• | |
| ••• | 2.260" | 24.0" | 3083 fps | ••• | |
| ••• | 2.260" | 24.0" | 3305 fps | ••• | |
| ••• | 2.260" | 24.0" | 3112 fps | ••• | |
| ••• | 2.260" | 24.0" | 3181 fps | ••• | |
| ••• | 2.260" | 24.0" | 3211 fps | ••• | |
| ••• | 2.260" | 24.0" | 3313 fps | ••• | |
| ••• | 2.260" | 24.0" | 3413 fps | ••• | |
| ••• | 2.260" | 24.0" | 3121 fps | ••• | |
| ••• | 2.260" | 24.0" | 3363 fps | ••• | |
| ••• | 2.260" | 24.0" | 3006 fps | ••• | |
| ••• | 2.260" | 24.0" | 3284 fps | ••• | |
| ••• | 2.260" | 24.0" | 3091 fps | ••• | |
| ••• | 2.260" | 24.0" | 3328 fps | ••• | |
| ••• | 2.260" | 24.0" | 3103 fps | ••• | |
| ••• | 2.260" | 24.0" | 3339 fps | ••• | |
| ••• | 2.260" | 24.0" | 3165 fps | ••• | |
| ••• | 2.260" | 24.0" | 3264 fps | ••• | |
| ••• | 2.260" | 24.0" | 3364 fps | ••• | |
| ••• | 2.260" | 24.0" | 3053 fps | ••• | |
| ••• | 2.260" | 24.0" | 3331 fps | ••• | |
| ••• | 2.260" | 24.0" | 3221 fps | ••• | |
| ••• | 2.260" | 24.0" | 3321 fps | ••• | |
| ••• | 2.260" | 24.0" | 3421 fps | ••• | |
| ••• | 2.260" | 24.0" | 3087 fps | ••• | |
| ••• | 2.260" | 24.0" | 3395 fps | ••• | |
| ••• | 2.260" | 24.0" | 3137 fps | ••• | |
Charge weights beyond the first rows and all pressure values are only visible with an active Pro licence.