
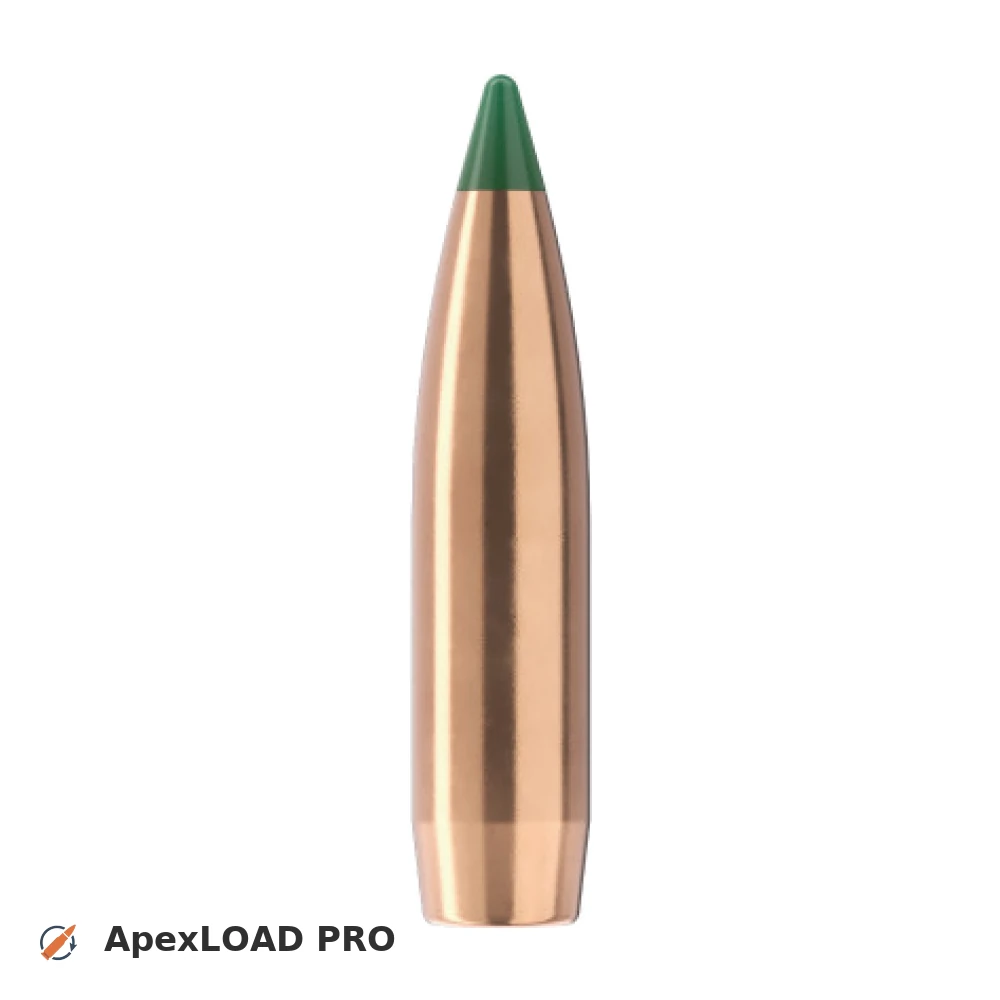
Load data for .22 Creedmoor + 77gr Sierra Tipped MatchKing
618 suitable loads across 107 powder(s) for cartridge .22 Creedmoor with 77gr Sierra Tipped MatchKing bullet.
The most recommended powders for this combination are ReloadSwiss RS 60, Hodgdon VARGET and Hodgdon H414.
Based on SAAMI, the max. allowed case length is 1.920 in / 48.77 mm, the max. cartridge length is 2.700 in / 68.58 mm, and the max. allowed pressure is 65,000 PSI / 4,482 bar.
Based on SAAMI, the max. allowed case length is 1.920 in / 48.77 mm, the max. cartridge length is 2.700 in / 68.58 mm, and the max. allowed pressure is 65,000 PSI / 4,482 bar.
Load Specifications
Get PRO license to unlock all data and calculators
Community Loads for .22 Creedmoor + 77gr Sierra Tipped MatchKing
Real loads for this combination shared by our community. Charge weights are only fully visible with an active Pro licence.
| Powder | Charge (gr) | C.O.L. | Barrel Length | Velocity (fps) | Pressure (psi) |
|---|---|---|---|---|---|
| 42.5 gr | 2.560" | 24.0" | 3035 fps | ••• | |
| 46.2 gr | 2.560" | 24.0" | 3328 fps | ••• | |
| 41.0 gr | 2.560" | 24.0" | 2795 fps | ••• | |
| ••• | 2.560" | 24.0" | 3087 fps | ••• | |
| ••• | 2.560" | 20.0" | 2894 fps | ••• | |
| ••• | 2.680" | 18.0" | 3120 fps | ••• | |
| ••• | 2.560" | 24.0" | 2803 fps | ••• | |
| ••• | 2.560" | 24.0" | 3051 fps | ••• | |
| ••• | 2.560" | 24.0" | 3001 fps | ••• | |
| ••• | 2.560" | 24.0" | 3318 fps | ••• | |
| ••• | 2.560" | 20.0" | 3064 fps | ••• | |
| ••• | 2.560" | 24.0" | 2890 fps | ••• | |
| ••• | 2.560" | 24.0" | 3147 fps | ••• | |
| ••• | 2.560" | 24.0" | 2966 fps | ••• | |
| ••• | 2.560" | 24.0" | 3191 fps | ••• | |
| ••• | 2.560" | 24.0" | 2840 fps | ••• | |
| ••• | 2.560" | 24.0" | 3077 fps | ••• | |
| ••• | 2.560" | 24.0" | 2832 fps | ••• | |
| ••• | 2.560" | 24.0" | 3104 fps | ••• | |
| ••• | 2.560" | 24.0" | 2830 fps | ••• | |
| ••• | 2.560" | 24.0" | 3093 fps | ••• | |
| ••• | 2.560" | 24.0" | 3090 fps | ••• | |
| ••• | 2.560" | 24.0" | 2917 fps | ••• | |
| ••• | 2.560" | 24.0" | 3158 fps | ••• | |
| ••• | 2.560" | 24.0" | 2854 fps | ••• | |
| ••• | 2.560" | 24.0" | 3157 fps | ••• | |
| ••• | 2.618" | 24.0" | 3039 fps | ••• | |
| ••• | 2.620" | 20.0" | 3153 fps | ••• | |
| ••• | 2.660" | 20.0" | 3136 fps | ••• | |
| ••• | 2.700" | 20.0" | 3123 fps | ••• | |
| ••• | 2.618" | 24.0" | 3001 fps | ••• | |
| ••• | 2.618" | 24.0" | 3206 fps | ••• | |
| ••• | 2.618" | 24.0" | 2994 fps | ••• | |
| ••• | 2.618" | 24.0" | 3158 fps | ••• | |
| ••• | 2.700" | 22.0" | 3074 fps | ••• | |
| ••• | 2.560" | 24.0" | 3123 fps | ••• | |
| ••• | 2.560" | 24.0" | 3443 fps | ••• | |
Charge weights beyond the first rows and all pressure values are only visible with an active Pro licence.