
Load data for .22-250 Ackley Improved + 69gr Sierra Tipped MatchKing
Based on Wildcat, the max. allowed case length is 1.908 in / 48.46 mm, the max. cartridge length is 2.350 in / 59.69 mm, and the max. allowed pressure is 57,986 PSI / 3,998 bar.
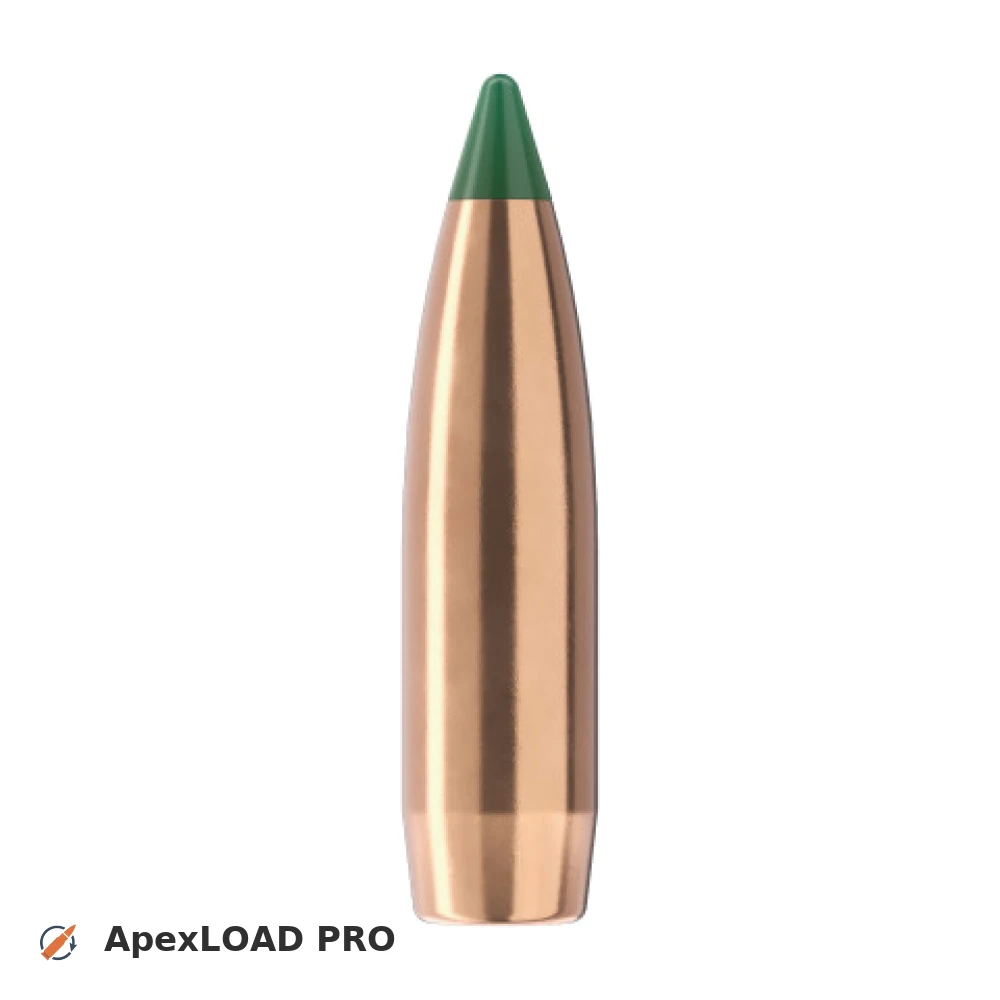
Based on Wildcat, the max. allowed case length is 1.908 in / 48.46 mm, the max. cartridge length is 2.350 in / 59.69 mm, and the max. allowed pressure is 57,986 PSI / 3,998 bar.
Load Specifications
ImperialMetric
Cartridge:.22-250 Ackley Improved load data
Case Length (L3):1.940" | 49.3 mm
Cartridge Length (COL/L6):•••
Seated Depth:0.356" | 9.0 mm
Case Capacity:46.9 gow | 3.04 cm³
Primer Size:Large Rifle (LR)
Max. Pressure (Wildcat):57,986 psi | 3,998 bar
Barrel Length:24.0" | 610 mm
Min. Twist Rate:1:9.0
Get PRO license to unlock all data and calculators
Community Loads for .22-250 Ackley Improved + 69gr Sierra Tipped MatchKing
Real loads for this combination shared by our community. Charge weights are only fully visible with an active Pro licence.
| Powder | Charge (gr) | C.O.L. | Barrel Length | Velocity (fps) | Pressure (psi) |
|---|---|---|---|---|---|
| 33.2 gr | 2.570" | 24.0" | 2816 fps | ••• | |
| 34.8 gr | 2.570" | 24.0" | 2948 fps | ••• | |
| 36.3 gr | 2.570" | 24.0" | 3072 fps | ••• | |
| ••• | 2.570" | 24.0" | 3130 fps | ••• | |
| ••• | 2.570" | 24.0" | 3179 fps | ••• | |
| ••• | 2.570" | 24.0" | 3255 fps | ••• | |
| ••• | 2.570" | 24.0" | 3106 fps | ••• | |
| ••• | 2.570" | 24.0" | 3150 fps | ••• | |
| ••• | 2.570" | 24.0" | 2921 fps | ••• | |
| ••• | 2.570" | 24.0" | 3044 fps | ••• | |
| ••• | 2.570" | 24.0" | 3159 fps | ••• | |
| ••• | 2.570" | 24.0" | 3217 fps | ••• | |
| ••• | 2.570" | 24.0" | 2944 fps | ••• | |
| ••• | 2.570" | 24.0" | 3060 fps | ••• | |
| ••• | 2.570" | 24.0" | 3116 fps | ••• | |
| ••• | 2.570" | 24.0" | 3176 fps | ••• | |
| ••• | 2.570" | 24.0" | 2964 fps | ••• | |
| ••• | 2.570" | 24.0" | 3067 fps | ••• | |
| ••• | 2.570" | 24.0" | 3181 fps | ••• | |
| ••• | 2.570" | 24.0" | 3245 fps | ••• | |
| ••• | 2.570" | 24.0" | 3060 fps | ••• | |
| ••• | 2.570" | 24.0" | 3179 fps | ••• | |
| ••• | 2.570" | 24.0" | 3241 fps | ••• | |
| ••• | 2.570" | 24.0" | 2865 fps | ••• | |
| ••• | 2.570" | 24.0" | 2968 fps | ••• | |
| ••• | 2.570" | 24.0" | 3080 fps | ••• | |
| ••• | 2.570" | 24.0" | 3141 fps | ••• | |
| ••• | 2.570" | 24.0" | 2916 fps | ••• | |
| ••• | 2.570" | 24.0" | 3054 fps | ••• | |
| ••• | 2.570" | 24.0" | 3120 fps | ••• | |
| ••• | 2.570" | 24.0" | 3141 fps | ••• | |
| ••• | 2.570" | 24.0" | 3186 fps | ••• | |
| ••• | 2.570" | 24.0" | 2990 fps | ••• | |
| ••• | 2.570" | 24.0" | 3098 fps | ••• | |
| ••• | 2.570" | 24.0" | 2804 fps | ••• | |
| ••• | 2.570" | 24.0" | 2899 fps | ••• | |
| ••• | 2.570" | 24.0" | 2997 fps | ••• | |
| ••• | 2.570" | 24.0" | 3097 fps | ••• | |
| ••• | 2.570" | 24.0" | 3151 fps | ••• | |
| ••• | 2.570" | 24.0" | 2952 fps | ••• | |
| ••• | 2.570" | 24.0" | 3061 fps | ••• | |
| ••• | 2.570" | 24.0" | 3168 fps | ••• | |
| ••• | 2.570" | 24.0" | 3281 fps | ••• | |
| ••• | 2.570" | 24.0" | 2629 fps | ••• | |
| ••• | 2.570" | 24.0" | 2727 fps | ••• | |
| ••• | 2.570" | 24.0" | 2824 fps | ••• | |
| ••• | 2.570" | 24.0" | 2933 fps | ••• | |
| ••• | 2.570" | 24.0" | 3041 fps | ••• | |
| ••• | 2.570" | 24.0" | 3124 fps | ••• | |
| ••• | 2.570" | 24.0" | 3175 fps | ••• | |
Charge weights beyond the first rows and all pressure values are only visible with an active Pro licence.