
Load data for .22-250 Ackley Improved + 55gr Sierra Tipped VarmintKing
Based on Wildcat, the max. allowed case length is 1.908 in / 48.46 mm, the max. cartridge length is 2.350 in / 59.69 mm, and the max. allowed pressure is 57,986 PSI / 3,998 bar.
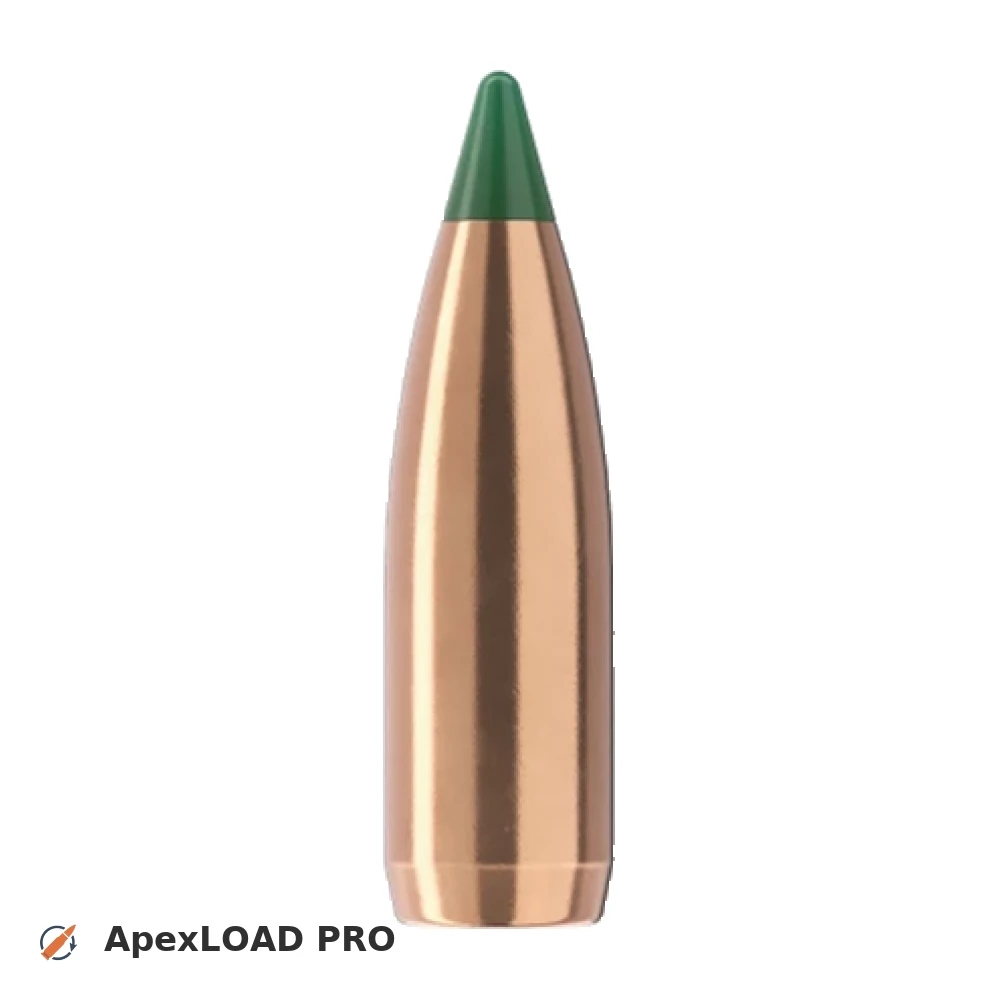
Based on Wildcat, the max. allowed case length is 1.908 in / 48.46 mm, the max. cartridge length is 2.350 in / 59.69 mm, and the max. allowed pressure is 57,986 PSI / 3,998 bar.
Load Specifications
ImperialMetric
Cartridge:.22-250 Ackley Improved load data
Case Length (L3):1.940" | 49.3 mm
Cartridge Length (COL/L6):•••
Seated Depth:0.315" | 8.0 mm
Case Capacity:46.9 gow | 3.04 cm³
Primer Size:Large Rifle (LR)
Max. Pressure (Wildcat):57,986 psi | 3,998 bar
Barrel Length:24.0" | 610 mm
Min. Twist Rate:1:8.5
Get PRO license to unlock all data and calculators
Community Loads for .22-250 Ackley Improved + 55gr Sierra Tipped VarmintKing
Real loads for this combination shared by our community. Charge weights are only fully visible with an active Pro licence.
| Powder | Charge (gr) | C.O.L. | Barrel Length | Velocity (fps) | Pressure (psi) |
|---|---|---|---|---|---|
| 36.8 gr | 2.525" | 24.0" | 3127 fps | ••• | |
| 38.2 gr | 2.525" | 24.0" | 3251 fps | ••• | |
| 39.6 gr | 2.525" | 24.0" | 3421 fps | ••• | |
| ••• | 2.525" | 24.0" | 3501 fps | ••• | |
| ••• | 2.525" | 24.0" | 3413 fps | ••• | |
| ••• | 2.525" | 24.0" | 3524 fps | ••• | |
| ••• | 2.525" | 24.0" | 3242 fps | ••• | |
| ••• | 2.525" | 24.0" | 3379 fps | ••• | |
| ••• | 2.525" | 24.0" | 3440 fps | ••• | |
| ••• | 2.525" | 24.0" | 3572 fps | ••• | |
| ••• | 2.525" | 24.0" | 3365 fps | ••• | |
| ••• | 2.525" | 24.0" | 3487 fps | ••• | |
| ••• | 2.525" | 24.0" | 3656 fps | ••• | |
| ••• | 2.525" | 24.0" | 3078 fps | ••• | |
| ••• | 2.525" | 24.0" | 3203 fps | ••• | |
| ••• | 2.525" | 24.0" | 3285 fps | ••• | |
| ••• | 2.525" | 24.0" | 3438 fps | ••• | |
| ••• | 2.525" | 24.0" | 3505 fps | ••• | |
| ••• | 2.525" | 24.0" | 3129 fps | ••• | |
| ••• | 2.525" | 24.0" | 3278 fps | ••• | |
| ••• | 2.525" | 24.0" | 3349 fps | ••• | |
| ••• | 2.525" | 24.0" | 3516 fps | ••• | |
| ••• | 2.525" | 24.0" | 3233 fps | ••• | |
| ••• | 2.525" | 24.0" | 3335 fps | ••• | |
| ••• | 2.525" | 24.0" | 3444 fps | ••• | |
| ••• | 2.525" | 24.0" | 3528 fps | ••• | |
| ••• | 2.525" | 24.0" | 3453 fps | ••• | |
| ••• | 2.525" | 24.0" | 3167 fps | ••• | |
| ••• | 2.525" | 24.0" | 3361 fps | ••• | |
| ••• | 2.525" | 24.0" | 3515 fps | ••• | |
| ••• | 2.525" | 24.0" | 3369 fps | ••• | |
| ••• | 2.525" | 24.0" | 3445 fps | ••• | |
| ••• | 2.525" | 24.0" | 3556 fps | ••• | |
| ••• | 2.525" | 24.0" | 3158 fps | ••• | |
| ••• | 2.525" | 24.0" | 3222 fps | ••• | |
| ••• | 2.525" | 24.0" | 3360 fps | ••• | |
| ••• | 2.525" | 24.0" | 3420 fps | ••• | |
| ••• | 2.525" | 24.0" | 3525 fps | ••• | |
| ••• | 2.525" | 24.0" | 3087 fps | ••• | |
| ••• | 2.525" | 24.0" | 3156 fps | ••• | |
| ••• | 2.525" | 24.0" | 3303 fps | ••• | |
| ••• | 2.525" | 24.0" | 3410 fps | ••• | |
| ••• | 2.525" | 24.0" | 3472 fps | ••• | |
| ••• | 2.525" | 24.0" | 3578 fps | ••• | |
| ••• | 2.525" | 24.0" | 3163 fps | ••• | |
| ••• | 2.525" | 24.0" | 3308 fps | ••• | |
| ••• | 2.525" | 24.0" | 3413 fps | ••• | |
| ••• | 2.525" | 24.0" | 3528 fps | ••• | |
| ••• | 2.525" | 24.0" | 3390 fps | ••• | |
| ••• | 2.525" | 24.0" | 3480 fps | ••• | |
Charge weights beyond the first rows and all pressure values are only visible with an active Pro licence.