
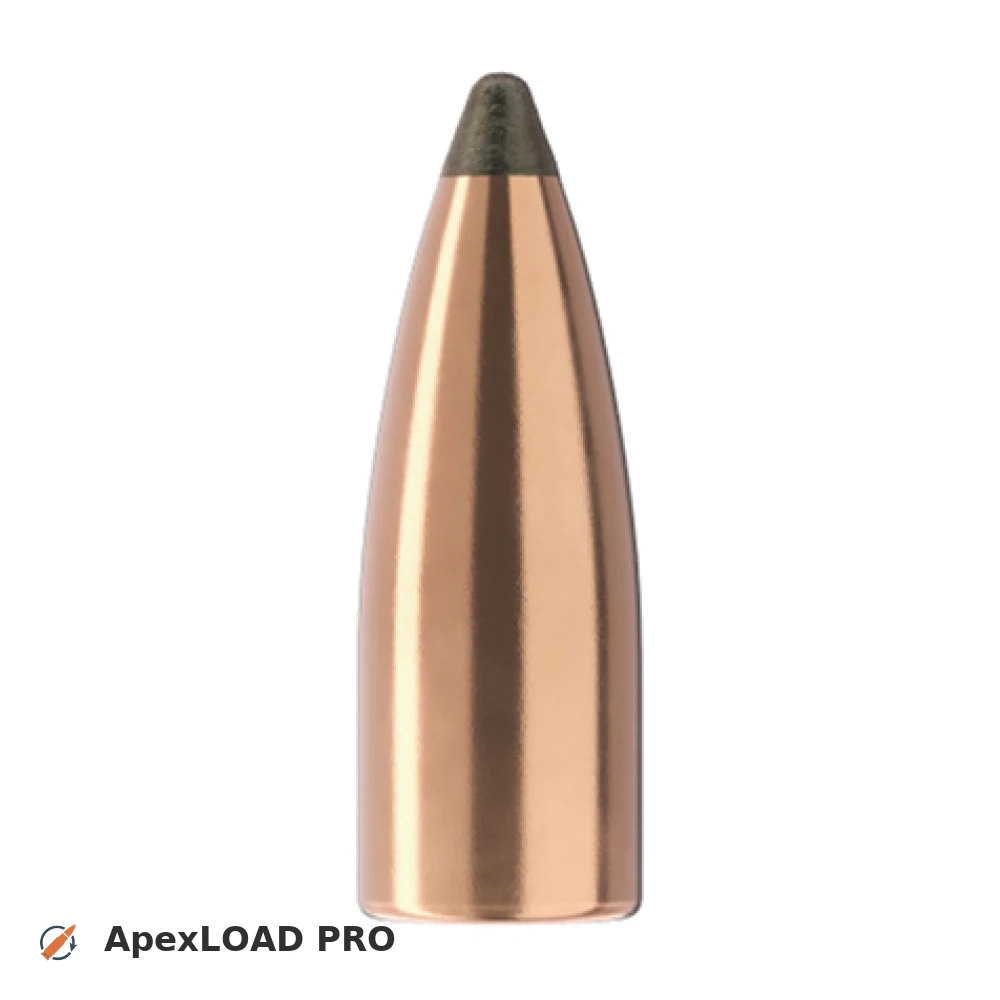
Load data for .22-250 Ackley Improved + 50gr Sierra SP Blitz
Based on Wildcat, the max. allowed case length is 1.908 in / 48.46 mm, the max. cartridge length is 2.350 in / 59.69 mm, and the max. allowed pressure is 57,986 PSI / 3,998 bar.
Based on Wildcat, the max. allowed case length is 1.908 in / 48.46 mm, the max. cartridge length is 2.350 in / 59.69 mm, and the max. allowed pressure is 57,986 PSI / 3,998 bar.
Load Specifications
ImperialMetric
Bullet:.224 | 50gr | SP Blitz
Cartridge:.22-250 Ackley Improved load data
Case Length (L3):1.940" | 49.3 mm
Cartridge Length (COL/L6):•••
Seated Depth:0.200" | 5.1 mm
Case Capacity:46.9 gow | 3.04 cm³
Primer Size:Large Rifle (LR)
Max. Pressure (Wildcat):57,986 psi | 3,998 bar
Barrel Length:24.0" | 610 mm
Min. Twist Rate:Stabilizes in any common twist
Get PRO license to unlock all data and calculators
Community Loads for .22-250 Ackley Improved + 50gr Sierra SP Blitz
Real loads for this combination shared by our community. Charge weights are only fully visible with an active Pro licence.
| Powder | Charge (gr) | C.O.L. | Barrel Length | Velocity (fps) | Pressure (psi) |
|---|---|---|---|---|---|
| 37.9 gr | 2.400" | 24.0" | 3496 fps | ••• | |
| 39.5 gr | 2.400" | 24.0" | 3646 fps | ••• | |
| 40.7 gr | 2.400" | 24.0" | 3757 fps | ••• | |
| ••• | 2.400" | 24.0" | 3861 fps | ••• | |
| ••• | 2.400" | 24.0" | 3432 fps | ••• | |
| ••• | 2.400" | 24.0" | 3542 fps | ••• | |
| ••• | 2.400" | 24.0" | 3653 fps | ••• | |
| ••• | 2.400" | 24.0" | 3755 fps | ••• | |
| ••• | 2.400" | 24.0" | 3421 fps | ••• | |
| ••• | 2.400" | 24.0" | 3541 fps | ••• | |
| ••• | 2.400" | 24.0" | 3649 fps | ••• | |
| ••• | 2.400" | 24.0" | 3747 fps | ••• | |
| ••• | 2.400" | 24.0" | 3432 fps | ••• | |
| ••• | 2.400" | 24.0" | 3531 fps | ••• | |
| ••• | 2.400" | 24.0" | 3622 fps | ••• | |
| ••• | 2.400" | 24.0" | 3712 fps | ••• | |
| ••• | 2.400" | 24.0" | 3785 fps | ••• | |
| ••• | 2.400" | 24.0" | 3857 fps | ••• | |
| ••• | 2.400" | 24.0" | 3583 fps | ••• | |
| ••• | 2.400" | 24.0" | 3680 fps | ••• | |
| ••• | 2.400" | 24.0" | 3769 fps | ••• | |
| ••• | 2.400" | 24.0" | 3854 fps | ••• | |
| ••• | 2.400" | 24.0" | 3398 fps | ••• | |
| ••• | 2.400" | 24.0" | 3512 fps | ••• | |
| ••• | 2.400" | 24.0" | 3624 fps | ••• | |
| ••• | 2.400" | 24.0" | 3726 fps | ••• | |
| ••• | 2.400" | 24.0" | 3451 fps | ••• | |
| ••• | 2.400" | 24.0" | 3579 fps | ••• | |
| ••• | 2.400" | 24.0" | 3733 fps | ••• | |
| ••• | 2.400" | 24.0" | 3454 fps | ••• | |
| ••• | 2.400" | 24.0" | 3578 fps | ••• | |
| ••• | 2.400" | 24.0" | 3697 fps | ••• | |
| ••• | 2.400" | 24.0" | 3219 fps | ••• | |
| ••• | 2.400" | 24.0" | 3322 fps | ••• | |
| ••• | 2.400" | 24.0" | 3416 fps | ••• | |
| ••• | 2.400" | 24.0" | 3509 fps | ••• | |
| ••• | 2.400" | 24.0" | 3601 fps | ••• | |
| ••• | 2.400" | 24.0" | 3397 fps | ••• | |
| ••• | 2.400" | 24.0" | 3482 fps | ••• | |
| ••• | 2.400" | 24.0" | 3565 fps | ••• | |
| ••• | 2.400" | 24.0" | 3650 fps | ••• | |
| ••• | 2.400" | 24.0" | 3587 fps | ••• | |
| ••• | 2.400" | 24.0" | 3444 fps | ••• | |
| ••• | 2.400" | 24.0" | 3586 fps | ••• | |
| ••• | 2.400" | 24.0" | 3711 fps | ••• | |
| ••• | 2.400" | 24.0" | 3284 fps | ••• | |
| ••• | 2.400" | 24.0" | 3374 fps | ••• | |
| ••• | 2.400" | 24.0" | 3460 fps | ••• | |
| ••• | 2.400" | 24.0" | 3538 fps | ••• | |
Charge weights beyond the first rows and all pressure values are only visible with an active Pro licence.